
DIY Clay Christmas Tree
Make a Christmas tree decoration from air dry clay - it's such a fun and easy Christmas craft!
Yield: 1 clay Christmas tree
Cost: $2
Equipment
- Water (for smoothing clay)
Materials
Instructions
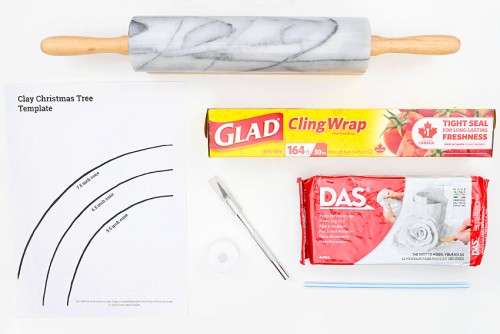
Step 1: Find what you need
- Gather your supplies and materials.
Step 2: Print the template and roll the clay
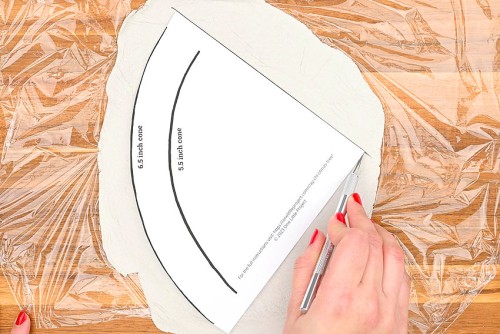
- Print our free clay Christmas tree template on cardstock. This template allows you to make 3 different sizes of trees.To make more than one size of tree, print multiple copies of the pattern. You'll need one template page per tree.
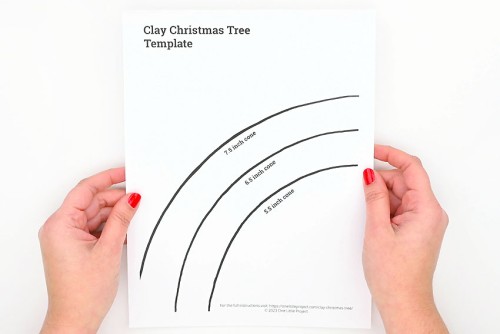
- Cut along the line for the size of tree you'd like to make.

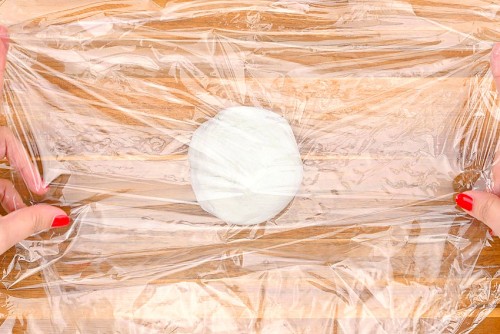
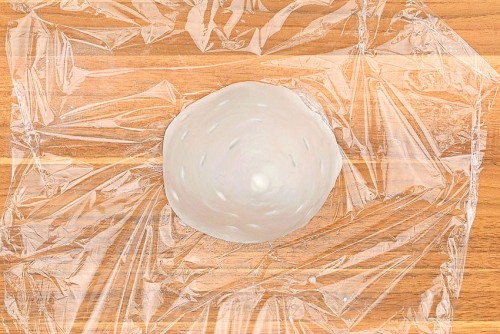
- Place the ball of clay between two pieces of plastic wrap. This will stop the clay from sticking to your rolling pin and work surface.
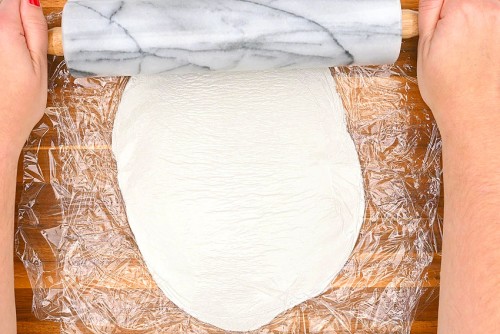
- Roll the clay, creating an oval shape, until it's just under 1/4 inch thick.
Step 3: Cut out and prepare the clay cone
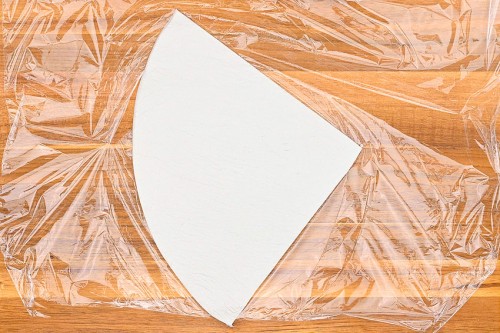
- Peel off the top layer of plastic wrap and place the template on top of the clay. Cut around the template with a craft knife.
- Remove the template and the extra clay around the template.
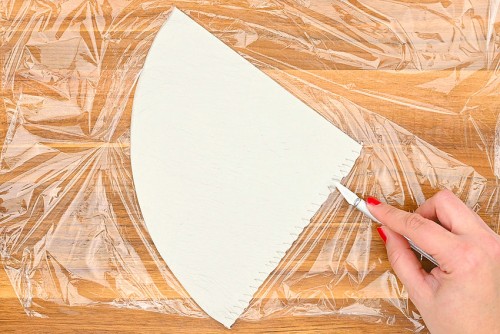
- Press the side of the craft knife into the clay along one straight edge to score it.
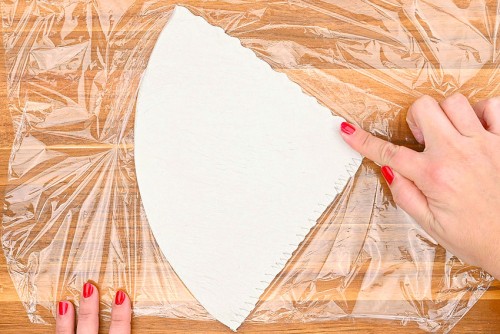
- Use your finger to push down the clay along the other straight edge. This will help join the two sides together.
Step 4: Make a paper cone from the template
- Roll the cardstock template into a cone shape.
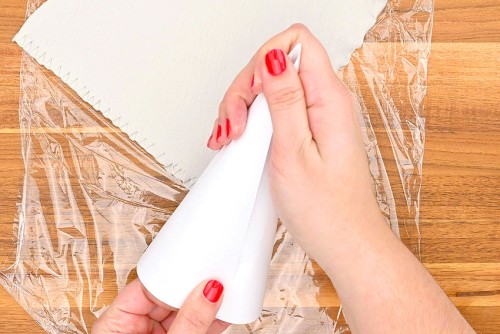
- Secure the cone in place with a couple pieces of tape.
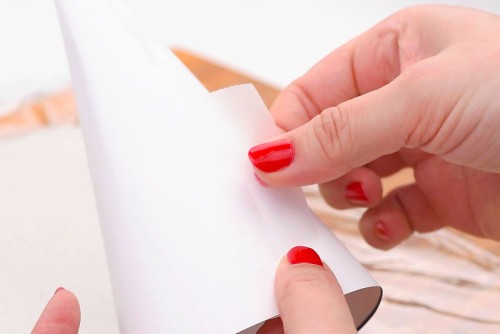
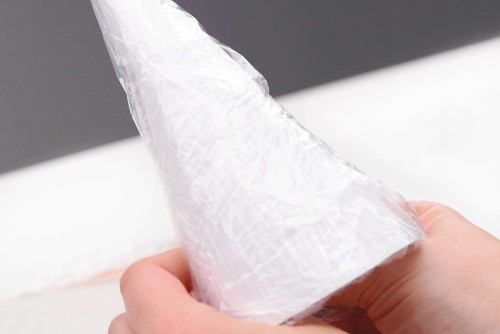
- Cover the cone in plastic wrap. Tuck any extra at the bottom inside the cone.
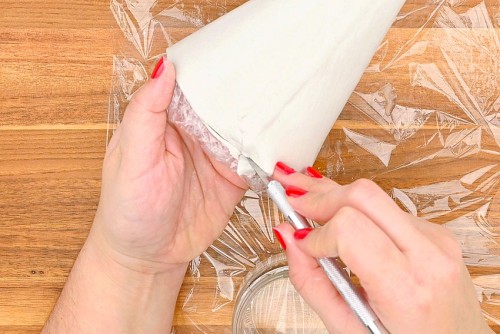
Step 5: Add the clay to the template
- Pick up the clay and place it on the tree form. Place the point at the top of the tree and align the curved bottom of the clay with the bottom of the cone.
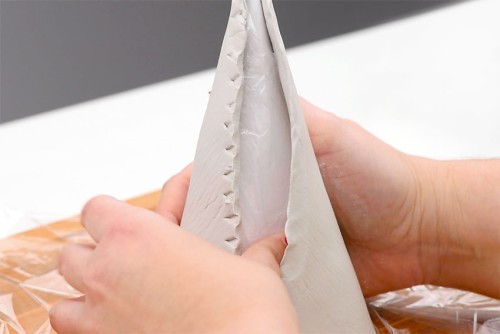
- Wrap the clay around the cardstock tree, and press in the sides to help it stay in place.Starting at the top of the tree, press the two sides of clay together until it stays securely on the cone shape.
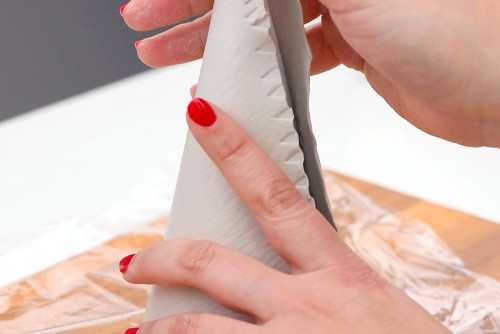
- Then to join the rest of the edges together, dip your fingertip in water and rub it along the scored side of the tree.
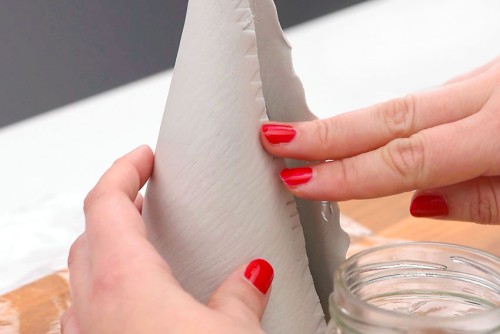
- Place the thin side of the clay on top of the scored side and carefully push them together against the cardstock template.
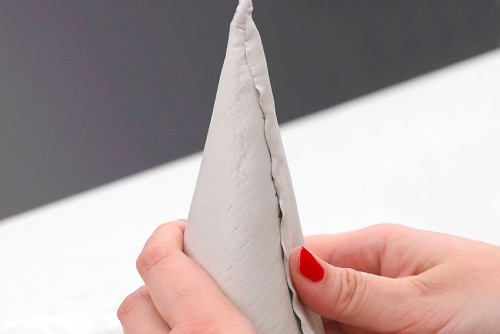
- Use water and your fingertip to smooth out any bumps in the clay, especially at the seam.
- If needed, trim the clay along the bottom to make the base even and straight.
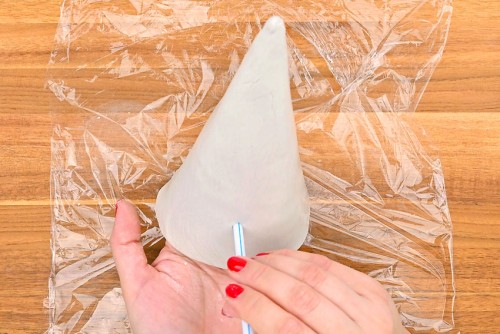
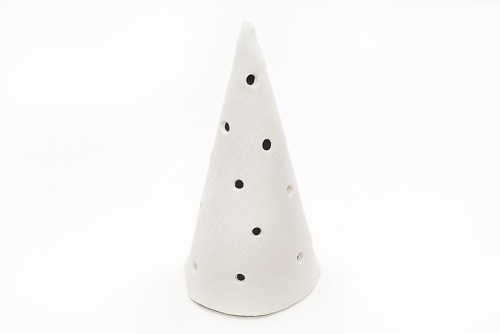
Step 6: Poke holes in the clay tree and allow it to dry
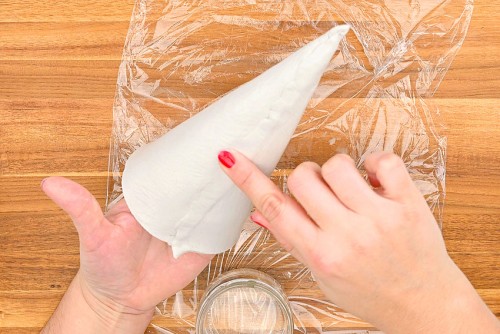
- Push a straw into the clay to make a decorative light hole in the tree.Once you've pushed the straw into the clay, wiggle it a little bit, and then remove it.
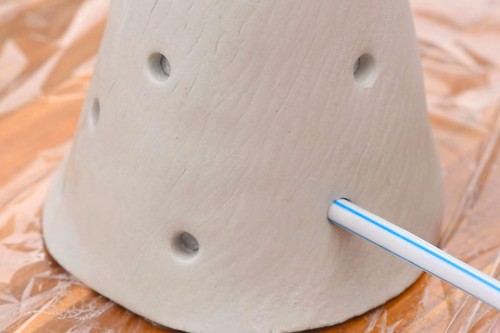
- Continue using the straw to add holes all over the tree, either in a pattern or randomly.After about 4 or 5 holes you'll need to remove the clay from inside the straw. You can either cut the straw, or blow or squeeze out the clay from the end.
- Once you're happy with your design, allow the clay Christmas tree to dry for at least 24 hours.Check on the tree and leave it for another day if it isn't completely dry. Drying times may vary depending on the type and thickness of clay that you use.
- Remove the clay Christmas tree from the cardstock cone. Push the edge of the cone in at the bottom and twist it to help the clay tree slide off more easily.
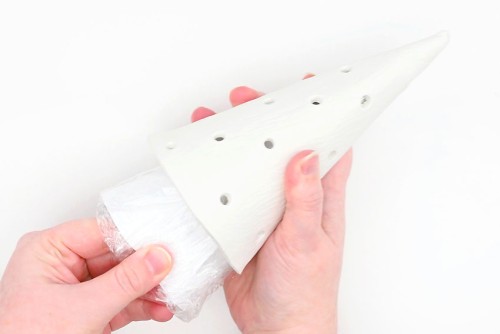
- Your clay Christmas tree is complete!
Video
Notes
Looking for more clay crafts? Here's a few of our favourites:
Clay Ornaments
DIY Clay House
Easy Clay Flowers