How to Make Glue Gun Art Flowers
Making glue gun art is such a cool craft! Follow our simple step by step instructions to make this simple, but beautiful, piece of art.
Yield: 1 hot glue painting
Cost: $1
Equipment
Instructions
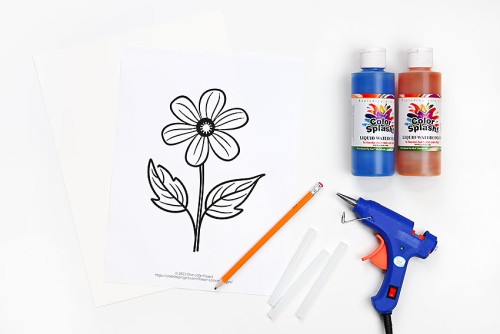
Step 1: Find what you need
- Gather your supplies and materials.
Step 2: Trace the template with pencil and glue
- Print one of our free flower templates or coloring pages!There's more details on which ones we used below this tutorial.
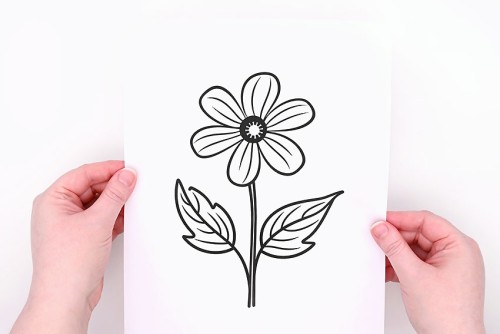
- Hold the template on a window or another light source and then place a piece of watercolour paper on top.Trace the lines of the template onto the watercolour paper. Press lightly with your pencil to get faint lines. If your lines are darker, you can lightly erase them to make them lighter.

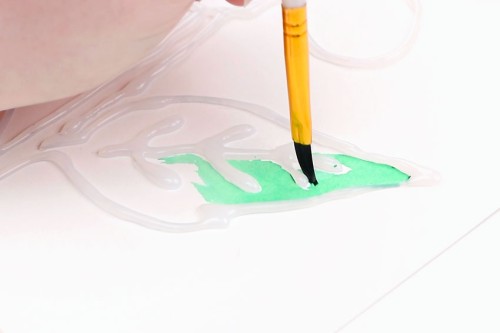
- Use a hot glue gun to trace over the lines of the template with hot glue.For the smoothest lines, keep the glue gun going for as long as possible, moving it constantly to follow the shape of the picture.Allow the glue to dry.

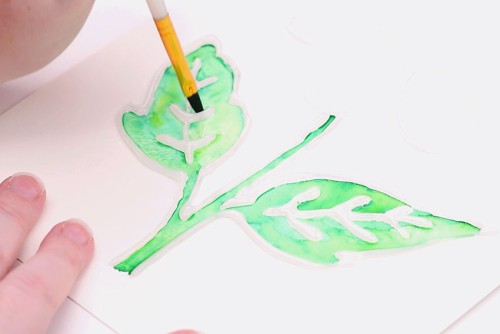
Step 3: Paint the flower's leaves and stem
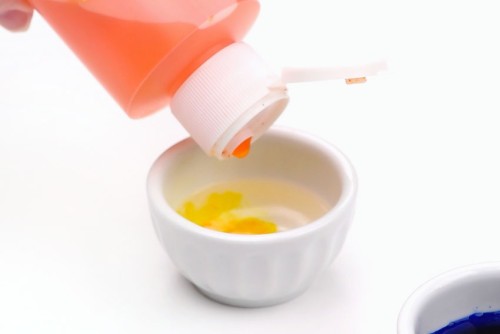
- Add water and liquid watercolour paint into small bowls or a deep paint palette.Add 3 parts water to 1 part paint. You only need a small amount of paint to do many paintings.
- Begin adding paint to the first section of your paper. The raised glue lines make it easy to keep paint contained to one area.Use the tip of the paintbrush to get the paint right up against the glue lines.
- Add fresh paint to the paper where you want the paint to dry darker, and then add drops of water to other areas to spread the paint and create a lighter shade.
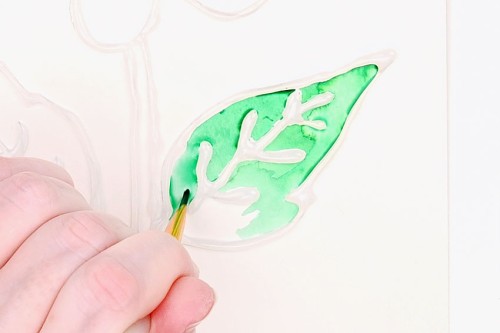
- You can also mix different colours of paint together. Here we added a bit of yellow on top of the green to make a lighter, warmer shade of green.
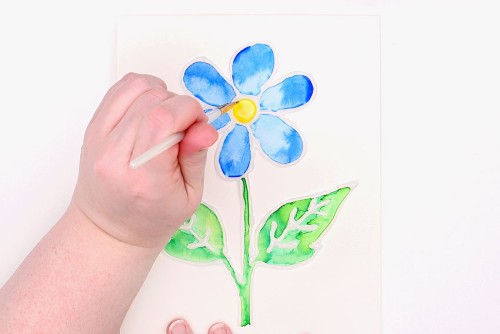
Step 4: Paint the flower petals
- Choose the main colour for your flower and what type of look you want for it.Here we did darker blue on the outside of the petals with large water droplets on the inside of the flower to lighten the colour.
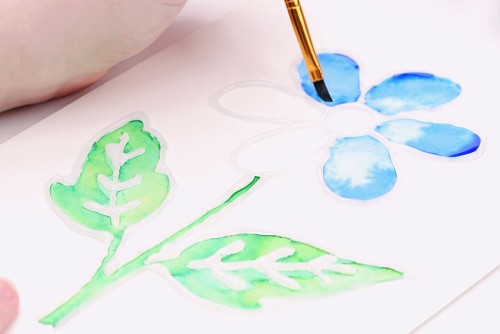
- Finally, fill in the center of the flower and allow it to dry.This should happen quite quickly on watercolour paper, but make sure you don't tilt your paper until all the water is absorbed into the paper.
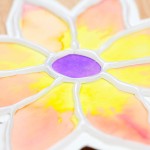
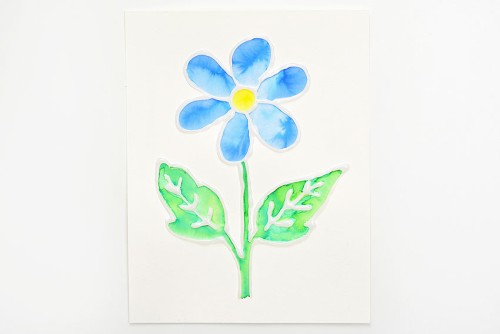
- Your glue gun art flower is complete!
Video
Notes
Looking for more flower crafts? Here's a few of our favourites:
Coffee Filter Hydrangeas
Pressed Flower Lanterns
Pasta Flowers Craft