
How to Make an Origami Tulip
Make an origami tulip in 15 minutes or less! This origami paper craft is simple enough for older kids, but also fun for teens, adults, and seniors.
Yield: 1 origami tulip
Cost: $1
Materials
- 2 sheets Origami paper (pink and green)
Instructions
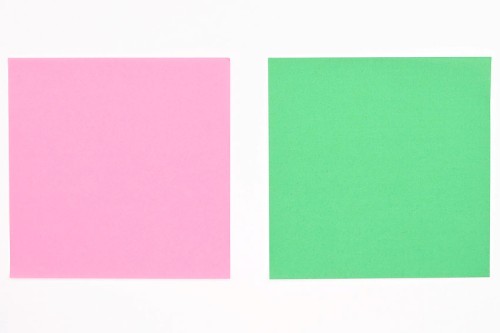
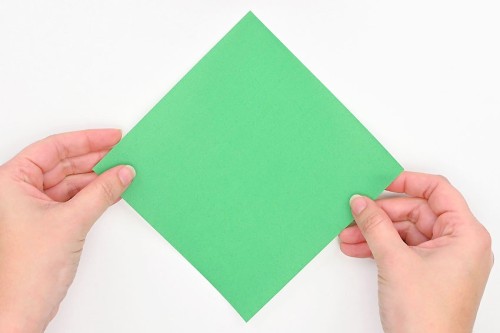
Step 1: Find what you need
- All you need to make this origami tulip is 2 pieces of origami paper -- 1 pink (or another flower colour) and 1 green.
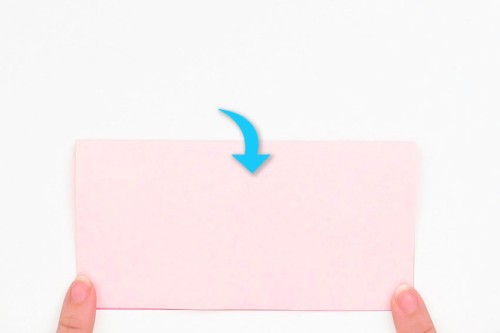
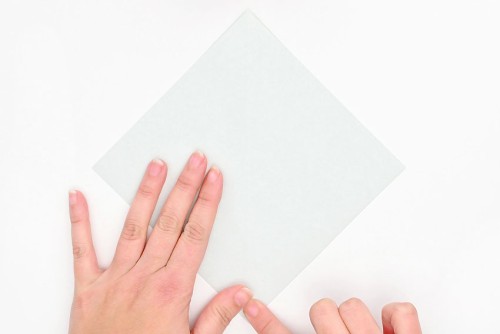
Step 2: Fold the origami paper in halves
- Take the pink piece of paper and fold it in half from top to bottom.If you're using single sided origami paper, start with the coloured side up.
- Open the paper back up.
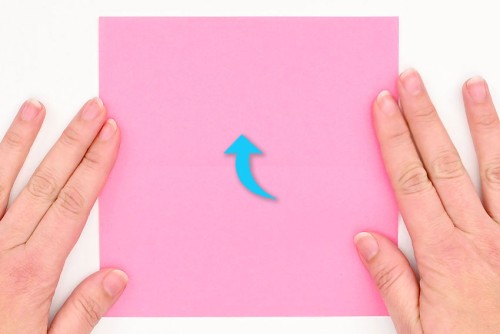
- Now fold the paper in half from right to left.

- Open the paper again. Flip it over so the coloured side is facing down, and rotate it so it looks like a diamond.
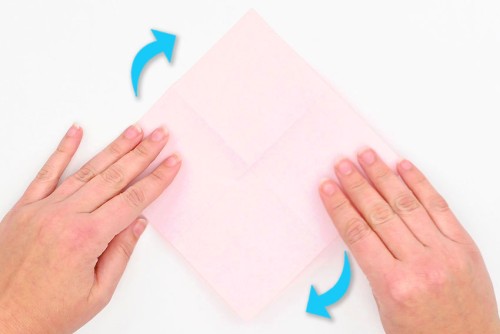
- Fold the paper in half again from bottom to top.

- Open the paper again and rotate it 90 degrees.
- Fold the paper in half one final time, from bottom to top.
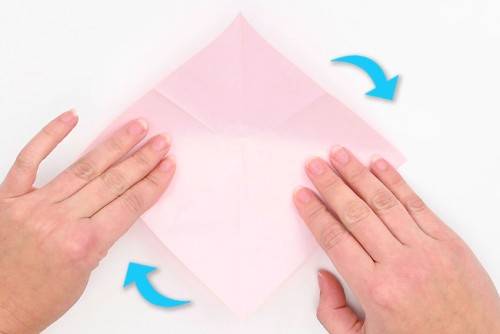
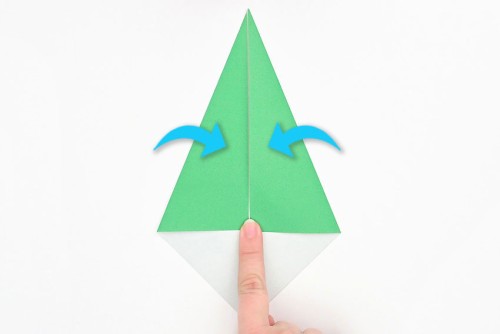
Step 3: Fold the origami tulip
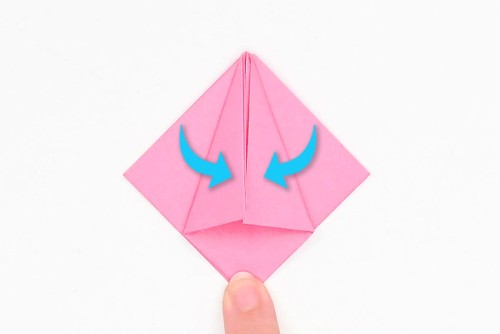
- Flip the paper over to that the long edge is at the top.Push the left and right sides (the top folds) in to the center. The paper should automatically fold into a two layered triangle.
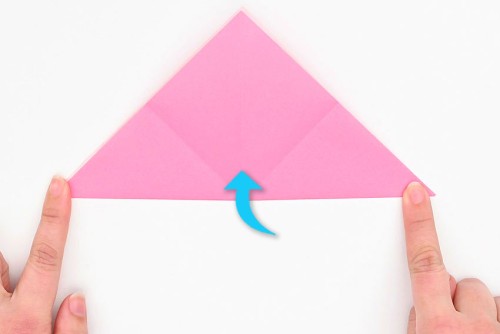
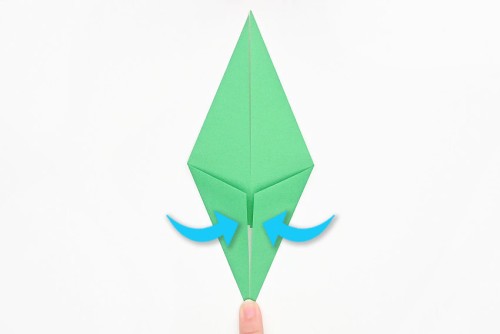
- Fold the top left flap up so that the bottom meets the center and the top points line up.Repeat on the right side.

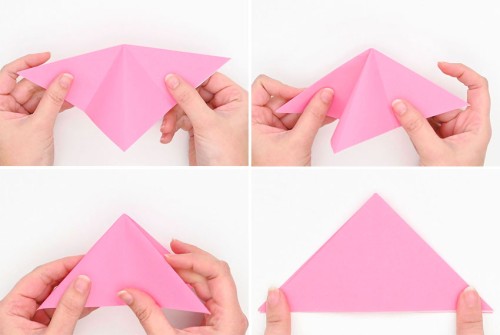
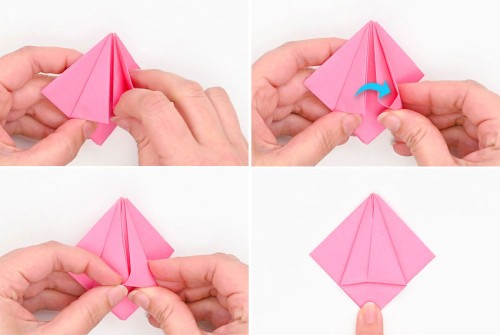
- Flip the paper over.

- Make the same folds with this layer of the paper, bringing the bottoms up to the center, matching the top points.

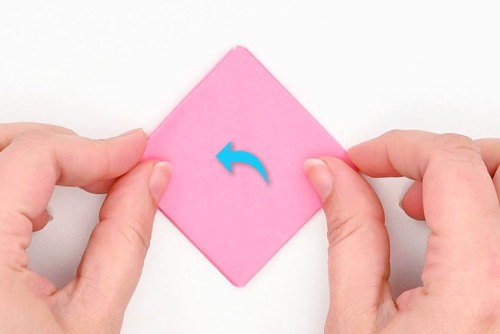
- Fold the top right layer over to the left. Then fold the bottom left layer over to the right.You should now see smooth paper on both the top and bottom, with the loose flaps (created in the previous steps) on the inside.
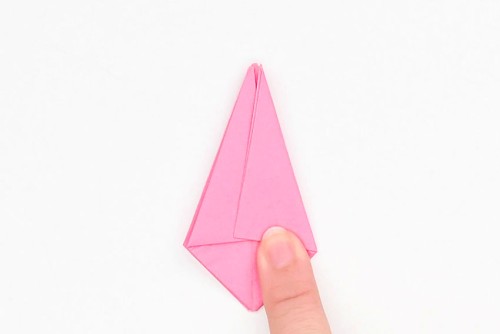
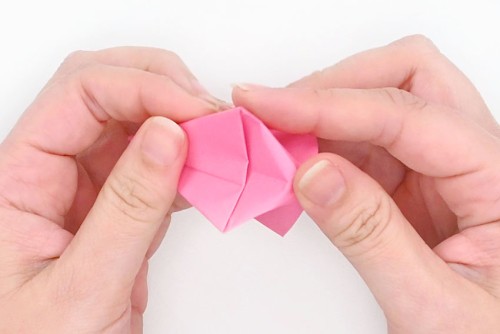
- Fold the top right flap in to the center, so that the point goes just over the center line.Repeat on the left side. The two folds will overlap a little bit.
- Use your fingertip to open up the right side. Push the left fold inside the right pocket to keep it in place.
- Flip the paper over and fold the left side in so that the outside edge matches the other folds. Repeat on the right side.
- Slip the left fold inside the right pocket, just like you did on the opposite side.

Step 4: Form the 3D tulip
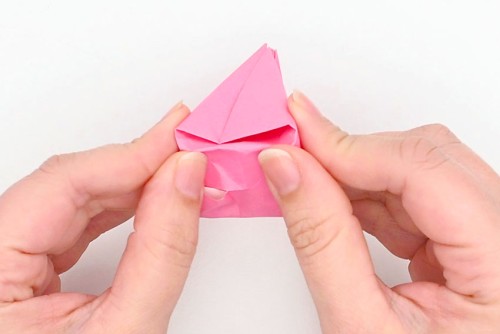
- Open the paper so that it looks like an "X" from above.
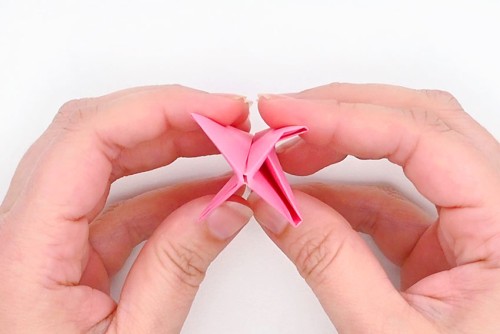
- Push down gently on the center point.
- Rotate the tulip and keep softly pushing on the center until you form a pyramid shape with a flat bottom.
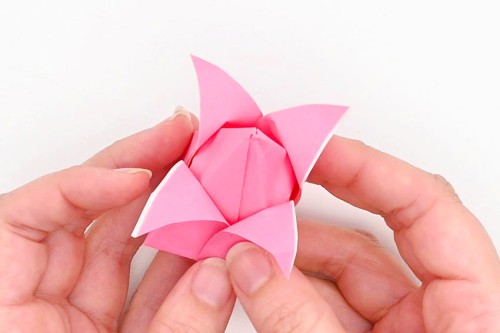
- From the pointy end, fold one of the petals down on a curve (don't crease the fold).
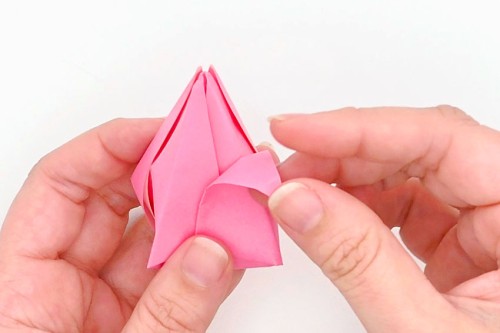
- Repeat with the other 3 petals.
Step 5: Fold the stem
- Use green origami paper to make the stem and leaf of the tulip.Begin by holding the paper colour side up and like a diamond (with the points up and to the side).
- Fold the paper in half from right to left.

- Open the paper up and flip it over, setting it colour side down.
- Fold the right side in so that the right point meets the center.Repeat on the left side.
- Fold the bottom right point in to meet the center.Repeat on the left side.
- Fold the right side in to the center.Repeat on the left side.
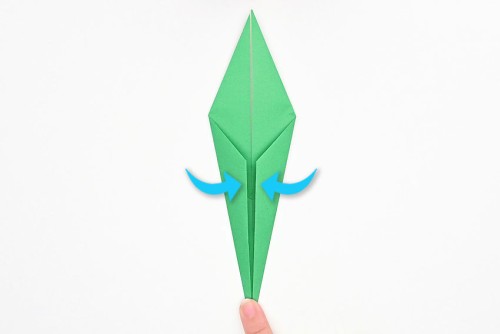
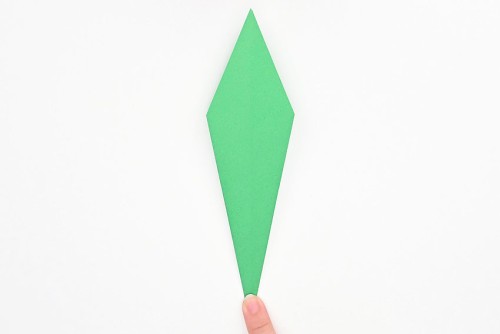
- Flip the paper over.
Step 6: Fold the leaf and combine the two flower parts
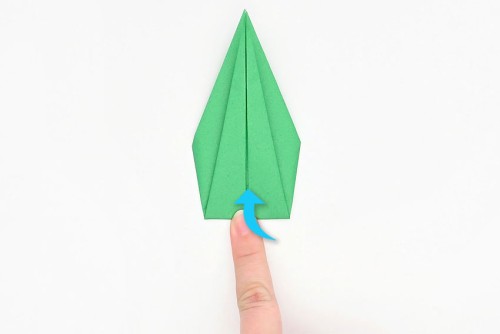
- Fold the bottom point up to the top point.
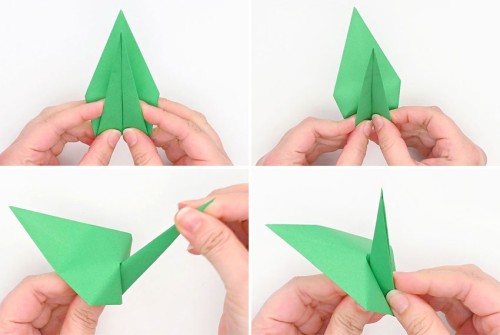
- Grab the top layer of paper and begin folding the edges in toward each other.As you fold the sides in and smooth the fold, the bottom layer should automatically fold down, forming the leaf.
- Attach the tulip head (through the hole in the bottom) to the point of the stem.
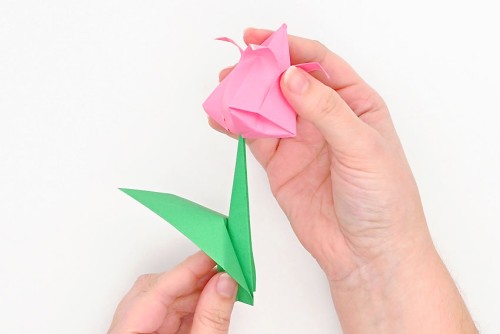
- Continue pushing the tulip down the stem until it's secure.
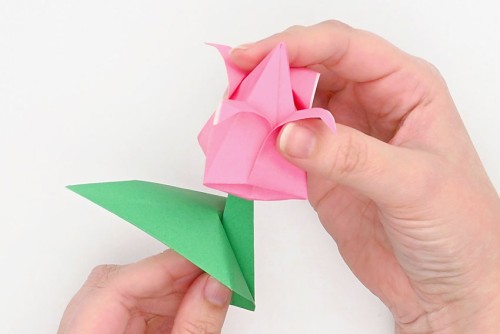
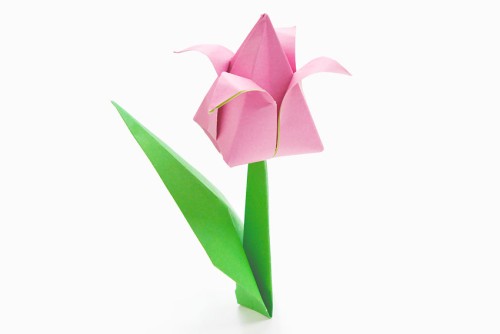
- Your origami tulip is complete!
Video
Notes
Looking for more paper flowers? Here's a few of our favourites:
Crepe Paper Flowers
Rolled Paper Flowers
3D Paper Flowers