
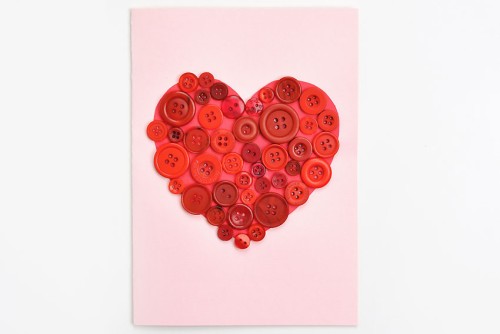
DIY Button Art Heart Card
Make button art for a unique Valentine's Day craft! These DIY button art heart cards are really fun to make for all occasions.
Yield: 1 button art card
Cost: $2
Equipment
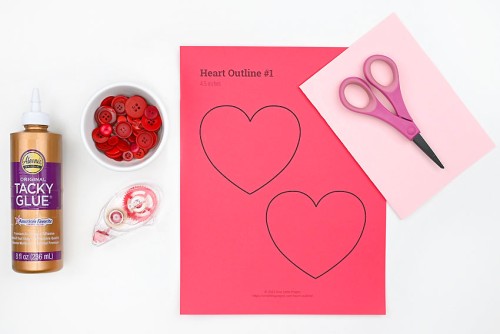
Materials
- FREE Printable Heart Template (printed on coloured cardstock)
- Cardstock (colour of choice; cut to 7 x 10 inches, folded in half)
- Printer paper (cut to 6-1/2 by 9-1/2 inches, or 1/2 inch smaller than card dimensions)
- Glue tape
- Tacky glue
- Buttons (to match cardstock heart)
Instructions
Step 1: Find what you need
- Gather your supplies and materials.
Step 2: Add a heart shape to the card front
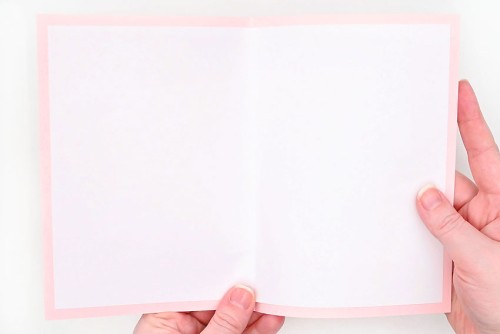
- To start, buy a blank card or make one of your own.We cut a piece of light pink cardstock to 7 x 10 inches and folded it in half. Then we added an insert of printer paper that was 6-1/2 by 9-1/2 inches (1/2 inch smaller than the card).
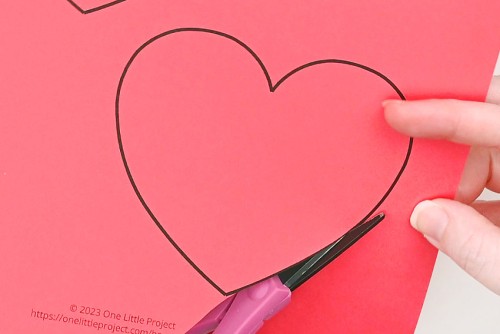
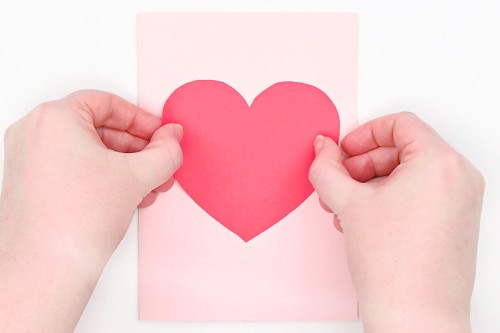
- Print one of our free heart outlines on coloured cardstock and cut out the shape.You can also print on regular paper and then trace the heart onto cardstock.
- Add glue tape to the back of the heart (the side with the black outline).
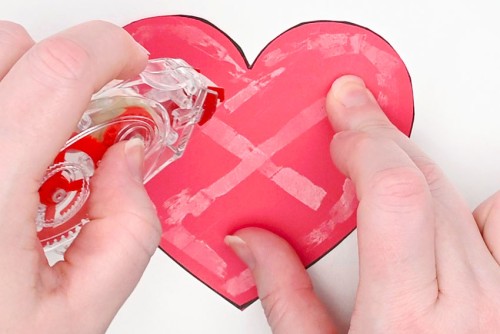
- Place the cardstock heart on the front center of the card
Step 3: Glue buttons to the card
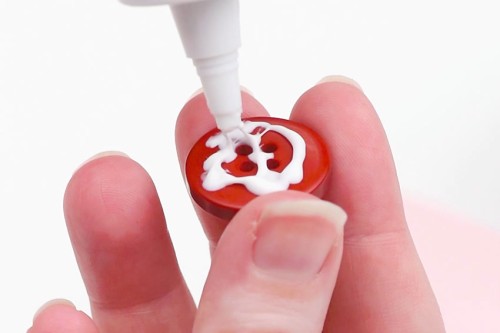
- Choose a button to add to the card and add tacky glue to the back of it.
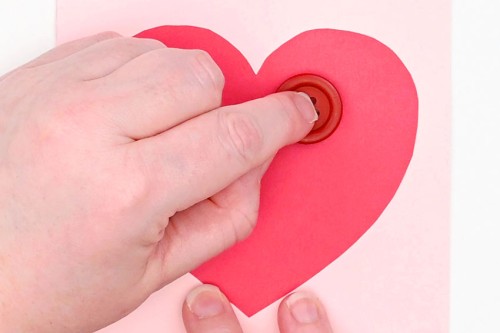
- Place the button onto the card.We placed this button a bit away from the edge, knowing we had smaller buttons to fill in the space. You may want to plan which buttons you're using before gluing them into place.
- Add a second button onto the card. Small buttons work well near the "V" dip of the heart.
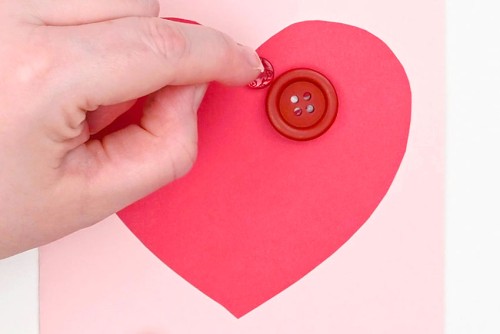
- Continue placing buttons as close together as possible.It's okay if there's a bit of a gap between buttons, or if they go over the edge of the heart a bit.
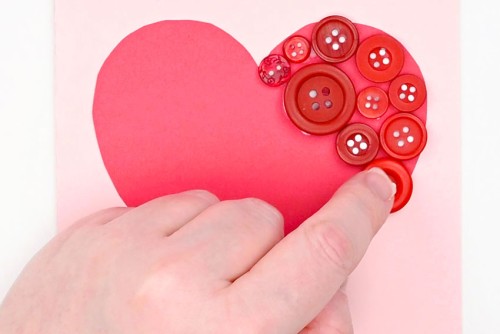
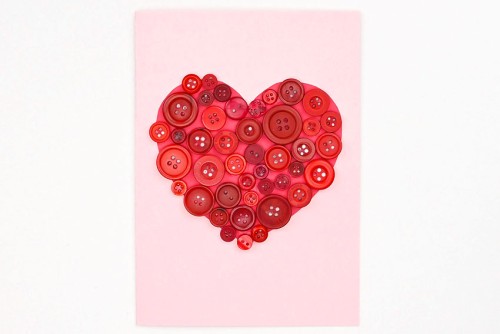
- Continue adding buttons with tacky glue until the heart is full.
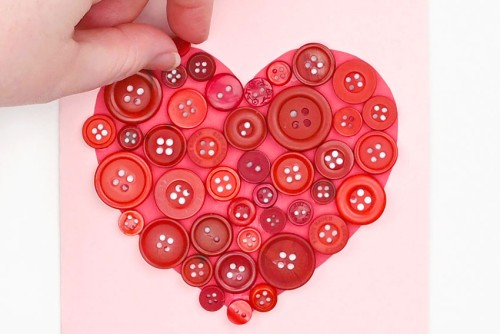
- Allow the glue to dry. This can take several hours.
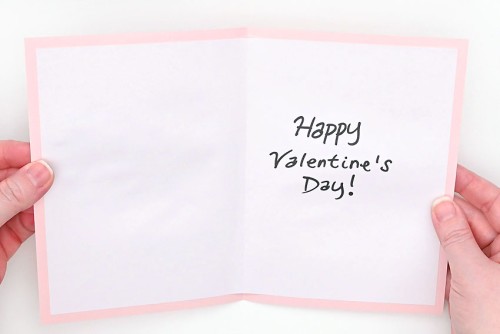
Step 4: Write inside the card
- Write your Valentine's Day message inside the card.You can write a basic greeting, like we did here, or add something like "My heart is yours, Valentine!".
- Your Valentine's day button art card is complete!
Video
Notes
Looking for more homemade cards? Here's a few of our favourites:
Heart String Art Cards
Pressed Flower Cards
Marbled Shaving Cream Heart Cards