How to Make Salt Painted Snowflakes
These puffy line drawings made with glue and salt are so pretty! Salt painted snowflakes are such a great winter craft for kids that's part art project and part science experiment.
Yield: 1 snowflake salt painting
Cost: $1
Equipment
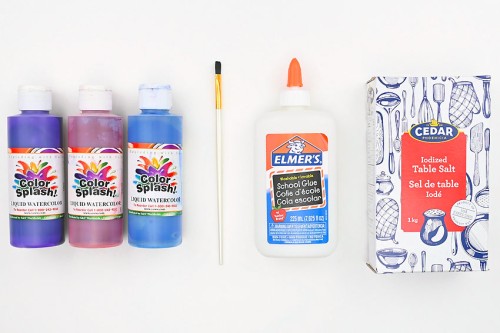
- Small bowls (or deep paint palette)
Instructions
Step 1: Find what you need
- Gather your supplies and materials.
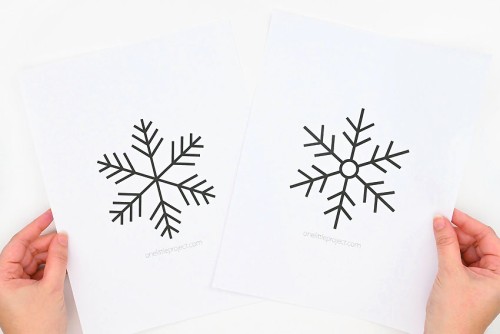
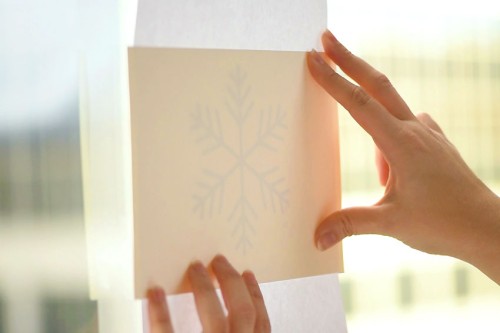
Step 2: Print and trace the template
- Choose and print your snowflake templates. We have 12 different snowflakes available for you (find the link in the materials list above). You can also draw your own snowflake designs.
- To trace the snowflake, place it against a well lit window.You can also put it over a tablet or computer monitor with a blank white screen and the brightness turned up high.
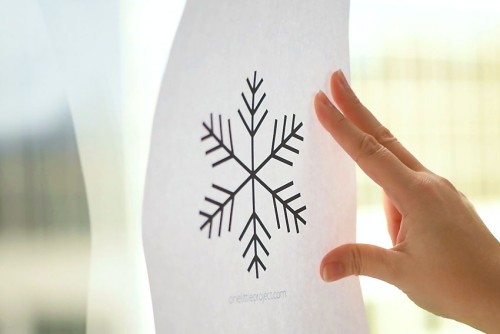
- Next place a piece of watercolor paper on top of the template. You should be able to see the snowflake through the paper.
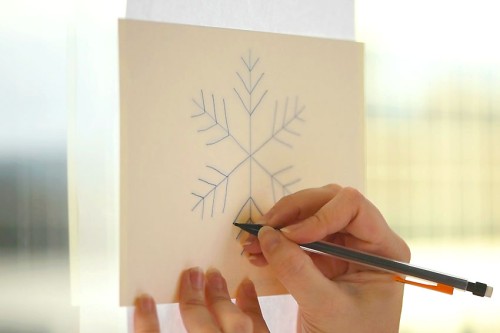
- Use a pencil to trace the lines of the snowflake onto the watercolor paper.
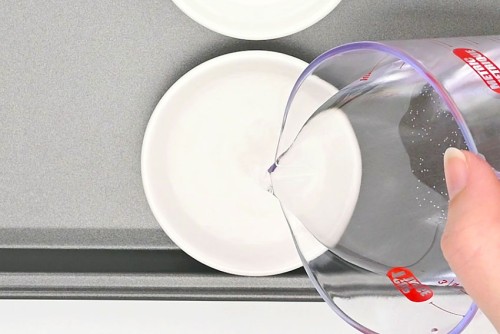
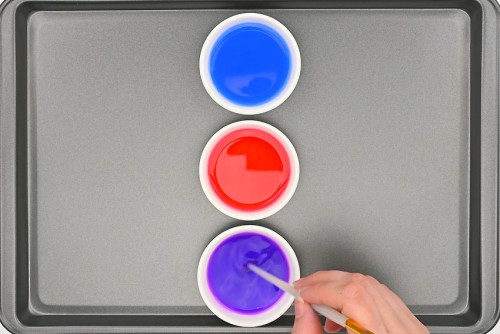
Step 3: Mix the liquid watercolor paint
- Pour a little bit of water into a deep paint palette or into small bowls (1 section or bowl per colour).
- Add 1 - 2 drops of paint to each bowl. This will create a pastel colour.If you'd like brighter coloured snowflakes try to make a mixture of 3 parts water to 1 part paint.
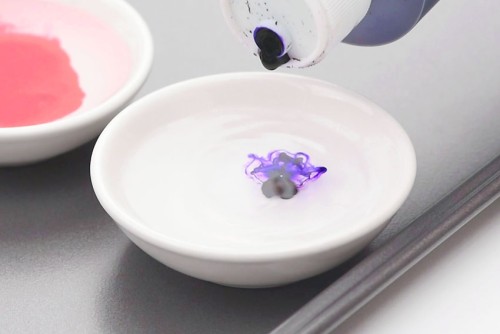
- Use the top end of the paintbrush to mix the paint into the water.
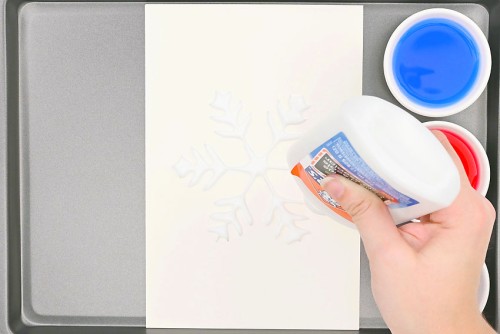
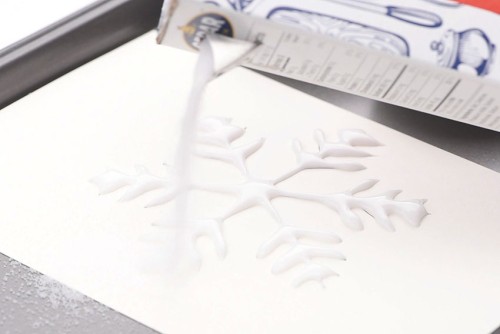
Step 4: Add glue and salt to the paper
- Trace the lines of the snowflake with white glue.
- Pour a generous amount of salt on the glue, making sure it's completely covered.
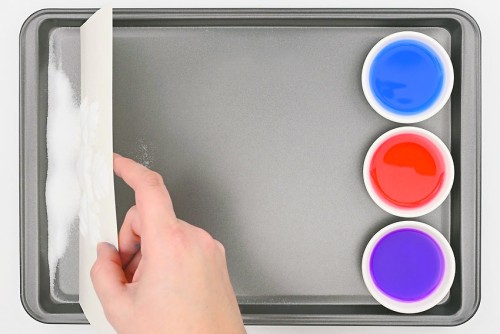
- Tilt the paper and let the extra salt fall off.You can put the paper upside-down briefly, but don't tap or shake the paper -- it can cause too much salt to fall off, and the glue may flatten.You can re-use this extra salt for your next painting.
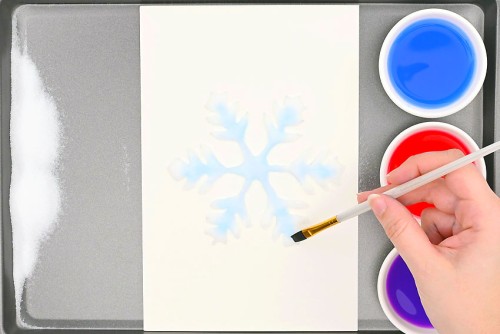
Step 5: Add paint to the raised salt
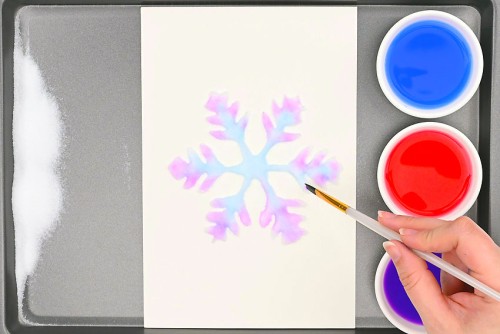
- Dip your paintbrush in the paint. Then lightly touch the brush to the salt-covered glue.Watch as the paint spreads, like magic, across the salt!

- Continue adding a little bit of paint at a time, and enjoy watching the paint spread across the salt.
- You can use different colours of paint on one snowflake. For this snowflake we added a second colour to the tips.
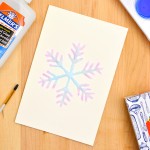
- Your snowflake salt painting is complete!Have fun experimenting with different designs and colours.

Video
Notes
Looking for more snowflake crafts? Here's a few of our favourites:
Salt and Watercolor Snowflake Art
Perler Bead Snowflake
Pasta Snowflakes