
How to Make a Perler Bead Snowflake
Create a Perler bead snowflake using our free printable patterns and melty beads! Then turn them into fridge magnets or Christmas ornaments. Scroll past the tutorial for even more ways to use them!
Yield: 1 melty bead snowflake
Cost: $1
Equipment
Materials
- Free Printable Perler bead snowflake pattern (more templates below)
- Perler beads
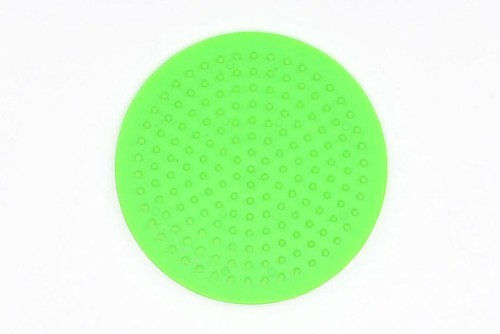
- Perler beads pegboard (small circle)
Instructions
Step 1: Find what you need
- Gather your supplies and materials.The link to one of our free printable snowflake templates is in the materials list above. The other can be found below this tutorial.

Step 2: Make your Perler bead snowflake on the pegboard
- To make your Perler bead snowflake you'll need to use a small circular pegboard.We also like to set out the Perler beads we want to use in small bowls (this is especially helpful when you're using different colours).
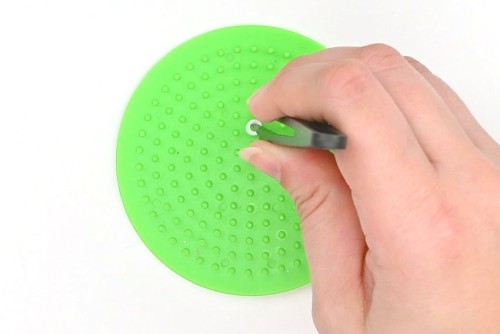
- Optional: Use tweezers to add Perler beads to the pegboard.Kids may be able to place the beads easily with just their hands, but adults will find the tweezers a lot easier to use!
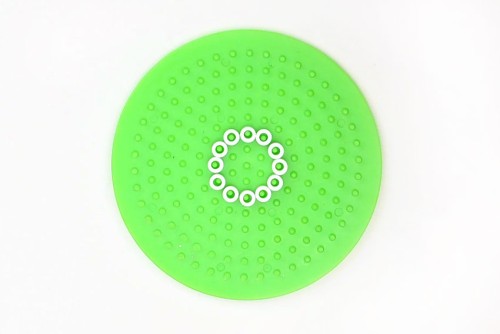
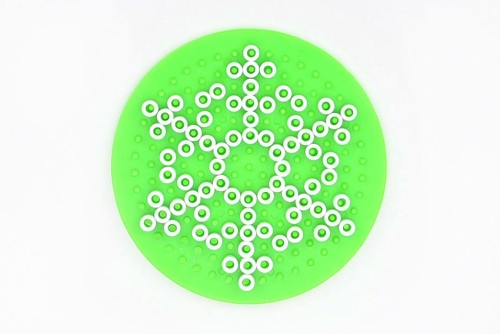
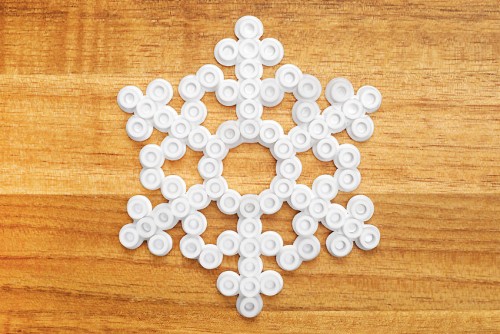
- To make a Perler bead snowflake you'll want to start in the center.This snowflake has a circle of beads in the middle, a couple of rows out from the very center.
- Follow the pattern and create the 6 identical lines coming out from the circle.
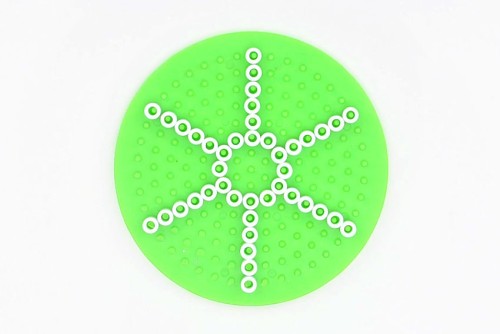
- Now add in the beads that connect the 6 sections.
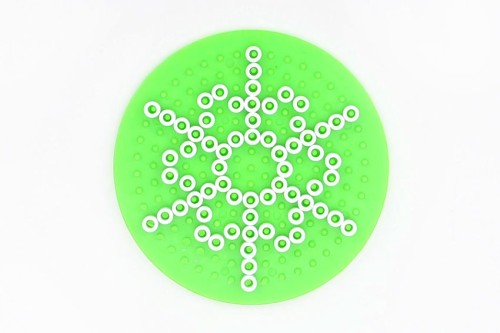
- Add the last beads and then double check your design.Compare the snowflake to the template one last time to make sure it's exactly how you want it to look.
Step 3: Iron the snowflake
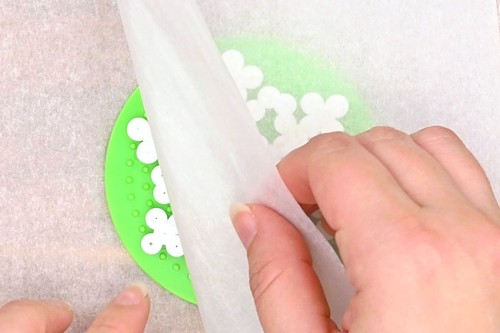
- Put the pegboard on an ironing board or a wooden cutting board. Place a piece of parchment paper over top of the Perler bead snowflake.Heat your iron to medium temperature, no steam. Place the iron on the parchment paper and move it around in circular motions for at least 15 to 20 seconds.

- Check the beads to see if they're melted together. Continue to iron for another 10 to 20 seconds, if necessary.The beads are melted correctly when the parchment paper sticks to the beads and needs to be peeled away from them.
- Leave the snowflake design on the pegboard until it's cool to the touch.
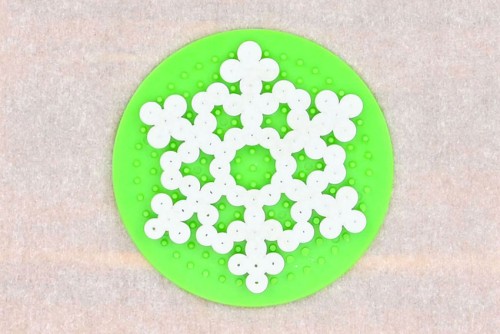
- Your Perler bead snowflake is complete!
Video
Notes
Looking for more snowflake crafts? Here's a few of our favourites:
Pasta Snowflakes
Beaded Christmas Ornaments
Snowflake Pipe Cleaner Ornament