How to Make Christmas Wax Melts
It's so easy to make your own Christmas wax melts! Make adorable holiday shapes from wax and let them melt to give your home a welcoming Christmas scent.
Yield: 15 Christmas wax melts
Cost: $3
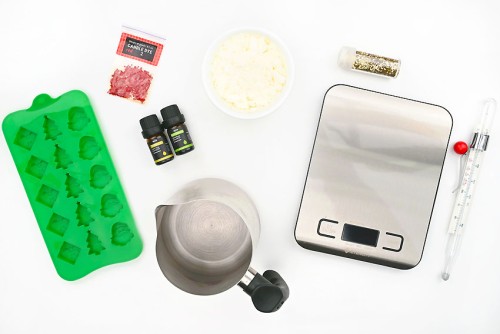
Equipment
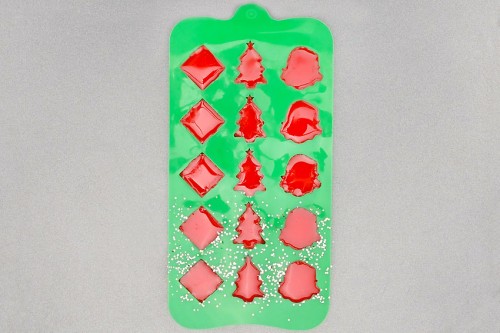
- Christmas silicone mold (these are the exact ones we used)
Materials
- 2 ounces Soy wax (we used Golden Brands 444)
- 2 pinches Wax dye (red or green)
- 0.12 ounces Vanilla and Peppermint essential oils (or other Christmas scent)
- Chunky glitter (gold or colour of choice)
Instructions
Step 1: Find what you need
- Gather your supplies and materials.
Step 2: Melt the wax and dye
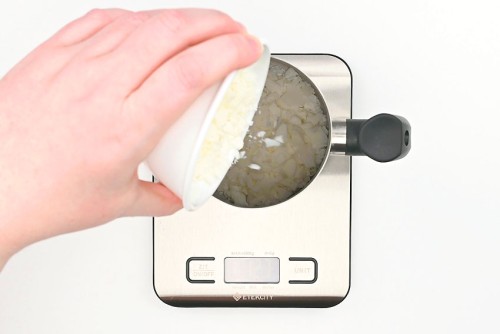
- Weigh out 2 ounces of wax into a melting pot.This amount should fill a small silicone tray. Our tray is about 4 x 8 inches and makes 15 wax melts that are roughly 1 inch in size and 3/8 inch deep. Adjust the amount of wax, as needed.
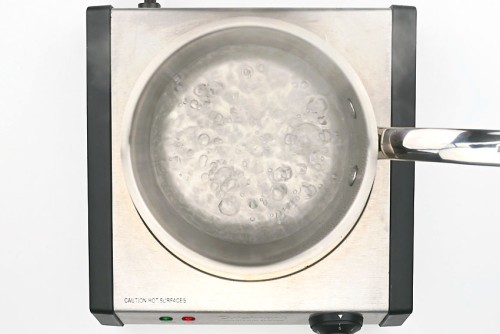
- Add about 1 inch of water to a saucepan and bring it to a boil over high heat.Once the water boils, reduce the temperature to low.
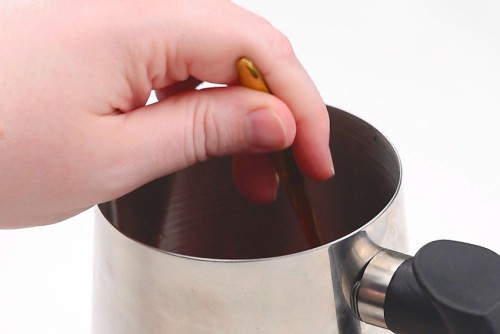
- Insert the melting pot into the simmering water and add a couple pinches of wax dye.The exact amount of colour needed will depend on how light or dark you'd like your wax melts to be. Read more tips below the tutorial for adding colour to wax.
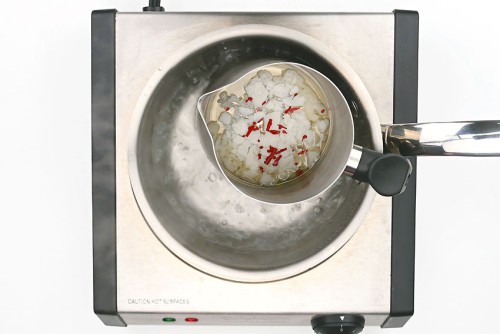
- Stir gently to combine the melting wax and the wax dye.
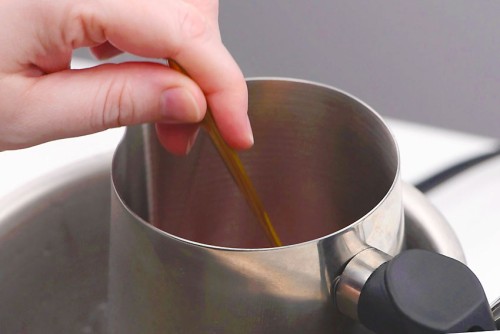
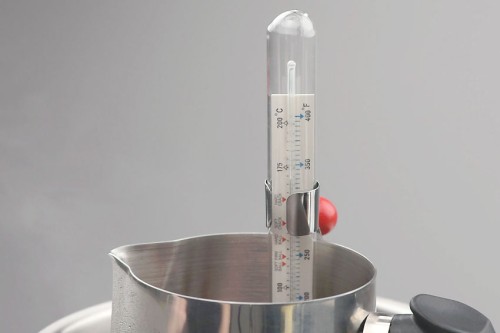
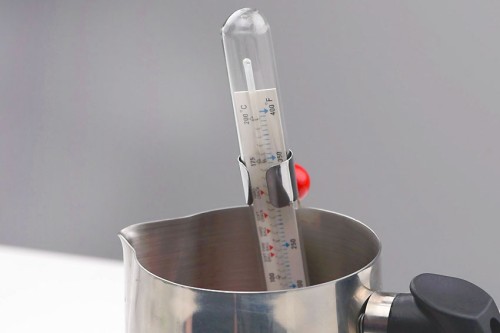
- Once the wax is liquid, add the thermometer into the melting pot.Heat the wax to 175F.
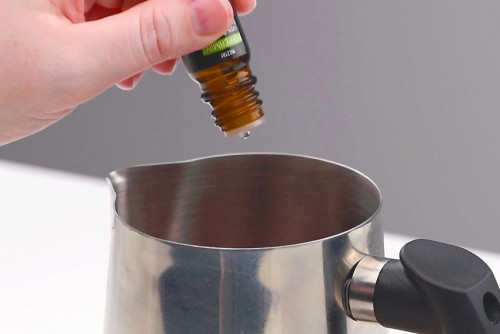
Step 3: Add the essential oils
- Remove the melting pot from the water and place the pot on the scale. Tare the scale to zero and weigh in the essential oils (0.12 ounces).We used a combination of peppermint and vanilla oils, but you can use whatever scent you'd like (read below for some suggestions!).
- Stir the wax gently and slowly for about 2 minutes to combine the ingredients.
- Cool the wax until it's between 110F to 120F.
Step 4: Pour the wax into the mold
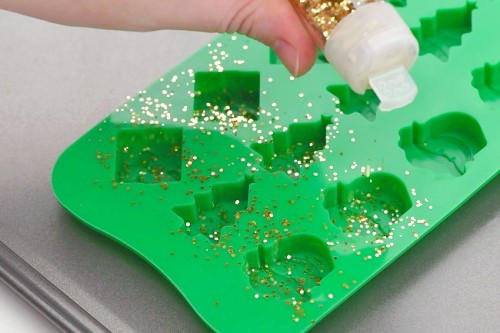
- While the wax is cooling you can set up your tray. Set the silicone mold on a baking sheet to support it, and then add a sprinkling of glitter to some (or all) sections of the mold.We used a chunky gold glitter on some of our melts, but you can also use a fine glitter in a complimentary colour. The smaller glitter adds a more subtle shimmer.
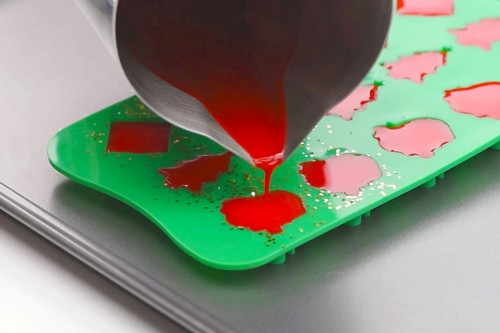
- Once the wax is at pouring temperature, pour it into the mold slowly but steadily.
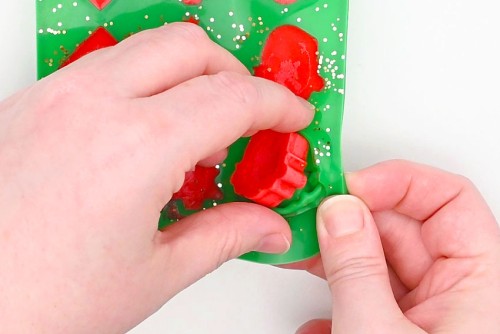
- Allow the wax to harden.Don't move or disturb the wax as it sets. The melts should be hard within 3 - 4 hours.
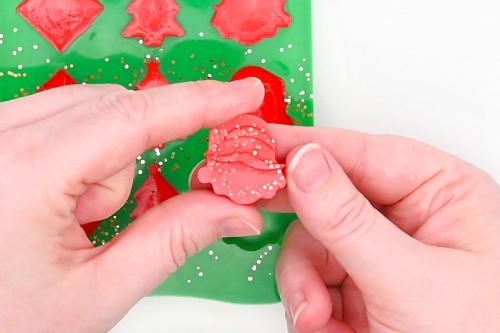
- Ideally you should let the wax "cure" for a few days before using the wax melts. This helps the wax and oil to fully combine, and allows the wax to harden.Remove the shaped wax cubes by pressing on the bottom of the silicone mold.
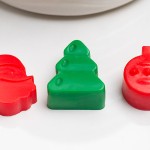
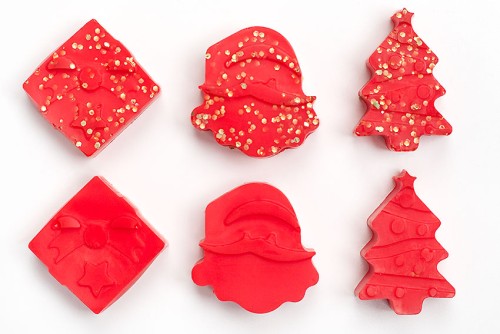
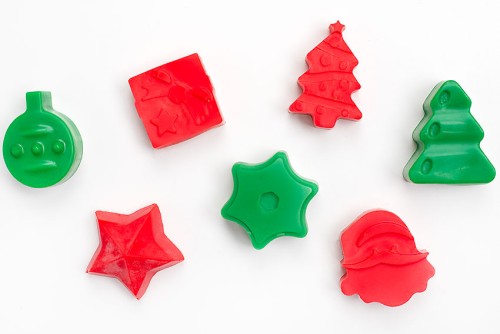
- The silicone molds give you a really detailed Christmas wax melt, and the glitter adds a fun holiday element.
- Your Christmas wax melts are complete!
- Now enjoy making more wax melts in fun Christmas shapes and colours.
- Add 1 - 3 wax melts into your wax warmer. More wax melts equals more scent.
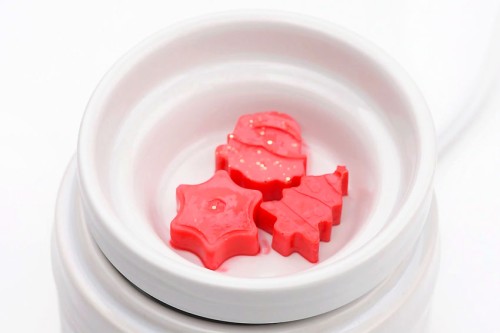
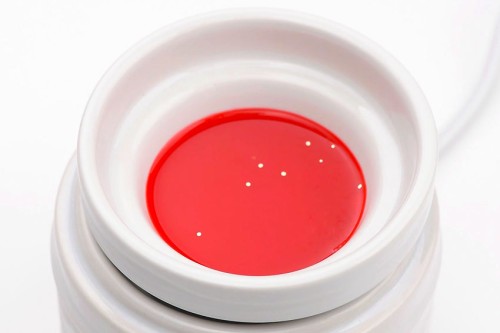
- The shapes will slowly melt down into a pool of liquid wax.
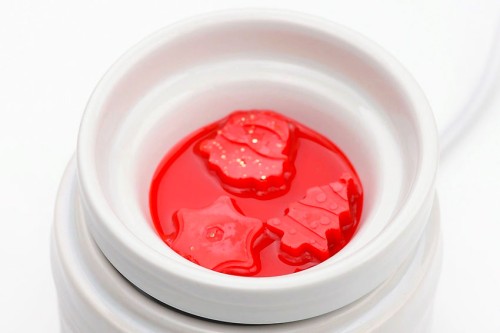
- Enjoy as the holiday scent fills your home!
Video
Notes
Looking for more scented DIY projects? Here's a few of our favourites:
How to Make Wax Melts
DIY Gel Air Freshener
How to Make Bath Bombs