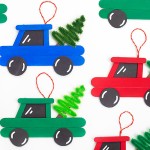
How to Make a Popsicle Stick Truck
This popsicle stick truck ornament is SO CUTE! Make a Christmas tree truck using simple supplies -- it's a fun winter craft for both kids and adults.
Yield: 1 popsicle stick truck
Cost: $1
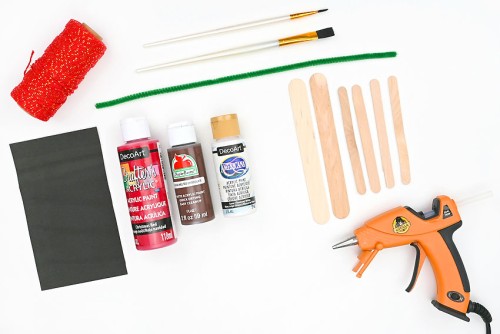
Materials
- 4 Popsicle sticks
- 2 Large popsicle sticks (aka tongue depressors)
- Black craft foam
- Acrylic paint (white, brown, red)
- Green pipe cleaner
- Red metallic baker's twine
Instructions
Step 1: Find what you need
- Gather your supplies and materials.
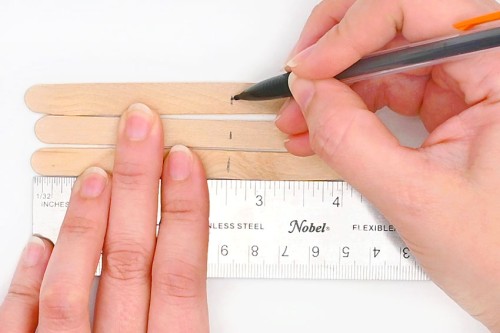
Step 2: Gather and cut the popsicle sticks
- To begin making the popsicle stick truck, line up 3 of the regular sized popsicle sticks.

- Use a pencil to mark 2-1/2 inches in on each of the popsicle sticks.
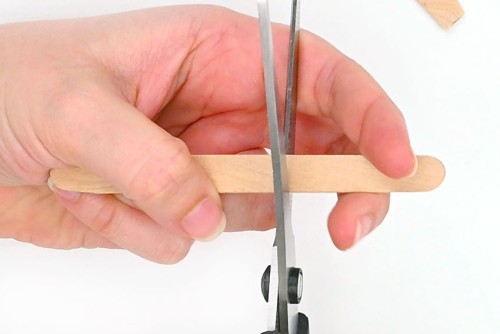
- Cut the popsicle sticks on the marked lines.If your scissors won't cut through the popsicle stick easily, you can also use a craft knife to score the wood and then snap them.Try to round off the cut edges on one of the popsicle sticks to match the other side. This will be the top of the truck.
- Keep the 2-1/2 inch long sections of the popsicle sticks and discard the other parts. Then bring in 2 jumbo popsicle sticks.
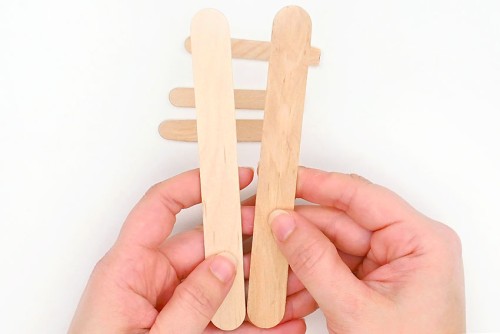
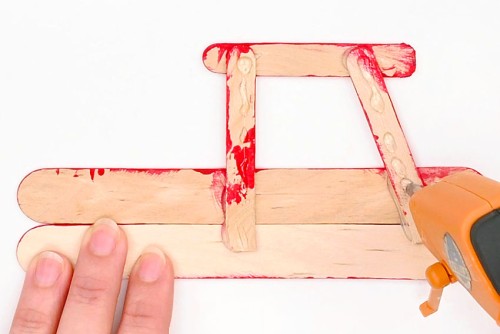
Step 3: Put together the truck base
- Arrange the popsicle sticks into a truck shape.Place the 2 tongue depressors horizontally along the bottom. Then set a short popsicle stick down (the one with the rounded edge) about 1 inch above them and in about 1 inch from the right side.Connect these pieces vertically with the other 2-1/2 inch craft sticks. Place the left one straight up and down, and arrange the right one on an angle inwards (pointing to the left).
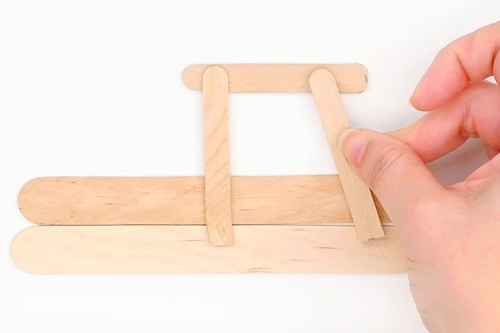
- Use dots of hot glue or tacky glue to connect the popsicle sticks together. Make sure the vertical popsicle sticks extend down to the bottom tongue depressor so the glue can hold them together.
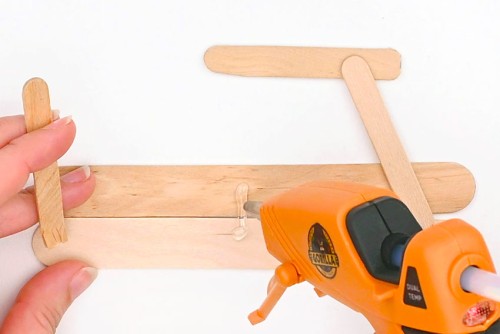
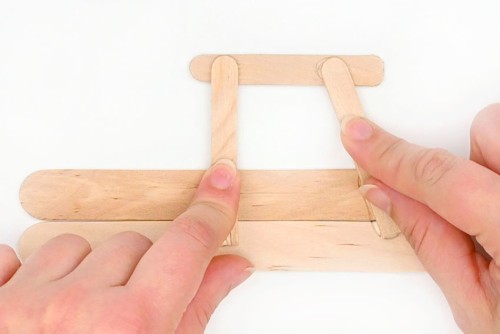
- Repeat, adding glue so that all 5 popsicle sticks are connected together.
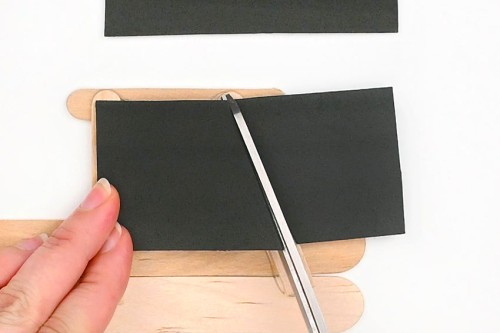
Step 4: Make the truck's window and tires
- Cut a piece of black craft foam to fit over the truck's window.
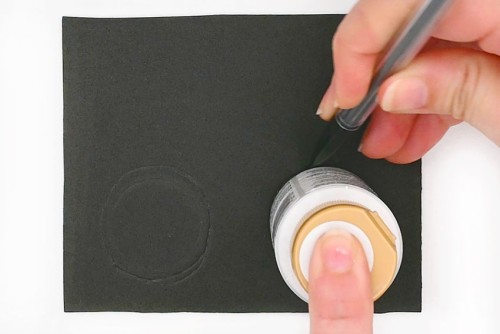
- Draw two circles, about 1-1/4 inches in diameter, onto the black foam. We traced the bottom of a paint bottle to make our circles.
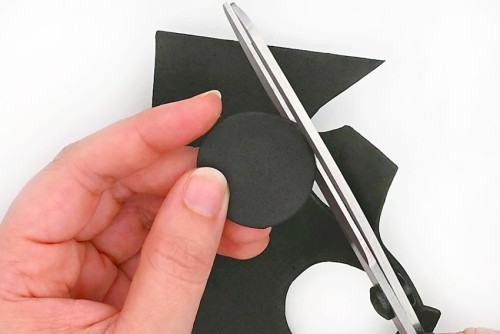
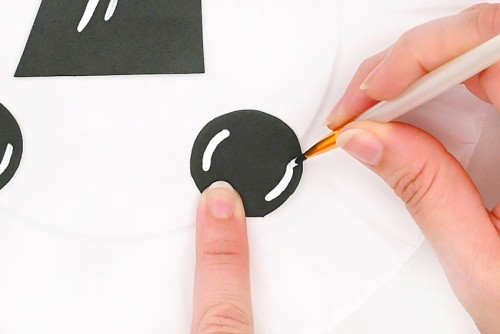
- Cut out both foam circles, which will be the truck's tires.
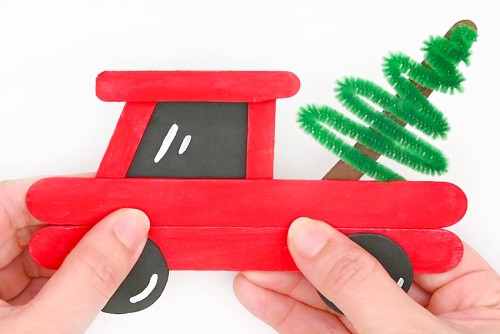
- Use a fine tip paintbrush and white acrylic paint to draw reflections (short diagonal lines) on the truck's window.
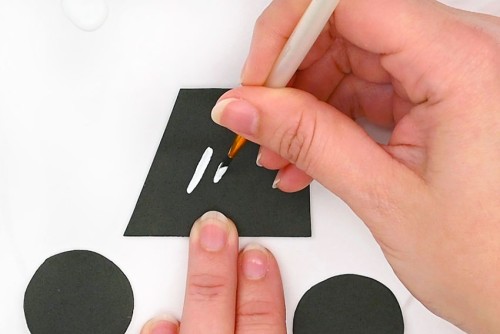
- Add 2 curved lines around the outside of each tire using the white paint.
Step 5: Paint the truck and make the Christmas tree
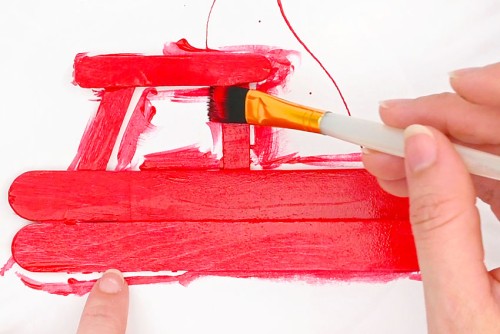
- Paint the front of the popsicle stick truck a nice Christmas red (or blue, green, or any other colour you like!).
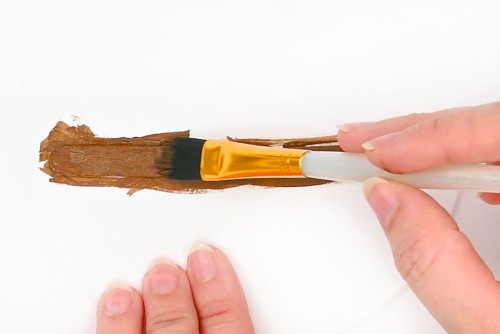
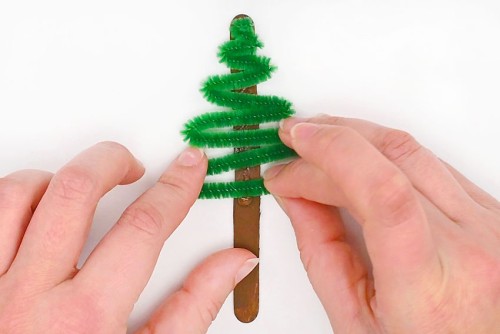
- Grab your 4th popsicle stick and paint the front of it brown. This will be the Christmas tree's trunk.
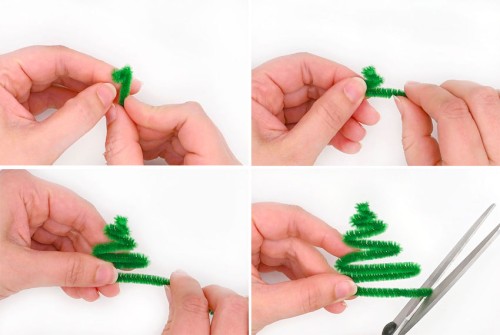
- While the paint is drying you can make the pipe cleaner Christmas tree.Bend the end of the green pipe cleaner down about 1/4 inch, and then bend it back in the opposite direction, so the next row is a little bit longer.Continue bending the pipe cleaner in a zigzag pattern that gets gradually longer each time, until you reach the end. If there's a little bit extra left at the end of the pipe cleaner you can cut it off.
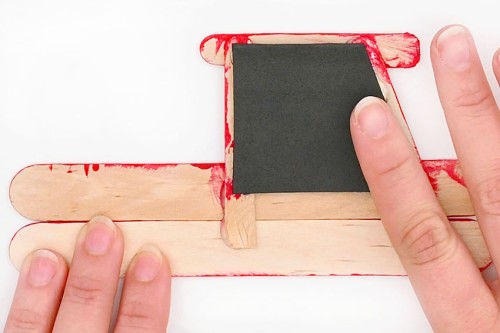
Step 6: Connect the parts of the truck
- Flip the painted truck over and add glue to the back of the window area.
- Place the foam window into place, making sure the painted side is face down.
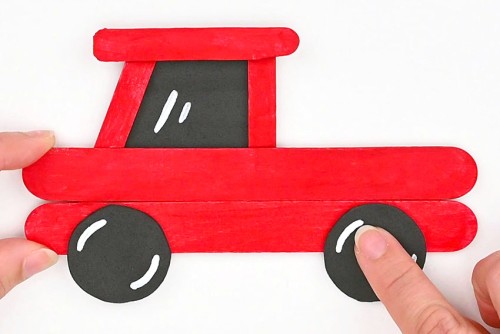
- Flip the truck back over and glue the wheels at the front and back of the truck, so that they're sticking out the bottom about 1/2 way.
- Add hot glue to the top half of the brown popsicle stick.

- Set the pipe cleaner tree into the glue on the trunk.
- Then glue the bottom of the trunk onto the back of the truck. We found it helpful to attach the tree to the truck while looking at it from the front so you can find the best looking angle for the tree.
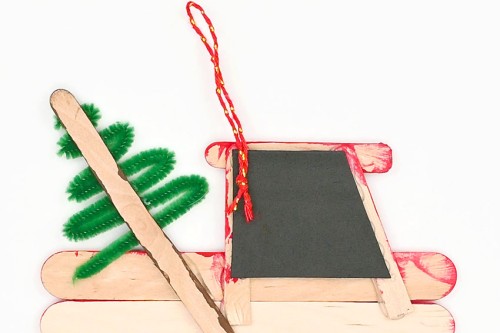
Step 7: Add an ornament hanger
- Cut a piece of ribbon or twine to about 6 inches long. Tie a knot in the ends, creating an ornament hanger.Place it on the back of the truck, near the top center.
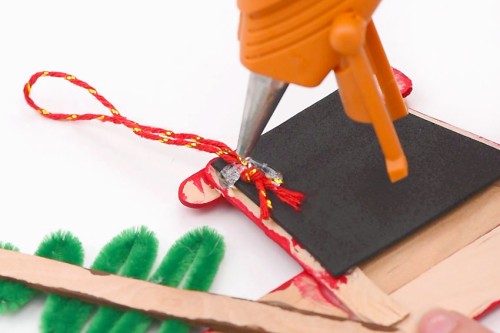
- Add hot glue over the bottom of the hanger, securing it in place.
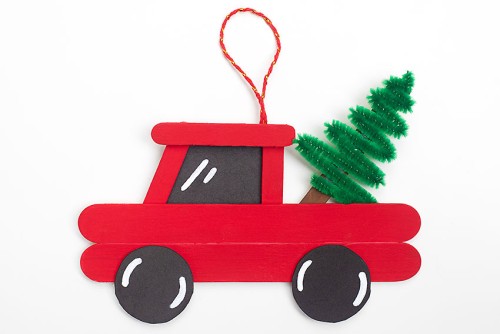
- Your Christmas popsicle stick truck is complete!
Video
Notes
Looking for more popsicle stick crafts? Here's a few of our favourites:
Popsicle Stick Door Ornament
DIY Popsicle Stick Snowflakes
Popsicle Stick Arctic Wolves