
DIY String Christmas Tree
Make this string Christmas tree using twine and tacky glue. It's a fun and easy Christmas craft for kids and adults, and it's such a cute piece of DIY holiday decor.
Yield: 1 string Christmas tree
Cost: $2
Materials
- FREE Printable String Christmas Tree Template
- Tacky glue
- Water
- Twine (2mm or size of choice)
- Pearl stickers (5mm)
- White LED string lights (battery operated or plug-in)
Instructions
Step 1: Find what you need
- Gather your supplies and materials.

Step 2: Make and cover the cone base
- Print our free string Christmas tree template on cardstock. This template allows you to make 3 different sizes of trees.To make more than one size of tree, print off multiple copies of the pattern.

- Cut out along the line for the size of tree you'd like to make.

- Roll the cardstock into a cone shape.

- Secure the cone in place with a couple pieces of tape.
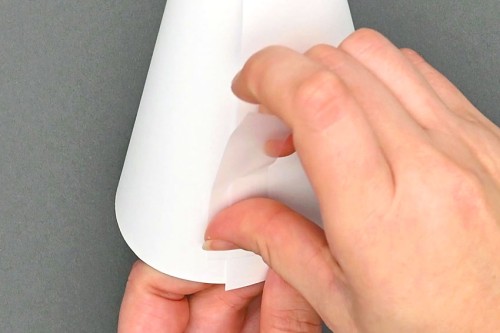
- Cover the cone in plastic wrap. Tuck any extra at the bottom inside the cone.

Step 3: Mix the glue and add the twine
- Add a generous amount of tacky glue into a bowl.

- Pour roughly the same amount of water as glue into the bowl (a 1:1 ratio).

- Stir to combine the glue and water. Be careful and stir slowly, so you don't splash the water out of the bowl.

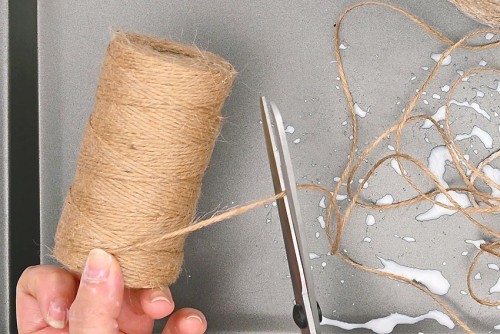
- Keeping the twine attached to the roll, unwind a long amount (about 20 inches) and set it into the glue bowl.

- Use a plastic fork to push the twine down into the glue mixture.

- Pull the end of the twine through the tines of the fork to remove the excess glue.

- Repeat, soaking more of the twine in the glue until you've soaked about 4 feet of twine. Don't cut the twine.

Step 4: Wrap the string around the cone
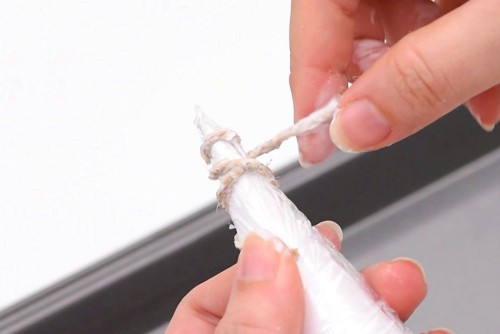
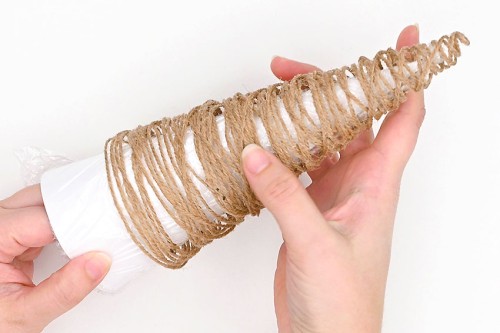
- Hold the end of the twine against the cone, about 1.5 inches from the top point. Then wind the twine around the point of the cone and around the end of the twine so the end stays in place.
- Continue wrapping the twine around the cone, moving down towards the bottom.It's okay to have wider gaps at first as you wrap, but make sure you fill them in later.
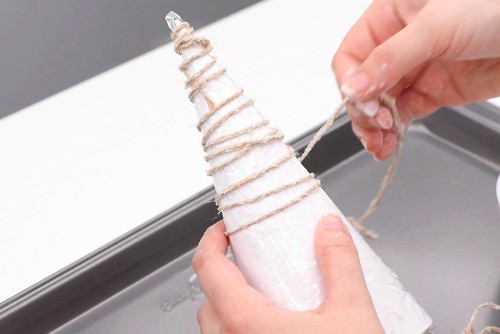
- Continue wrapping until you run out of glue soaked twine.Add more twine into the glue, remove the excess, and continue wrapping. You can do a little bit of twine at a time, or try to estimate exactly how much more you'll need.

- Continue wrapping the twine around the cone until you're happy with how the tree looks.There shouldn't be any big spaces that aren't covered by twine, since the more gaps there are, the more unstable the tree will be.Make sure that the bottom of the tree is especially well covered and evenly wrapped.
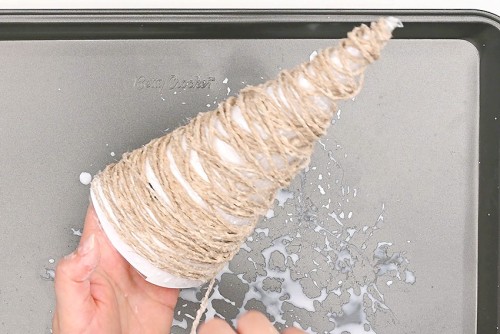
- Once you're happy with the amount of twine you've used, cut off the twine from the roll.Dip this last bit of twine, run it through the fork tines and wrap it around the tree. Make sure the end of the twine is secure by either tucking it under another piece of twine or pressing the last 2 inches against a neighbouring length of twine.
- Allow your string tree to dry overnight.

Step 5: Decorate your string Christmas tree
- Carefully remove your string tree from the cardstock form. The glue may be stuck in a couple of places. If it is, simply push the cone in and pull the plastic away from the tree.Then the string tree should slide off easily.
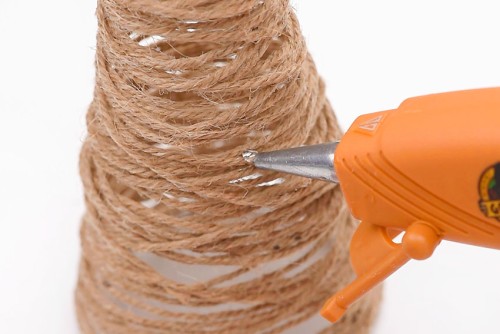
- Use craft pearls to decorate the tree. Add a small dot of hot glue to the tree where you'd like the pearl to go.
- Then press the pearl into the glue.
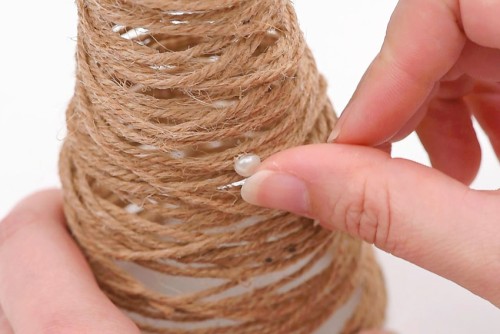
- Continue attaching the pearls to the tree, randomly like little Christmas ornaments.

- Once you're happy with the number of pearls you can add some string lights inside the tree. We used battery operated string lights from the dollar store.
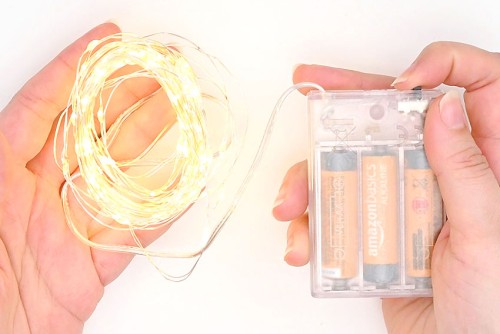
- Bunch up the string of lights and push them up inside the tree.If the battery pack fits, you can place it inside the base of the tree. Otherwise, hide it behind the tree or another piece of Christmas decor.
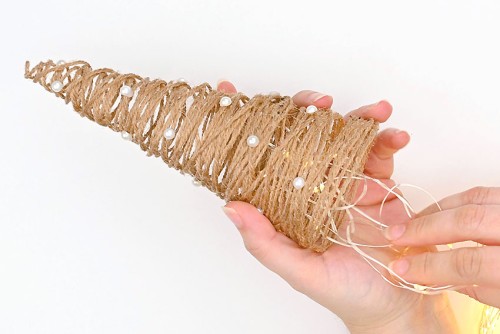
- Your string Christmas tree is complete!

Video
Notes
Looking for more string Christmas crafts? Here's a few of our favourites:
Twine Ball Ornaments
Wrapped Yarn Ornaments
Christmas Tree String Art