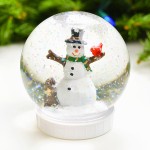
How to Make a Snow Globe
Make your own DIY snow globe by filling a dollar store snow globe with glitter and Christmas decorations. It's such a fun winter craft for both kids and adults!
Yield: 1 DIY snow globe
Cost: $5
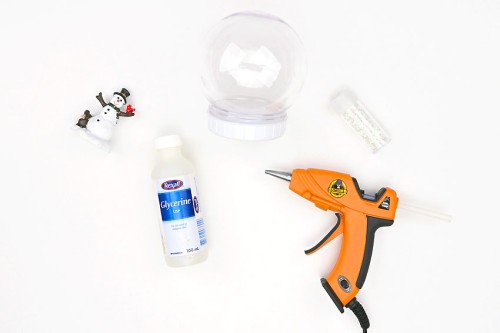
Equipment
Materials
- Plastic snow globe
- Christmas village figurine
- 1 Tablespoon Glycerin
- Water
- Iridescent glitter
Instructions
Step 1: Find what you need
- Gather your supplies and materials.
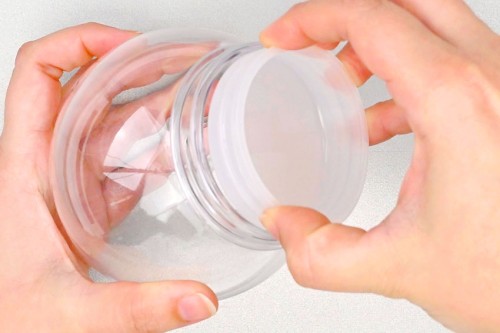
Step 2: Add your figurine to the snow globe
- Pull apart your snow globe. There should be the clear plastic globe, a seal, and an outside lid.
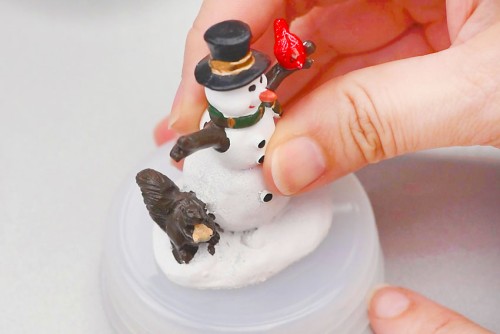
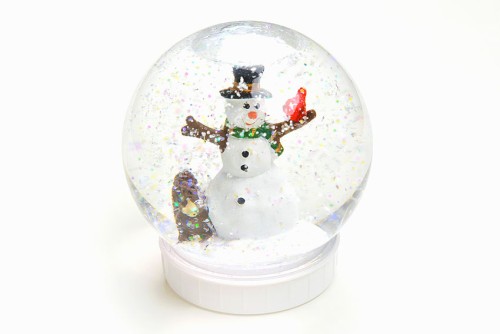
- Choose what you'll add to your snowglobe. We used a Christmas village snowman for ours.
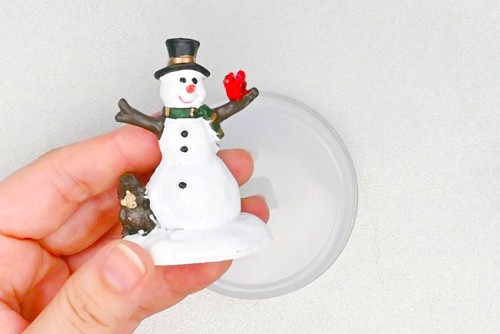
- Add hot glue to the bottom of the figurine.
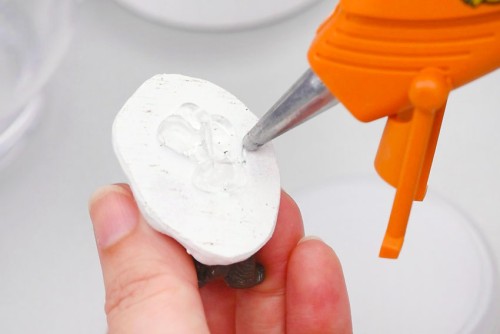
- Place the figurine on the top center of the inside seal (the side that goes into the globe).If you're worried about the figurine staying in place you can sand the bottom of the figurine and the plastic (just enough to add a rough texture) before gluing them together.
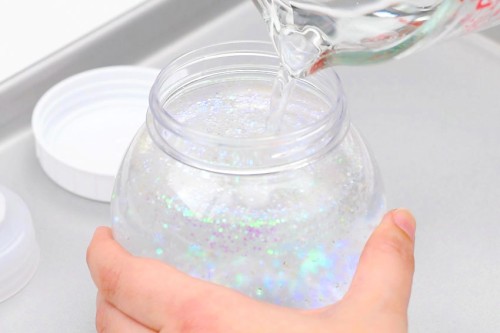
Step 3: Add liquid to the globe
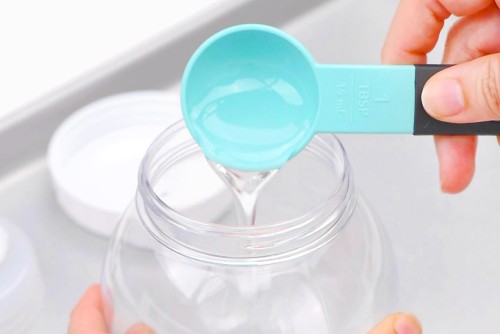
- Add 1 Tablespoon of glycerin to the globe part of the snow globe. The more glycerin you add, the slower the glitter will fall.
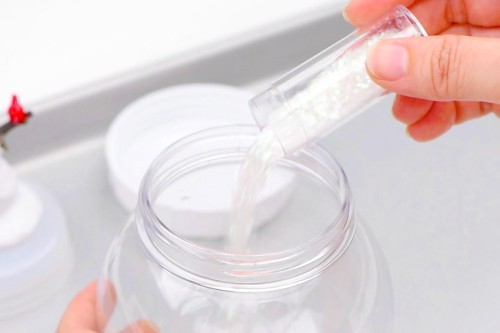
- Pour in a generous amount of glitter -- approximately 1/2 a teaspoon, but it doesn't need to be exact.
- Fill the snow globe with water, almost all the way to the top. Leave room so that when you insert your figurine the water won't overflow.
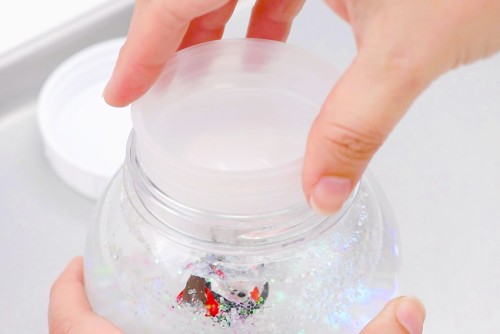
Step 4: Close the snow globe
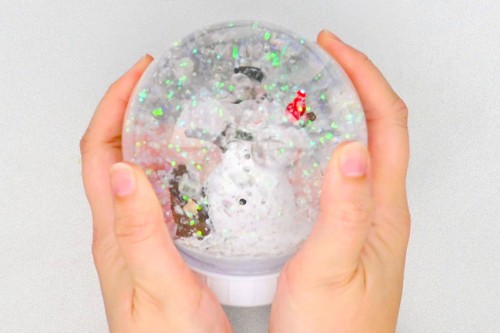
- Place the interior seal onto the globe, inserting the figurine in the liquid.Do this slowly and carefully, applying firm pressure. You don't want to bend the plastic lid, or else the figurine might become unglued.
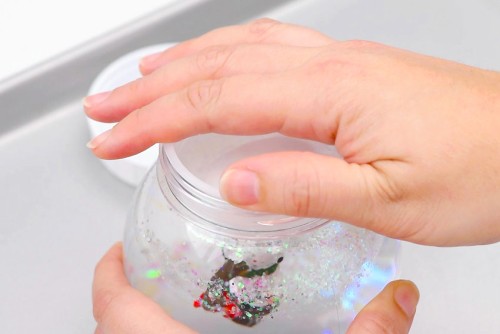
- Rotate the lid slowly as you push down on it -- this will help remove any trapped air from the globe.Make sure the seal is completely inserted all the way around the globe.
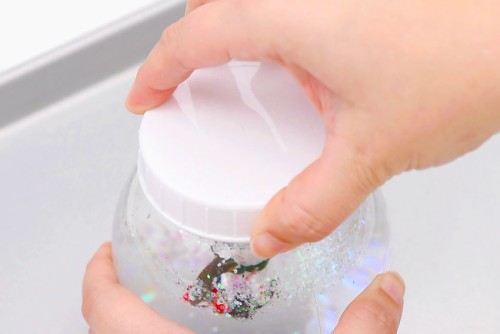
- Screw on the outside lid tightly.
- Give your snow globe a really good shake. You'll be able to see the glycerin mixing with the water.At first the snow globe will be cloudy, but as the two liquids mix you'll be able to see your figurine clearly through the "snow".
- Your DIY snow globe is complete!
Video
Notes
Looking for more Christmas crafts? Here's a few of our favourites:
DIY Felt Ornaments
Reindeer Food
Sock Snowman