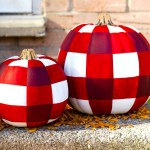
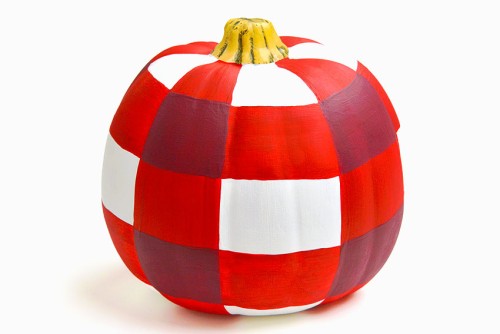
DIY Plaid Pumpkin
This painted buffalo plaid pumpkin is such a pretty DIY Halloween decoration! It's SO EASY and fun to paint pumpkins with a buffalo check.
Yield: 1 plaid pumpkin
Cost: $10
Equipment
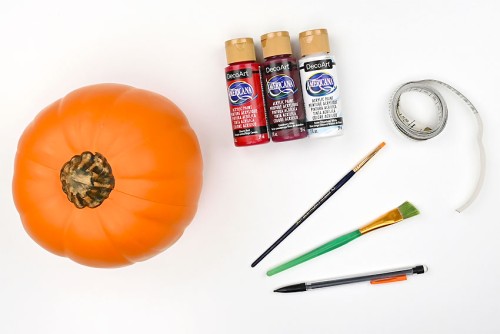
Materials
- Craft pumpkin (6-1/2 inches; orange or white)
- White acrylic paint
- Red acrylic paint (or colour of choice)
- Dark red acrylic paint (or colour of choice)
Instructions
Step 1: Find what you need
- Gather your supplies and materials.
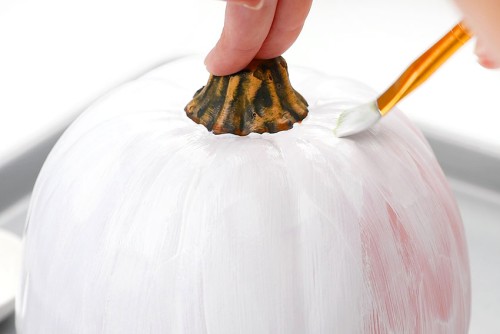
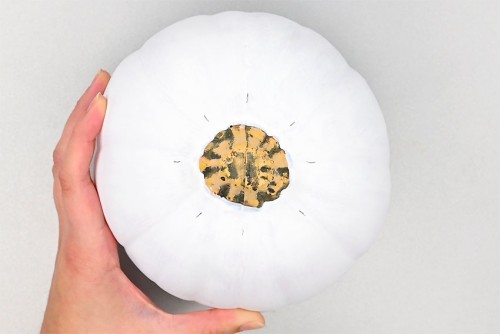
Step 2: Paint the pumpkin white
- Begin by painting your pumpkin white, using acrylic paint or primer. Allow this base coat to dry.
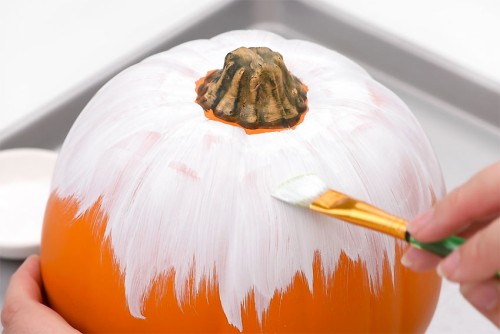
- Paint a second coat of white paint on the pumpkin, and allow to dry.Add a third coat of paint, if necessary.
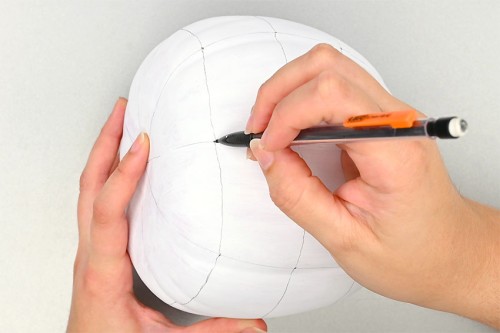
Step 3: Divide the pumpkin into sections
- Use a pencil to divide the top of the pumpkin into equal parts.Start by making pencil marks at the top, right, bottom, and left of the pumpkin. Then make a mark halfway in-between these marks.
- Turn the pumpkin over and find the bottom center. Draw a pie shape, using lines to divide the bottom equally.
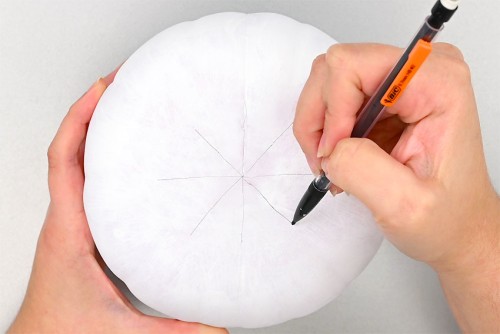
- Use a flexible tape measure to line up a top mark with the matching line on the bottom.Draw with pencil to connect them, continuing until you've created 8 vertical sections.
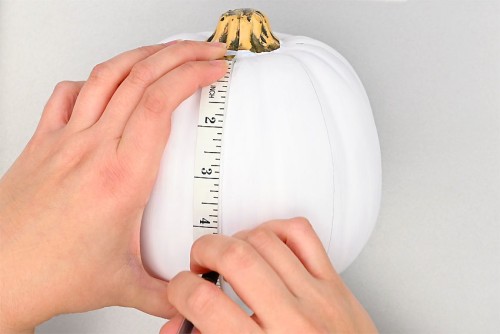
- Hold the tape measure against one of the vertical lines and make a mark every 1-1/2 inches down.
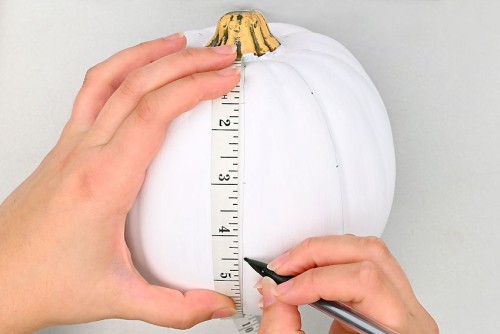
- Use the pencil and tape measure to connect the marks, drawing horizontal lines across the pumpkin.
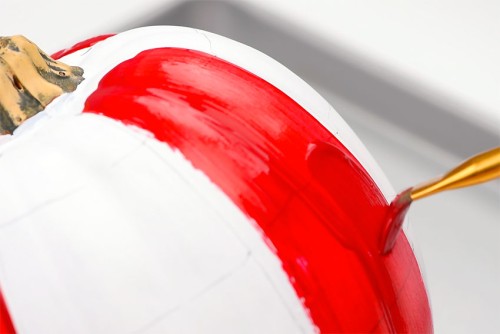
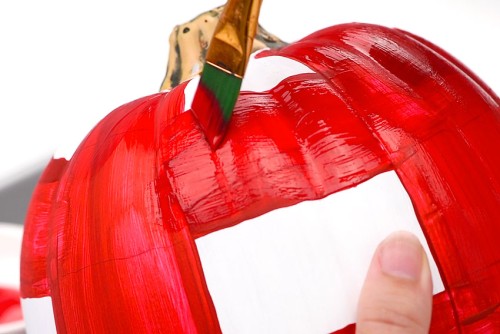
Step 4: Paint a red pattern
- Use a medium sized paintbrush to paint down every other section with the brighter red paint.It's okay to be messy and not go to the edge of the section - we'll fix that later.
- Use the same red colour to paint horizontal sections. Skip the top section, closest to the pumpkin stem, and then paint the next one down.Repeat, skipping the next section and painting the next.
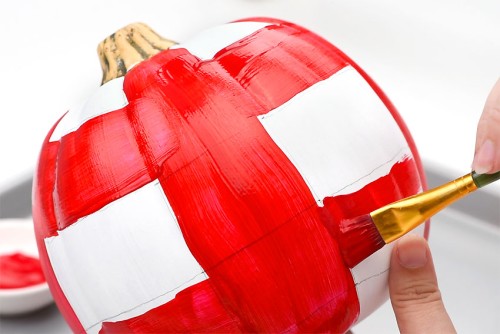
- Use a smaller paintbrush to create clean edges on each of the sections.Allow to dry.
- Add a second coat of red paint, and allow to dry. Paint a third layer, if necessary.
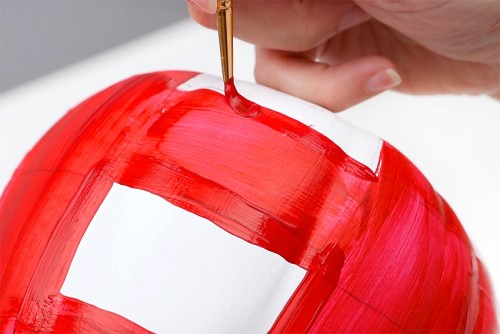
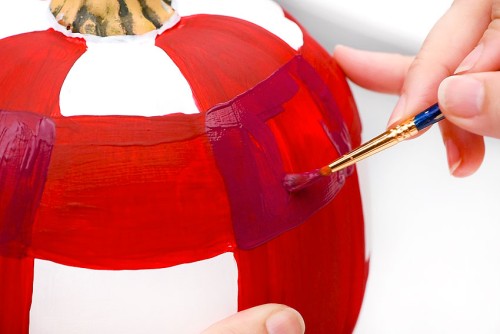
Step 5: Add the dark red paint
- Use the dark red paint to cover the squares where the horizontal and vertical red sections meet.In other words, start one down on a vertical red row and paint every other red square the darker shade.
- Continue using the smaller paintbrush to neatly fill in these sections, keeping the edges as straight as possible.Allow to dry.
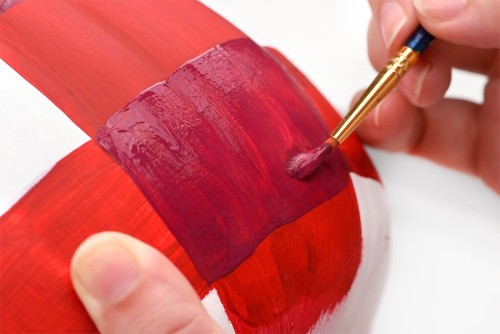
- Use a larger brush to add a second coat onto the darker red areas.Add a third coat, if necessary, and allow to dry.
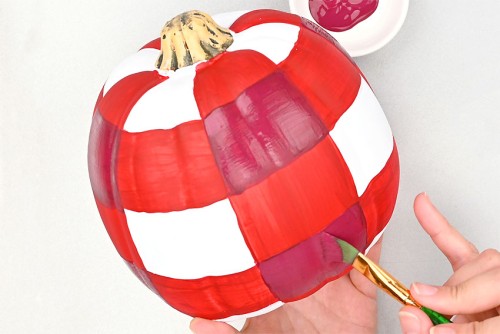
- Your plaid pumpkin is complete!
Video
Notes
Looking for more no-carve pumpkin decorations? Here's a few of our favourites:
Lollipop Hair Pumpkin
Painted Unicorn Pumpkin
Glow in the Dark Pumpkins