
How to Make a Toilet Paper Roll Candle
These paper roll candles are such an easy DIY craft! Use this recycled toilet paper roll craft as homemade decor for Halloween or Christmas.
Yield: 1 paper roll candle
Cost: $1
Equipment
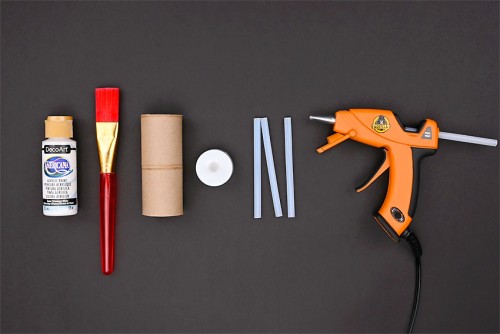
Materials
- Toilet paper roll
- Battery operated tealight candle
- Hot glue sticks
- Acrylic paint (white or colour of choice)
Instructions
Step 1: Find what you need
- Gather your supplies and materials.
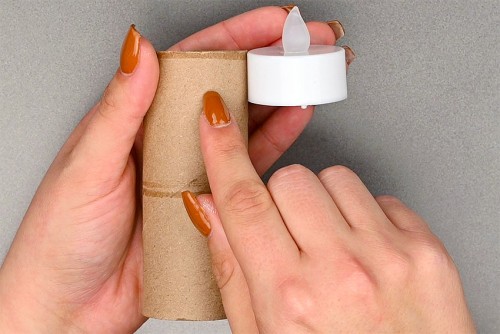
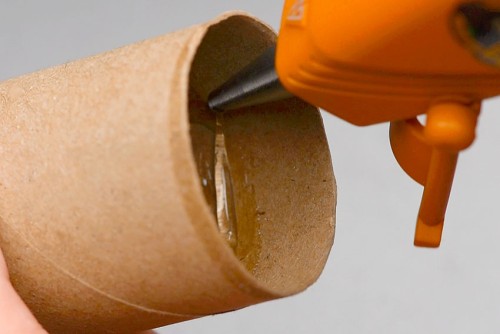
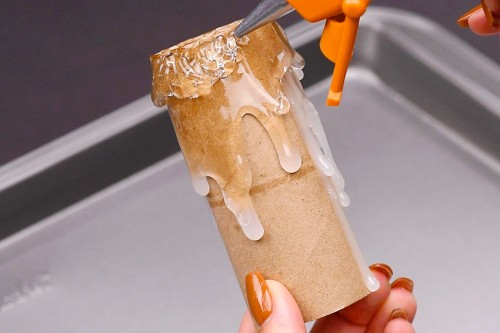
Step 2: Add glue to the paper roll
- Make a note of how far down your flameless tealight will sit inside the paper roll.
- Use the hot glue gun to make a line at this point inside the paper roll. This creates a ledge for the candle to sit on.
- Begin making glue drips along the outside of the paper roll. Start at the very top of the roll and let it drip down.
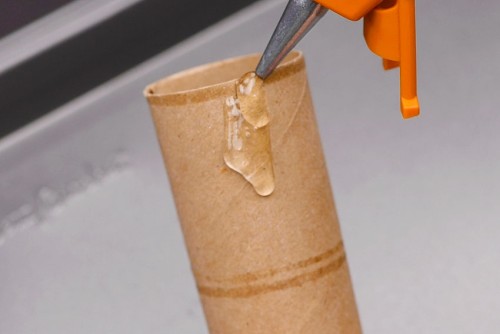
- Continue creating glue drips as you make your way around the roll.

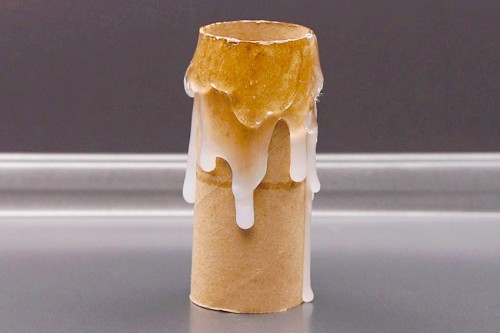
- Once the first layer of glue is dry, add a second layer overtop. This creates more dimension on the outside of the candle and allows you to fill in any gaps.
- Let this glue drip down, and then let it dry completely.
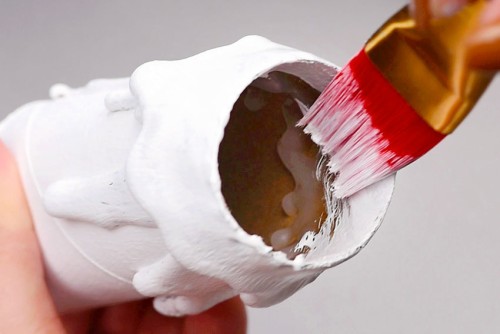
Step 3: Paint the paper roll candle
- Once the glue is dry, add paint to the side of the paper roll and spread it across with a paint brush.Cover as much of the candle as you can, then allow to dry.
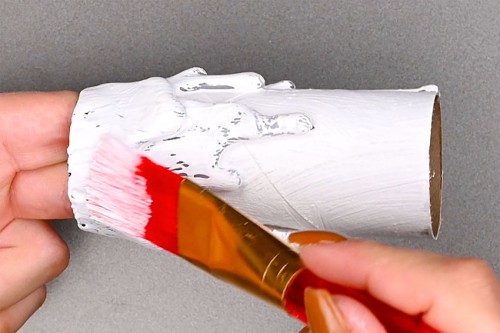
- Add a second coat of paint. Pay special attention as you paint over the glue, angling your brush to ensure full coverage.
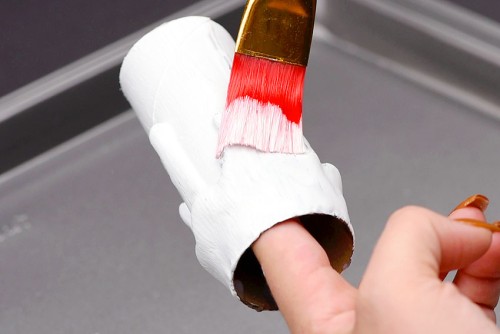
- Paint inside the top of the paper roll, about 1-1/2 inches down.Allow to dry, and add a third coat of paint if necessary.
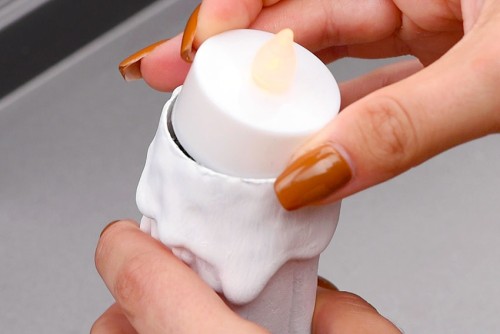
- Once the paint is dry, turn on a battery operated tealight candle and insert it into the candle base.
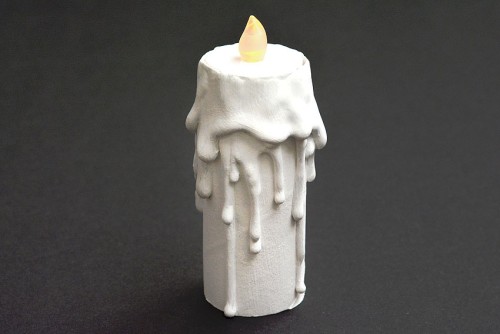
- Your paper roll candle is complete!
Video
Notes
Looking for more paper roll crafts? Here's a few of our favourites:
Paper Roll Firefly
Twinkling Paper Roll Village
DIY Christmas Crackers