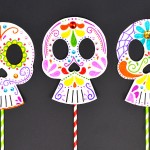
How to Make a Day of the Dead Mask
Decorate a paper plate to make a DIY Day of the Dead mask! Celebrate Día de Muertos with this easy and colorful sugar skull craft for kids.
Yield: 1 sugar skull mask
Cost: $1
Equipment
Materials
- Paper plate (9 inch or larger)
- Washable markers
- Rhinestone stickers
- Paper straw
- Tape
Instructions
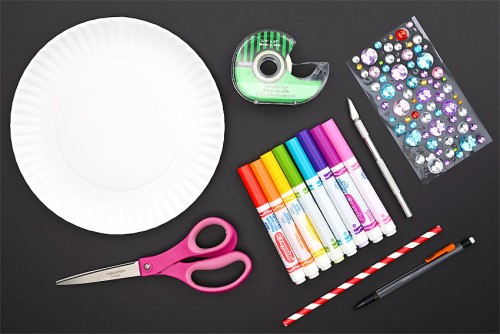
Step 1: Find what you need
- Gather your supplies and materials. We used 9 inch wide paper plates.
Step 2: Draw and cut out the calavera details
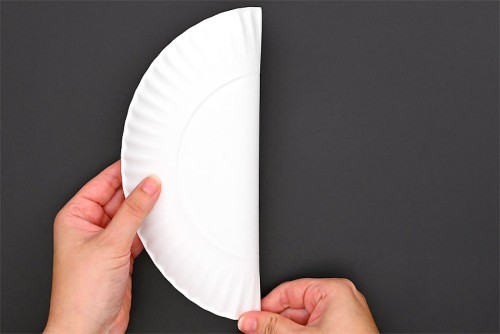
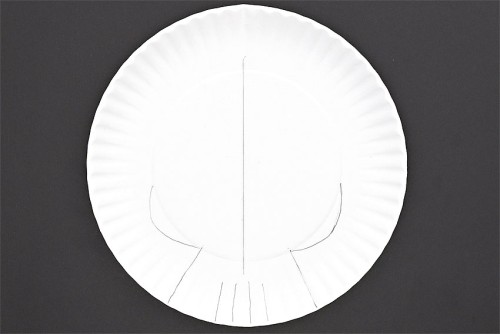
- Fold your paper plate in half, but don't press down on the fold.Simply crease the top and bottom lightly to mark the center of the plate.
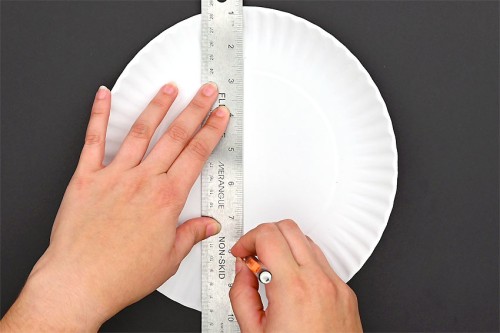
- Open the plate back up and, using the fold marks as a guide, lightly draw a line in pencil down the plate's center.
- Draw four teeth lines, two on each side of the center line, along the bottom edge of the plate.Then add the sides of the jaw on either side of the teeth lines. To do this, start from the center circle and draw down to the edge of the plate.Now draw cheeks starting from the top of the jaw line. Curve the cheeks out a bit and then end them back at the center circle.
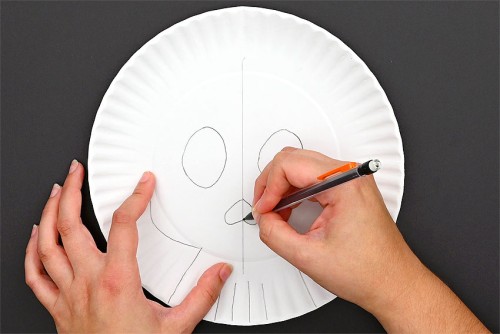
- Draw two large oval eyes on either side of the center line. Then add an upside-down heart in the center for the nose.
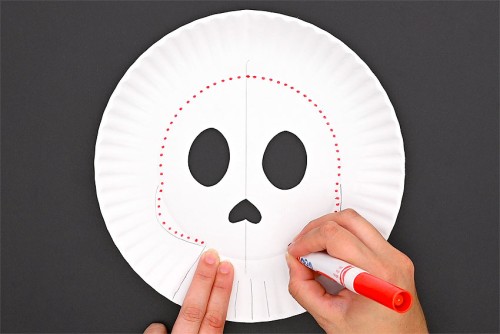
- Use a craft knife to cut out the eyes and nose. An adult should do this step.

Step 3: Design your Day of the Dead mask
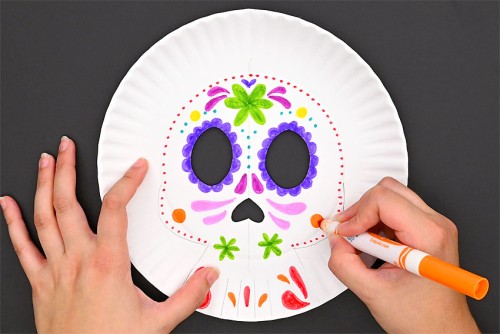
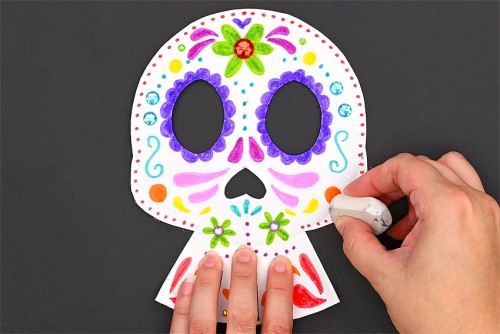
- Now grab your markers and start making a colourful design on your sugar skull mask!Use the round center of the plate as a guide for the top part of the mask. We began with a dot outline around the edge.
- As you decorate your mask, try to add symmetry. Draw the same outline on both eyes and add designs to the center that are identical on each side.
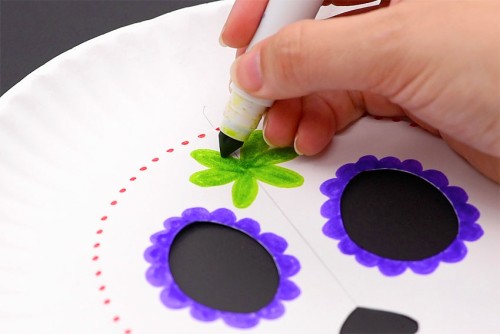
- Continue using all kinds of bright colours and symbols to decorate your mask.
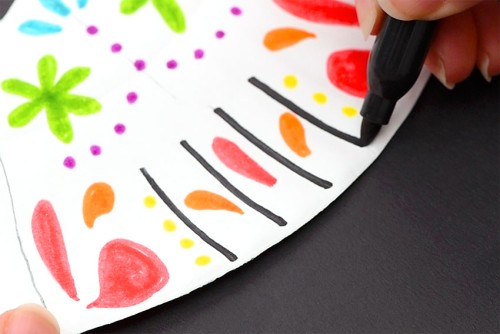
- Once you're happy with the look of your mask, use a black marker to cover the pencil teeth lines.
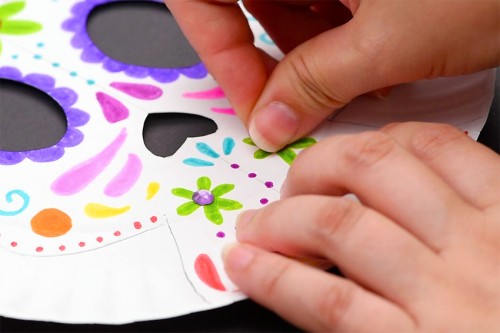
- Add dimension and glimmer to your Day of the Dead mask with rhinestone stickers. Try to be symmetrical with your placement of these as well!
Step 4: Cut out the mask and add the handle
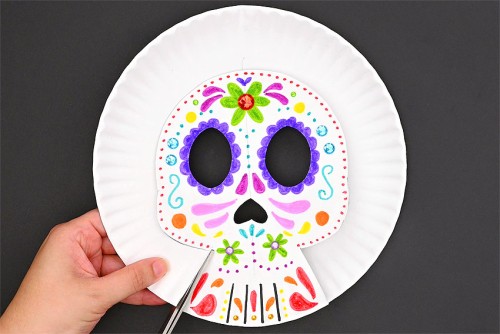
- Once your mask design is finished, cut out the skull shape from the rest of the paper plate.
- Erase any remaining pencil marks on the mask.
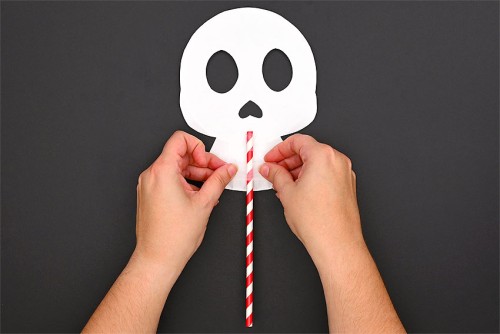
- Turn the mask over and tape a straw or popsicle stick to the bottom of the mask. This lets you hold the mask up to your face.
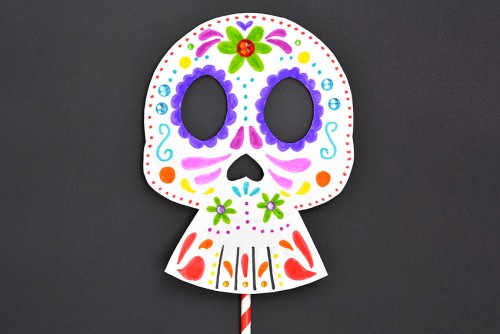
- Your Day of the Dead mask is complete!
Video
Notes
Looking for more paper plate crafts? Here's a few of our favourites:
Paper Plate and Handprint Ghosts
Dreamcatcher Kids Craft
Handprint Spider Craft