
How to Make Paper Flowers
Transform a single piece of printer paper into a beautiful flower shape. Make kirigami flowers similar to how you'd make a paper snowflake!
Yield: 1 folded paper flower
Cost: $1
Materials
- 1 piece Colored printer paper (per flower)
Instructions
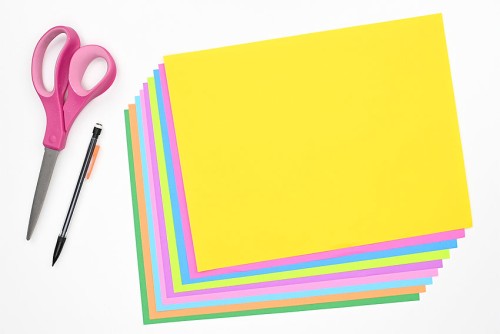
Step 1: Find what you need
- Gather your supplies and materials. You'll need 1 sheet of paper per flower.
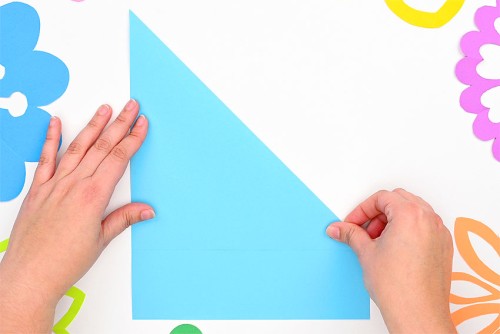
Step 2: Fold the flower base
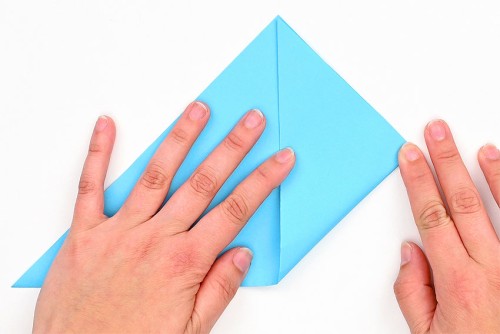
- Fold the top right corner of the paper down so that the top edge meets the left side of the paper.
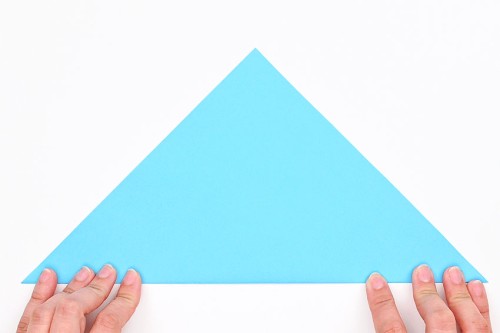
- Cut off the bottom rectangle part of the paper. This gives you a square piece of paper.

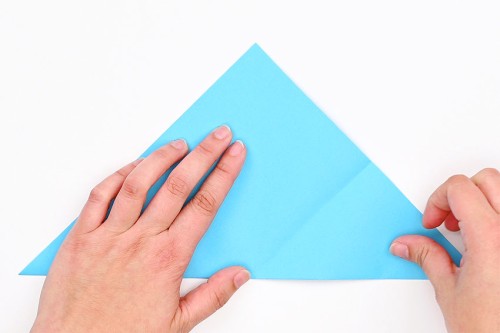
- Keeping the paper folded in half, turn the triangle so the long, folded edge is at the bottom.
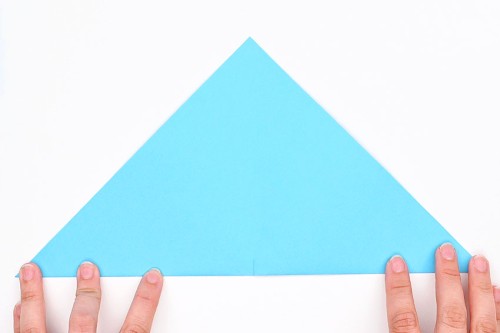
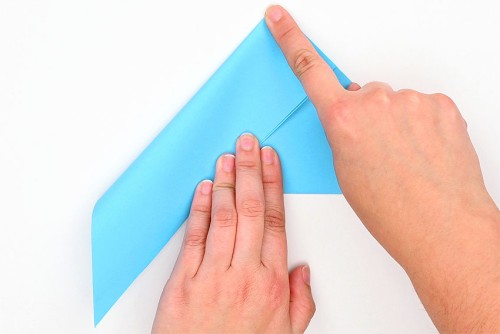
- Bring the right bottom corner over to meet the left.Mark the middle of the paper by making a small crease at the bottom, but don't fold the paper completely.

- Open the paper back up.
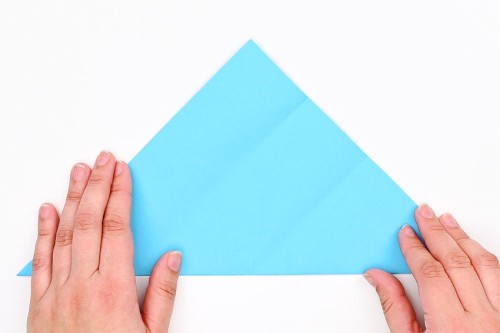
- Bring the right point of the triangle up to the top point. Again, make a crease mark at the top right, but don't make a full fold.
- Open the paper back up to a triangle shape again.
- Bring the top point of the triangle down to the mark you just made. Make a crease mark at the top point, but again, don't make a full fold.
- Unfold the paper again. You should have a crease mark at the bottom middle, and two crease marks on the right edge.
- Fold the bottom right corner up as shown in the photo below. Make the fold starting at the bottom center crease mark, so that the bottom right edge meets the top right crease mark.Press this fold down completely.
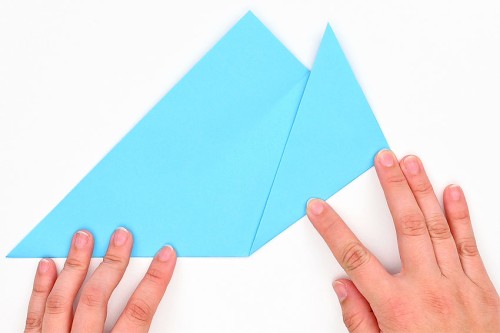
- Now fold the bottom left corner up and right so that the bottom edge lines up with the other bottom fold.

- Then bring the bottom right edge over so it lines up with the left edge. Press down the fold. You should have a tall triangle shape with 3 pointed edges at the top.

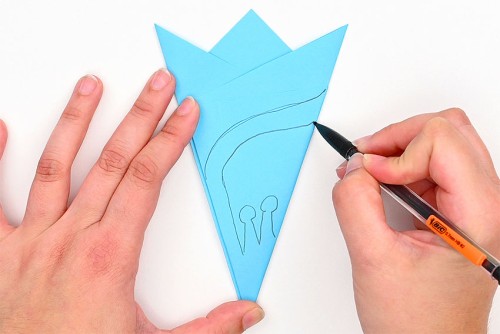
Step 3: Draw your flower design
- Draw your flower design on the triangle.Follow the pattern in this tutorial, or see the templates below for 8 other flower designs!
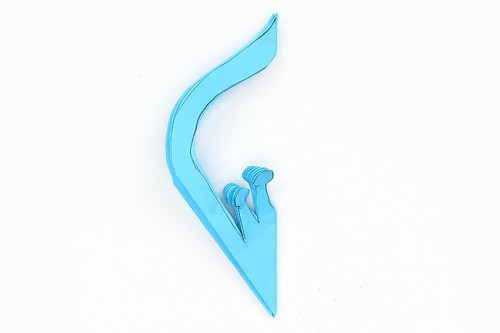
Step 4: Cut out the flower and unfold
- Cut around the outside of the flower design.
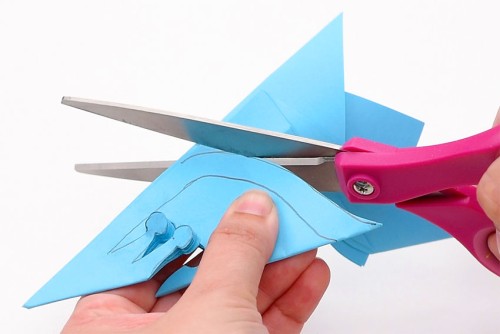
- Then carefully cut along the inside lines.
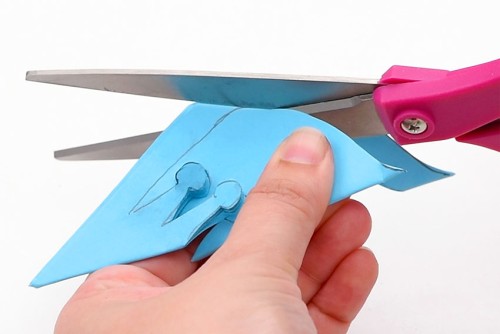
- This is what your paper should look like after you finish your cutting. It's very similar to making a paper snowflake.
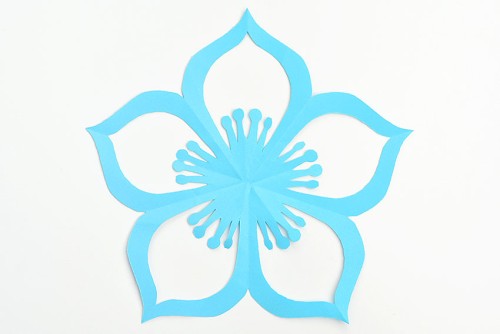
- Unfold the paper to reveal a beautiful kirigami flower!
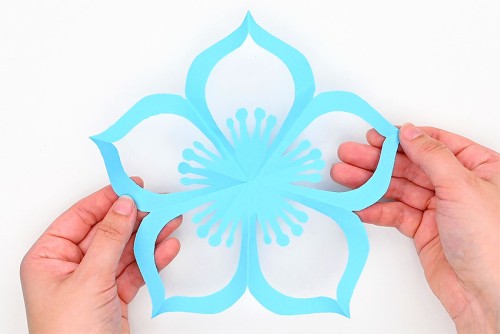
- Smooth out the folds and your paper flower is complete!
Video
Notes
Looking for more paper crafts? Here's a few of our favourites:
How to Make a Paper Snowflake
How to Make a Paper Star
Folded Paper Hearts