
DIY Flower Q-Tip Painting
It's SO EASY to make a q-tip flower painting! Q-tips and paint combine to make pretty spring flowers in this fun kids craft and art project.
Yield: 1 q-tip flower painting
Cost: $1
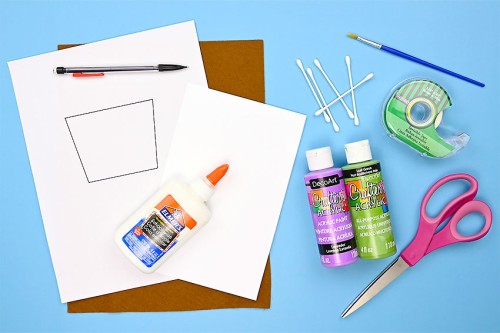
Equipment
- Gel pen (or pencil)
Materials
- Free Printable Flower pot template
- White cardstock (cut in half)
- Acrylic paint (green, and various shades of purple)
- White glue
- Brown felt
Instructions
Step 1: Find what you need
- Gather your supplies and materials.
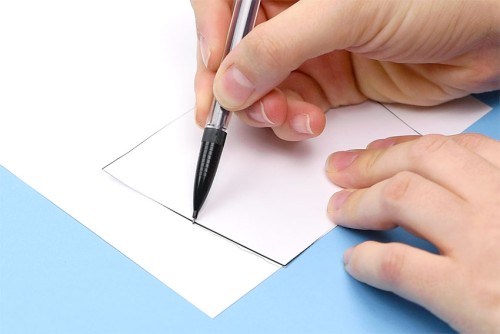
Step 2: Cut out and trace the pot template
- Print out the free flower pot template (find the link above!) on regular printer paper and cut out one of the pots.
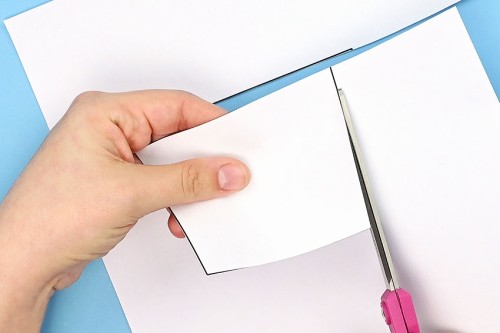
- Cut a piece of cardstock in half and place one half in front of you. Then trace the flower pot template onto the bottom of the paper.
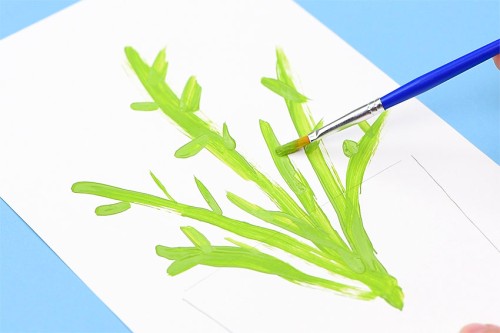
Step 3: Paint the stems and leaves
- Paint 3 to 6 thick green lines coming out from the pot to make the flower stems.Start from the center of the pot and paint one stem going straight up. Then angle the outer stems towards the edge of the paper.
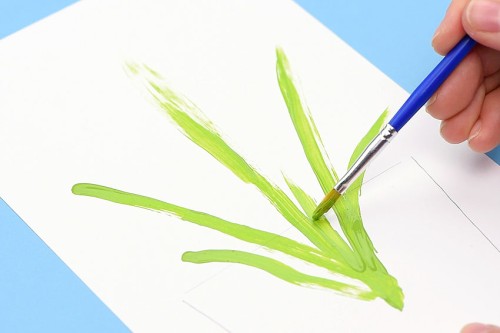
- Add simple brush strokes coming off the stems to create leaves. This will give the plant a fuller look.Wait a few minutes for the green paint to dry.
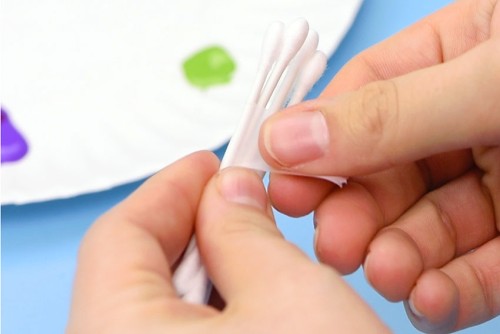
Step 4: Paint flower petals with q-tips
- Tape together 5 q-tips into a bundle. (You could also wrap an elastic around them.)
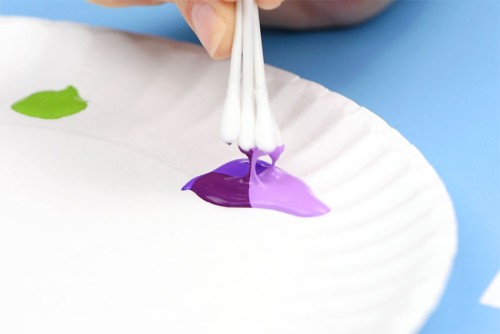
- Add three shades of purple paint to a plate, close enough so that the different colours are touching. Then dip the q-tip bundle into the center of the paint.
- Stamp the paint covered q-tips onto the top of the green stems until you run out of paint.
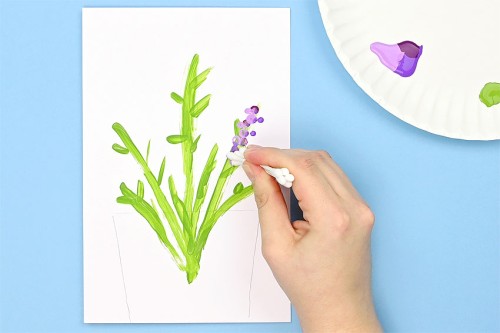
- Repeat, dipping the q-tips in paint and dabbing them onto the green stems again and again.Be sure to stamp the q-tips at different angles, rotate the bundle, and use different amounts of pressure to get unique looking blooms.Continue until you're happy with your flowers.
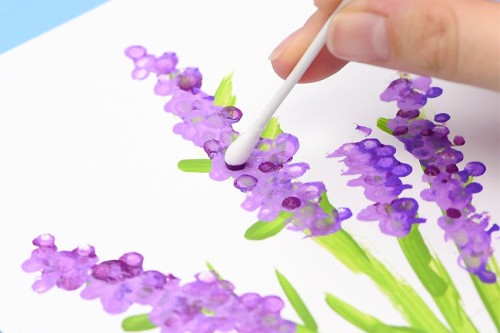
- Optional: use a single q-tip, dipped in one colour of paint, to add even more definition to your flowers.
Step 5: Add a felt flower pot
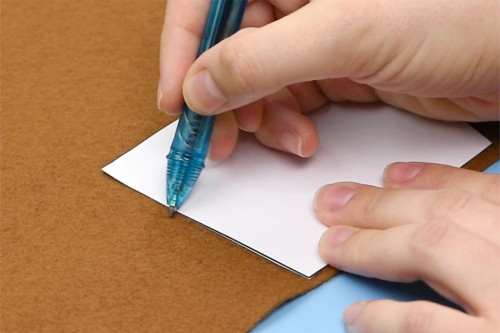
- Use a gel pen to trace the pot template onto brown felt.
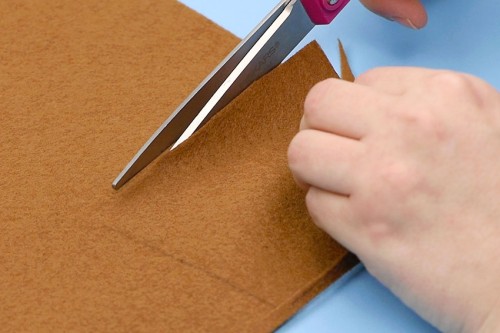
- Cut out the felt flower pot.
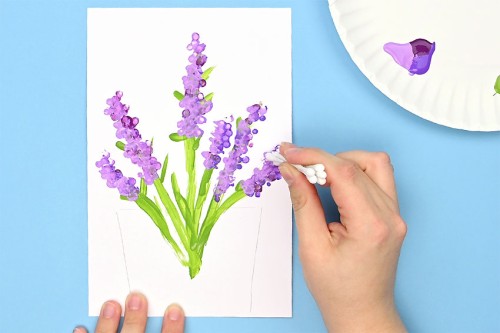
- Add glue inside the flower pot shape.
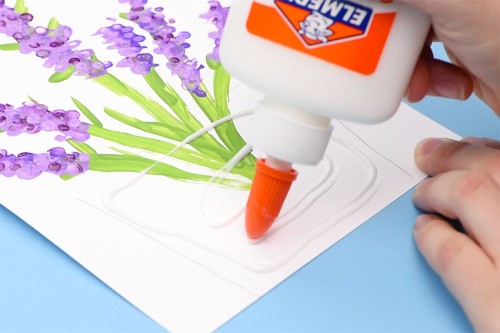
- Press the felt flower pot into the glue to attach it to your painting. Allow the glue to dry.
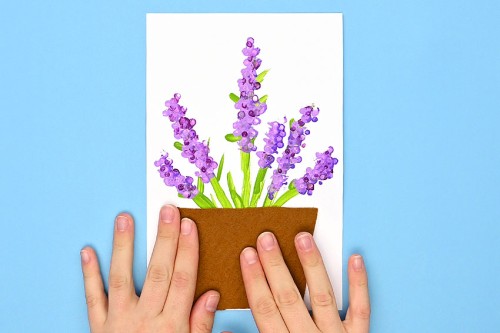
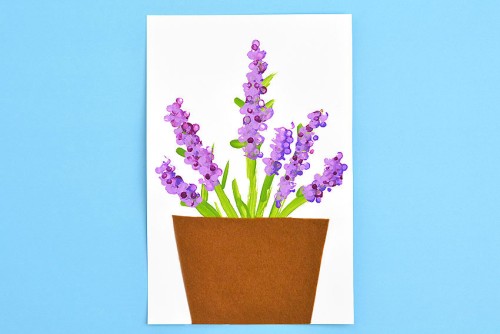
- Your q-tip flower painting is complete!
Video
Notes
Looking for more art for kids? Here's a few of our favourites:
Easy Tree Painting for Kids
Paper Roll Flower Painting
Halloween Q-Tip Art
Paper Roll Fireworks Painting