How to Make a Paper Airplane - The Distance Flyer
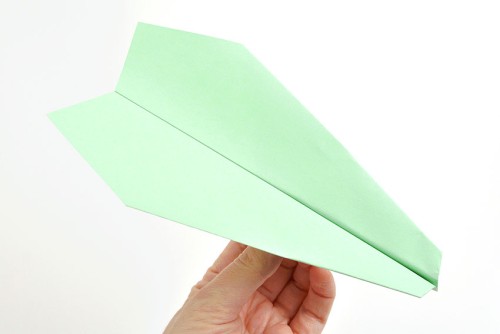
This gliding paper airplane is a dream to fly! It soars fast and far, and it's SO EASY to make!
Yield: 1 paper airplane
Cost: $1
Equipment
- Glue tape (optional)
Materials
- 1 piece Letter sized paper (white or colour of choice)
Instructions
- Fold the paper in half lengthwise.
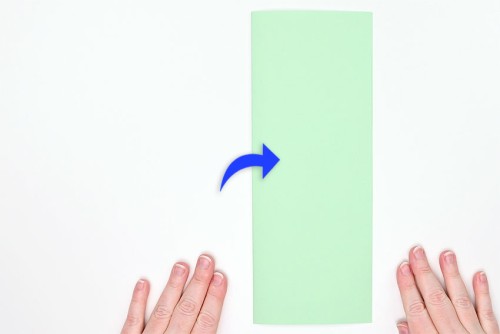
- Open the paper back up.

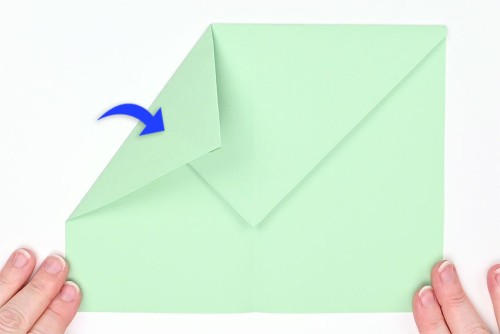
- Fold the top outside corners down to meet the center line.

- Fold the top point down to just below the doubled paper, keeping the point at the center fold.

- Bring the top left corner in to meet the center fold, about 3/4 inch above the point.
- Fold the right corner in to meet the left point.

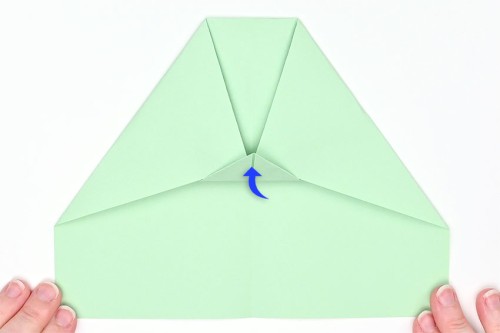
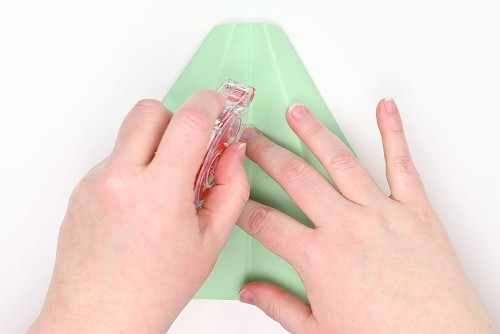
- Fold the center point up to hold the previous folds, creating a little triangle.
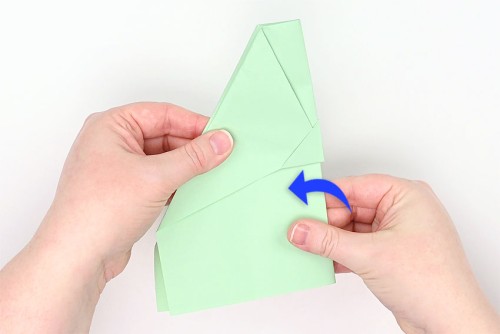
- Fold the plane in half, the opposite way from your first fold (the triangle folds should be on the outside).
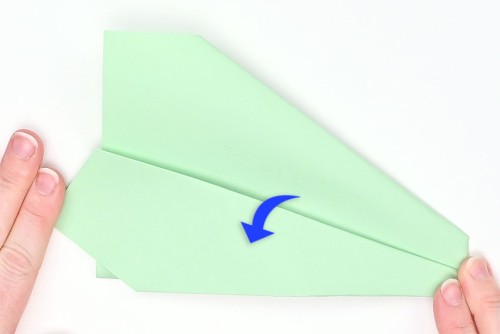
- Rotate the plane 90 degrees and beginning at the nose of the plane, fold the top edge down to meet the center (bottom) fold.
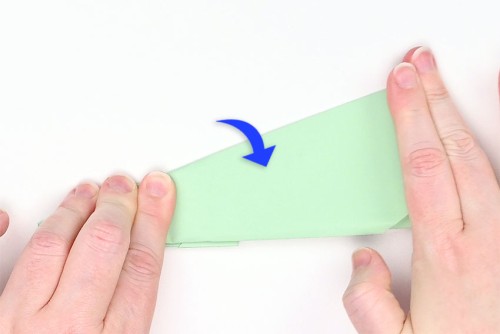
- Flip the plane over and repeat the same wing fold on the other side.
- Optional: attach glue tape, double sided tape, or a glue stick to the inside of the plane to keep the body together.
- Your distance flyer paper airplane is complete!