How to Make Butter Slime
This butter slime made with Model Magic clay is soft, spreadable, and moldable! Learn how to make butter slime with this easy recipe.
Yield: 2 cups of butter slime
Cost: $5
Equipment
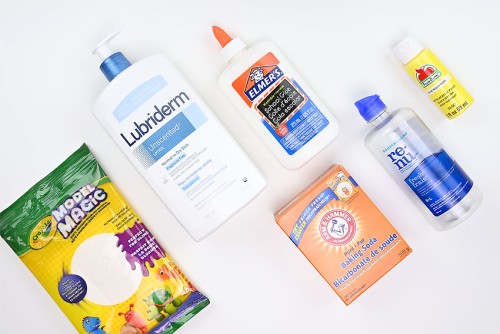
Materials
- 7.6 ounce White glue
- 1.5 Tablespoon Lotion
- 1/2 teaspoon Baking soda
- 2 Tablespoons Water
- ~1 Tablespoon Acrylic paint (optional)
- 2 teaspoons Contact lens solution
- 4 ounces Model Magic clay (any colour)
Instructions
Step 1: Find what you need
- Gather your ingredients.
Step 2: Mix the ingredients
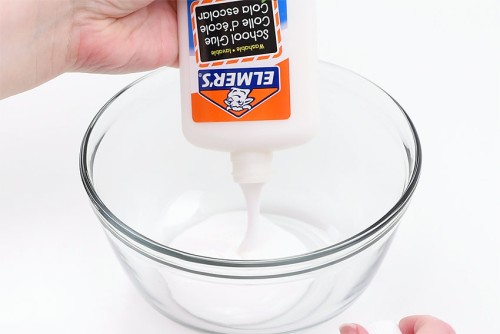
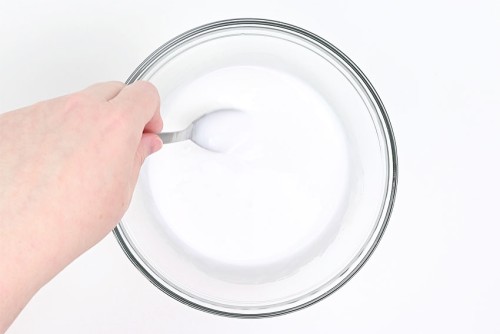
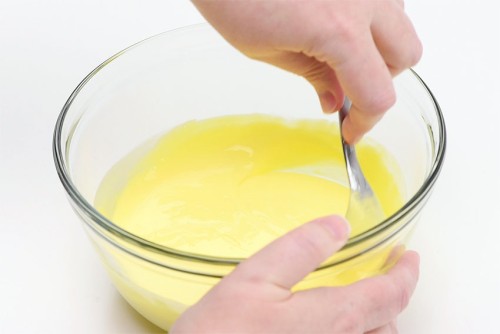
- Add an entire 7.6 ounce bottle of white glue to a bowl. (An 8 ounce bottle will also work).
- Add 1.5 Tablespoons of lotion, 1/2 teaspoon baking soda, and 2 Tablespoons of water to the glue.
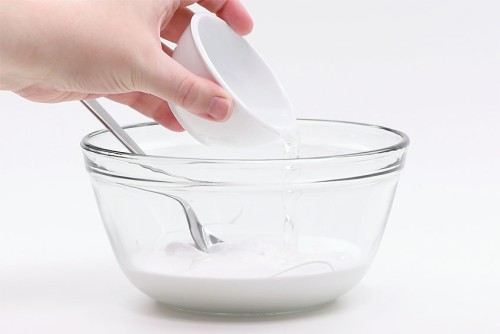
- Stir the mixture well until it's fully combined.
Step 3: Add colour (optional)
- Add about 1 Tablespoon of acrylic paint to your slime mixture to add colour.If you're using coloured Model Magic clay you can skip this step.
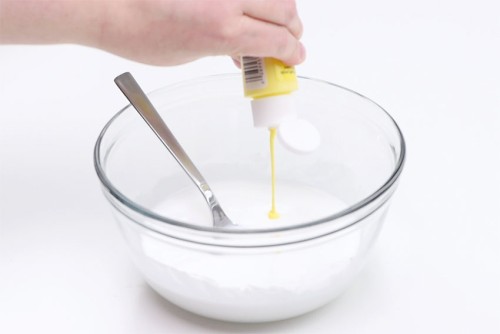
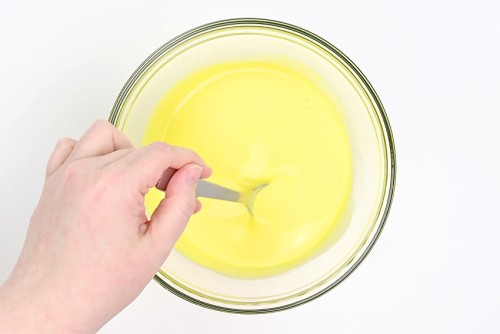
- Stir until the colour is consistent. Add more paint until you're happy with the colour.Keep in mind that once you add the clay the colour will lighten up quite a bit.
Step 4: Add the slime activator
- Pour in 2 teaspoons of contact lens solution.
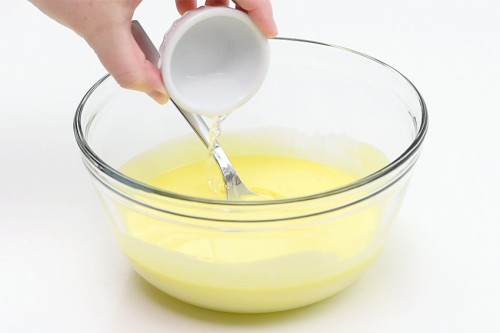
- Stir until well combined and the mixture starts to become slime-like (it will still be very sticky and liquidy at this point - don't add more activator unless it hasn't thickened at all).
Step 5: Mix in the clay
- Unwrap a 4 ounce package of Model Magic clay.
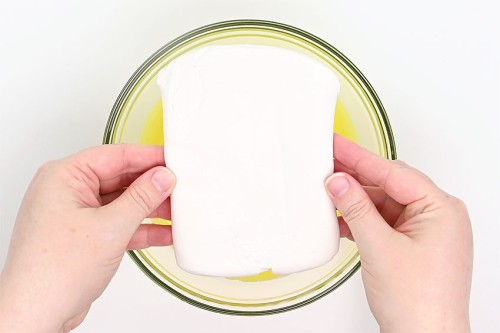
- Press the clay into the slime.
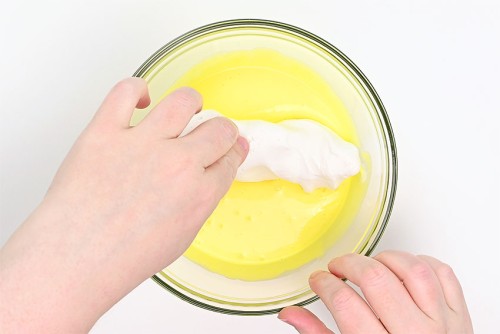
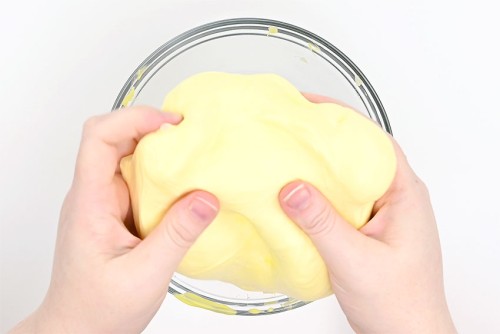
- Start working the clay into the slime. It will be messy and take a lot of kneading.To work the slime into the clay, you have two options:First, cover the clay in slime and then hold it above the bowl as you work it in. Then return the clay mixture to the bowl to cover it in more slime and repeat.Second, you can dump the whole mixture out of the bowl and knead it together on a countertop, table, or baking sheet.
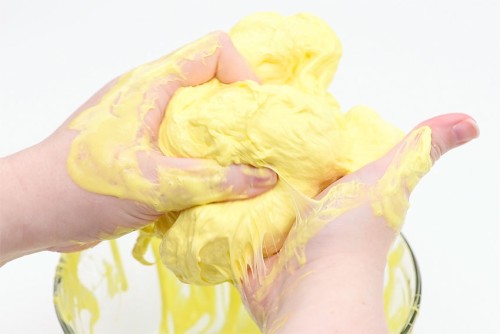
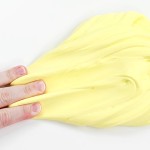
- Eventually you will fully combine the sticky liquid and the clay to create a beautiful soft, buttery slime.
- Your butter slime is complete!

Video
Notes
Looking for more slime recipes? Here's a few of our favourites:
How to Make Slime Without Borax
Clear Slime
Fluffy Slime
Halloween Slime