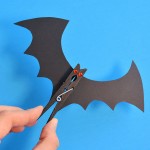
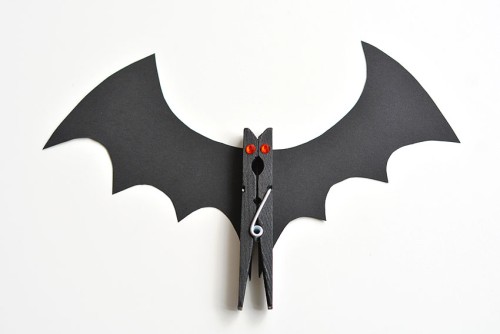
How to Make a Clothespin Bat
This clothespin bat craft is such a cute and easy Halloween activity for kids! Pinch the painted clothespin and watch the wings flap. So fun!
Yield: 1 bat
Cost: $1
Equipment
- Bat template (see tips section for a link)
Materials
- Black cardstock
- Wooden clothespin
- Black acrylic paint
- Glue tape
- 2 small red rhinestone stickers
Instructions
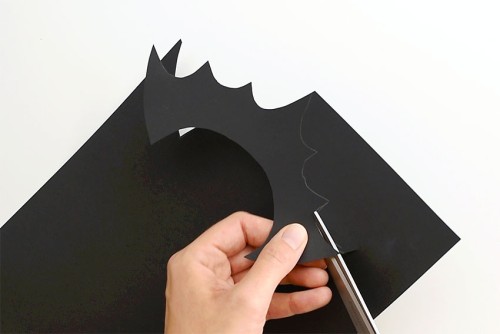
Step 1: Cut out template
- Cut out a bat from our clothespin bat template (see tips section below for a link!). We used the center bat.
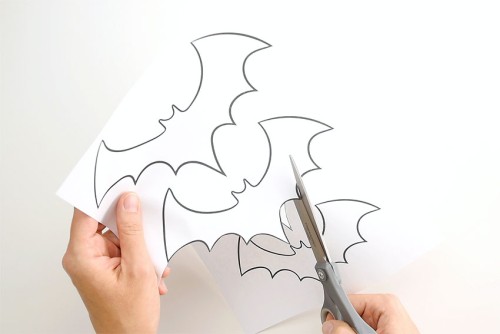
- Cut off the ears from the template.
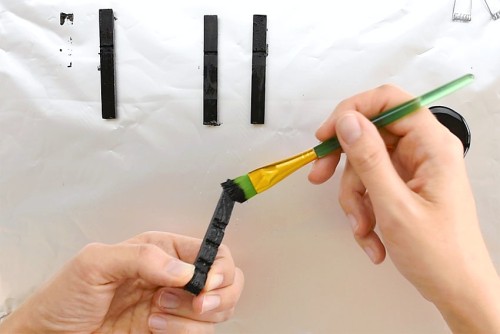
Step 2: Paint clothespin
- Pull the clothespin apart, setting aside the metal spring for later.

- Hold the edge of the clothespin and paint both sides of it black.
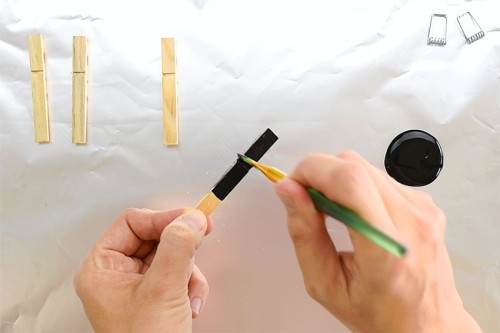
- Once the paint has dried a bit you can paint the part of the clothespin where you were holding it before.
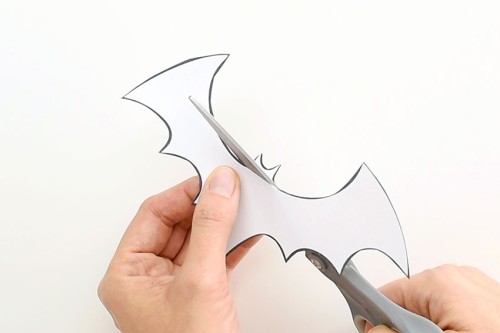
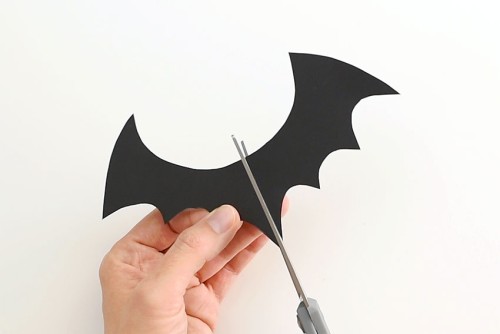
Step 3: Trace and cut template
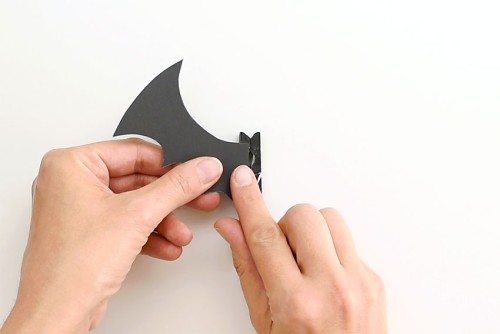
- Trace the white bat template on black cardstock.
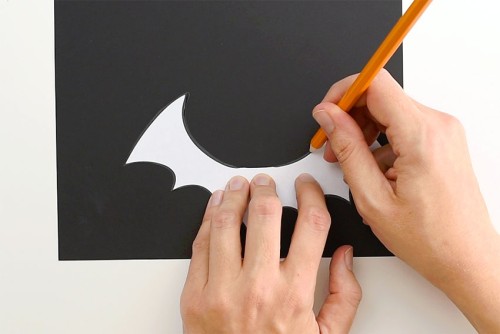
- Cut out the black bat.
- Then cut the bat in half vertically so you have two wings.
Step 4: Put bat together
- Return the metal spring onto the two wood pieces of the clothespin. To do this, place the spring between the two wood pieces. Remove one of the wood pieces and use your fingernail to pull the metal towards the front of the wood piece. Then add the other wood piece and pull the metal towards the front of the second wood piece.

- Pinch open the clothespin and add glue tape to one side of the clothespin.
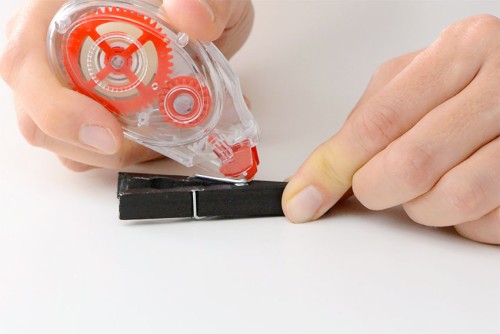
- Line up the wing straight on the clothespin and attach it on top of the glue tape, about 1/4 inch below the end of the clothespin.
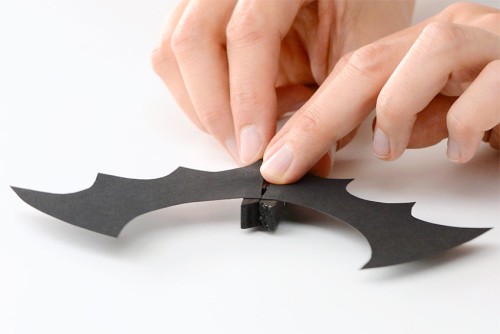
- Add the second wing to the clothespin bat with glue tape, lining it up with the first wing.
- Turn the bat over and add two small red rhinestone stickers close to the top of the clothespin for the bat's eyes.
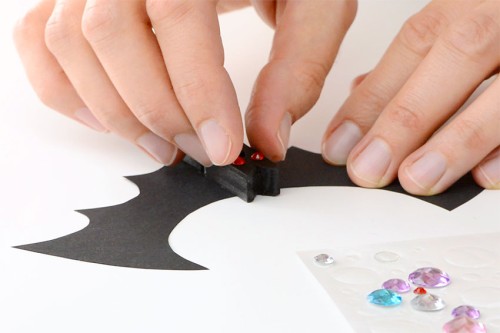
- Your clothespin bat craft is complete!
Video
Notes
Download our free clothespin bat template!
You can also download and print 6 other free bat outlines if you'd like to try different bat shapes.