
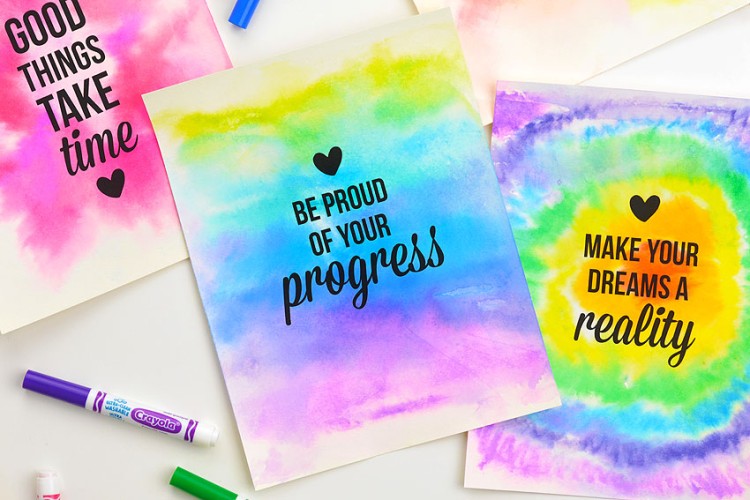
Valentine’s Day just got a lot more colorful thanks to “watercolor” painting with markers! Using washable markers and a bit of water, you can create beautiful heart designs that are full of love and charm. It’s a simple art project that’s perfect for kids and adults, offering a fun way to create handmade cards.
These watercolor hearts are a charming and heartfelt way to create personalized valentines. Whether you’re making this craft for classmates, family, or friends, your DIY cards will definitely stand out and show just how much you care!

This post contains affiliate links. If you use these links to buy something we may earn a small commission which helps us run this website.
How to Make a “Watercolor” Painting with Markers
Materials:
Equipment:
- Heart shaped cookie cutter (in various sizes)
Watch the step-by-step video tutorial:
Instructions:
Step 1: Find what you need
- Gather your supplies and materials.


Step 2: Draw the hearts
- Start with a piece of watercolor or mixed media paper. Your paper can be any size you’d like your valentine to be. Ours is 3 by 4 inches.

- Place a cookier cutter on the paper where you’d like the heart to be. Trace around the inside or the outside of the cookie cutter with a washable marker.
- Use your marker to draw a jelly bean shape on each of the 2 rounded top parts of the heart. These will be the “shine spots.” Color the top 1/3 of the heart with the marker, going around the shine spots. Then add a thicker line on the edge of the heart opposite the shine spots.
- Repeat these steps to create more hearts in different colors and sizes.


Step 3: Paint the hearts with water
- Dip a clean paintbrush in water, dabbing off any excess water drops.
- Drag the damp paintbrush through the marker in the top 1/3 of the heart, pulling the color towards the white space at the bottom of the heart. Try to avoid dragging color into the shine spots.Add more water to the brush as needed.
- Run the damp brush along the thicker edge of the heart opposite the shine spots and pull the color away from the heart. This helps create a 3D effect on the heart.Rinse any marker off the brush, then follow the same process to “paint” the rest of the hearts. Once you’re happy with your valentine, let it dry fully.
- Your “watercolor” painting with markers is complete!
- Now have fun making valentines for all your friends using different colors!


Helpful Tips:
- You may need to “scrub” at the marker line to soften it to the desired effect. The more you scrub, the more the line will soften and blend in. A stiffer (but not hard) brush will work better for this than a soft watercolor brush.
- Try to keep your marker at the same angle to the paper and cookie cutter when tracing the heart shape. Fine tipped washable markers will make tracing easier than thicker markers.

What kind of paper works best for this “watercolor” painting with markers?
It’s important to use a paper that’s meant for fluid media when making your watercolor heart painting. Watercolor paper and mixed media paper are both good options, but be sure to get a recognizable brand. It doesn’t have to be top quality paper; a student grade mixed media paper from an arts and crafts store will work fine.
We found watercolor paper from our local dollar store didn’t allow the marker to bleed much, and the watercolor paper we got off Amazon flaked when scrubbing the brush against the marker. We ended up using Canson XL mixed media paper that we purchased from Michaels, and it worked really well.

Which washable markers should I use for my watercolor heart painting?
We used Crayola Super Tips, but any washable marker should work for this Valentine’s Day art project.
More important than the brand is using newer or “fresh” washable markers. New markers will “bleed” much more than markers that are starting to dry out.

How much water should be on my brush for this watercolor painting hack?
The amount of water needed takes some trial and error. You don’t want your brush so wet that the water drips from it, but you need enough water to get the marker to run.
Start by wetting your brush thoroughly, then use a paper towel to dab off any beads of water that are forming. The brush should still be fairly wet. Use this for your first pass over the marker.
If you have to add more water and go in again, make sure you use less water each time you touch the heart you’re working on. If the brush is wetter than the paper, it will create a “bloom” effect. A bloom is where the excess water deposited on the paper pushes the marker color (or paint) out and away from the water deposit.

These valentines using “watercolor” painting with markers are a lovely way to spread love and color this Valentine’s Day!
With vibrant colors and a personal touch, each card will make the recipient feel extra special. Whether you put them on display in your own home or make cards to give as gifts, these watercolor valentines are sure to spread smiles!
Here’s even more DIY Valentine ideas:


Now available
Low-Mess Crafts for Kids Book
72 cute and fun crafts that kids and parents alike can enjoy. All with as little mess as possible!
Where to buy:
You can purchase Low-Mess Crafts for Kids from Amazon, or wherever books are sold:
Amazon | Barnes and Noble | Books-A-Million | Indiebound | Amazon Canada


Leave a Reply