


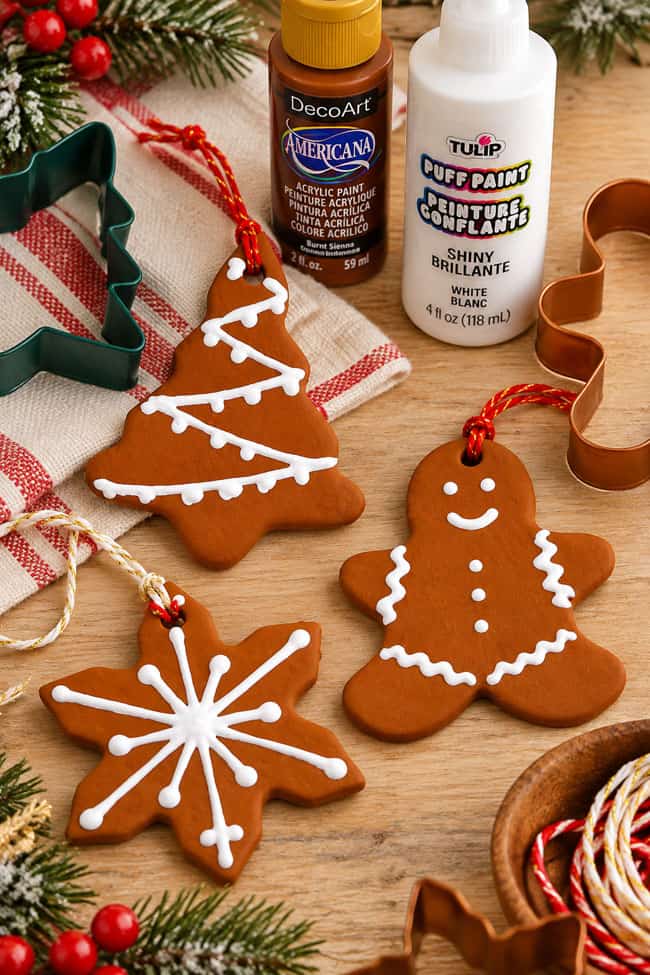
These clay gingerbread ornaments look good enough to eat — but they’re made to hang on the Christmas tree year after year! With their warm cookie-brown colour and raised white “icing,” they have all the charm of homemade gingerbread cookies without any baking required.
Shape the air dry clay into gingerbread men, snowflakes, Christmas trees, ornaments, and more, then have fun adding your own piped designs to make each one unique. These clay gingerbread ornaments are such a cozy Christmas craft, and they make adorable tree decorations, gift toppers, or handmade keepsakes. Make a matching set or mix up the shapes for a whole batch of faux gingerbread treats!
This post contains affiliate links. If you use these links to buy something, we may earn a small commission at no extra cost to you. This helps support our website and allows us to keep creating fun, free content.
How to Make Clay Gingerbread Ornaments
Materials:
- Air dry modeling clay
- Water
- Acrylic paint (gingerbread brown)
- White puffy paint
- Christmas baker’s twine
See the craft in action:
Instructions:
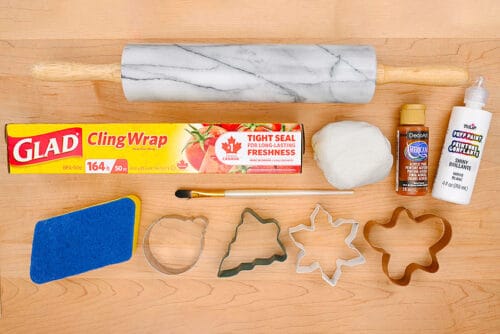
Step 1: Find what you need
- Gather your supplies and materials.
Step 2: Cut out the clay “cookies”
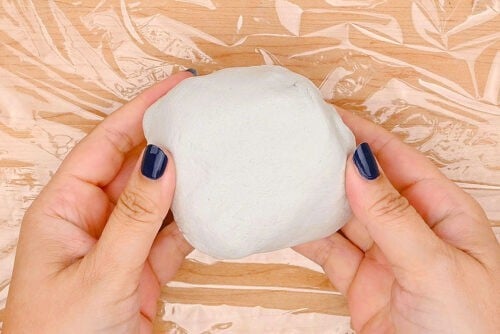
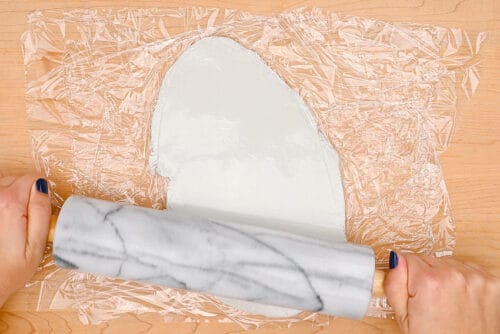
- Place a ball of clay on a piece of plastic food wrap. This prevents the clay from sticking to your cutting board.
- Set another piece of cling film on top of the clay.
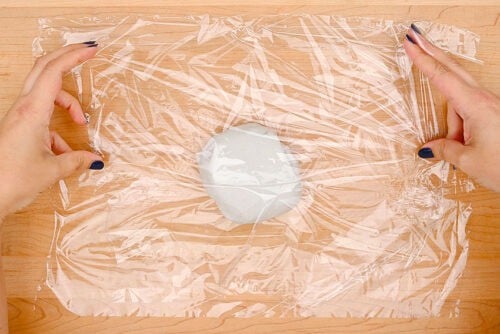
- Roll out the clay until it’s about 1/4 inch thick.
- We find it helps to plan how cookie cutters will fit on the clay, arranging them all before cutting any out.
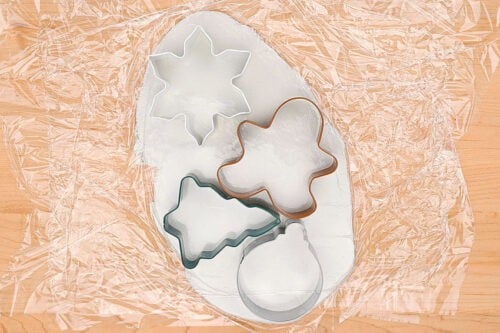
- Press the cookie cutters down into the clay while the plastic wrap is still on top. This will give your “gingerbread” a slightly rounded edge, like a freshly baked cookie.
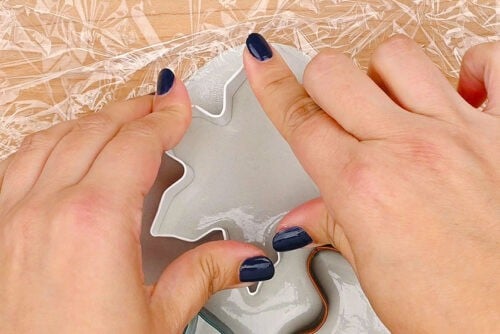
- The plastic wrap does prevent the cookie cutters from cutting the shapes out completely, so remove the plastic wrap, line up the cookie cutters in the proper spot, and press down on the cookie cutters again.
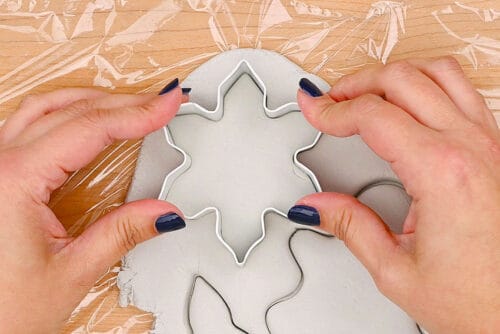
- Remove the excess clay from around the shapes.
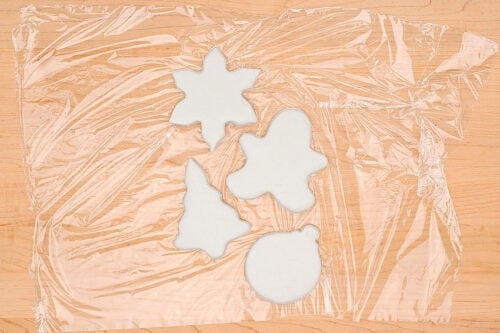
Step 3: Add texture to the clay
- Add a bit of water to your fingertips and gently rub back and forth to smooth out the sides of the clay.
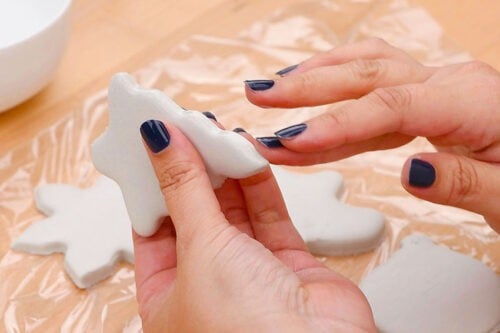
- Next you’ll need a sponge with a scrubbing pad or something else that will give the clay a bit of texture.
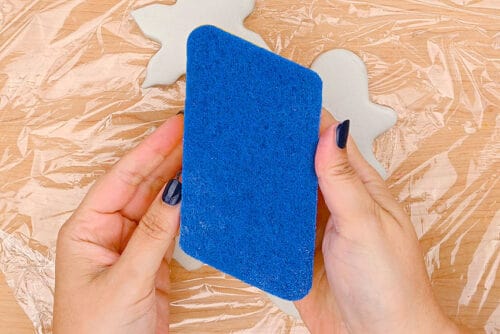
- Dab at the clay with the scrubbing pad to give it a baked cookie texture.
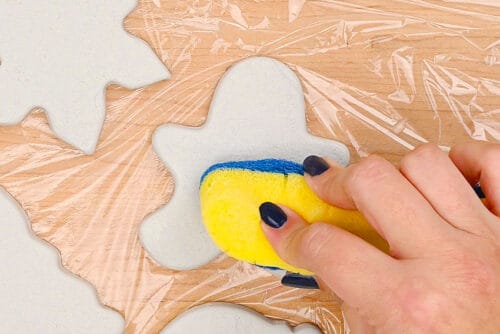
- Use the end of a straw to make holes in the ornaments for hanging.
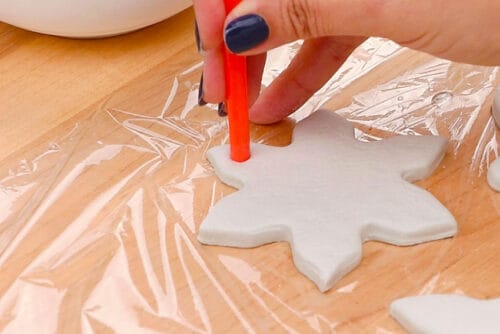
- Allow to dry for 24 to 48 hours. Make sure to flip it occasionally so both sides dry evenly.
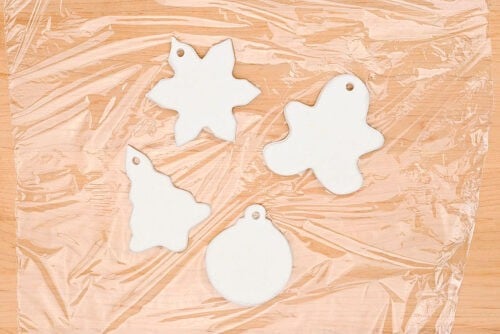
Step 4: Paint the clay gingerbread
- Add a coat of paint to the top of the ornaments. Allow to dry.
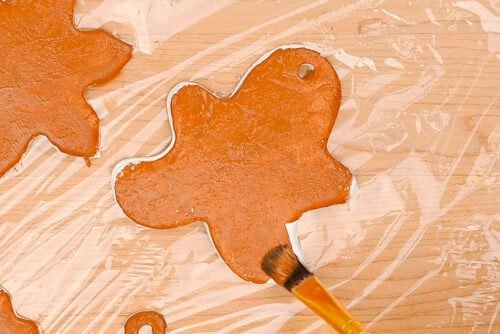
- Paint the sides of the ornaments and add another coat to the top. Allow to dry, and then add a coat of paint to the back of the ornament.
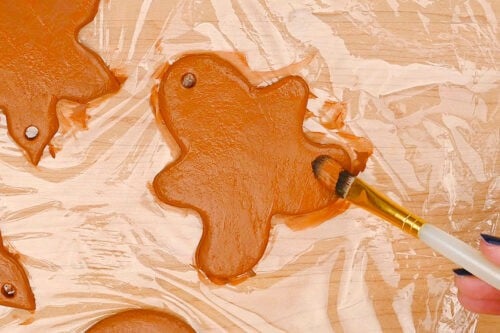
- To create the icing for our gingerbread ornaments we’re using white puffy paint.
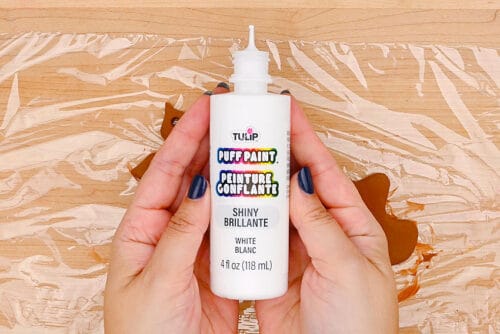
- Add piped icing details to the cookies. Whatever type of decoration you’d add with icing you can add with the small nozzle of the puffy paint bottle.
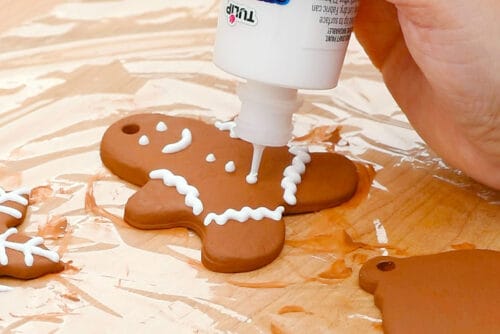
- Allow to dry overnight.
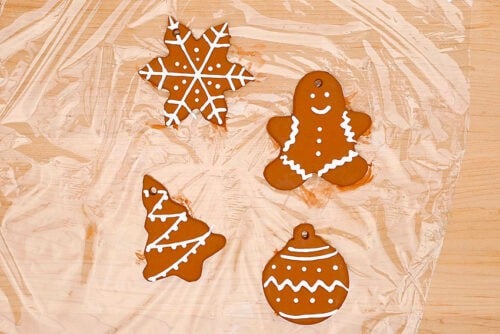
Step 5: Add an ornament hanger
- Cut an 8 inch piece of Christmas cotton twine.
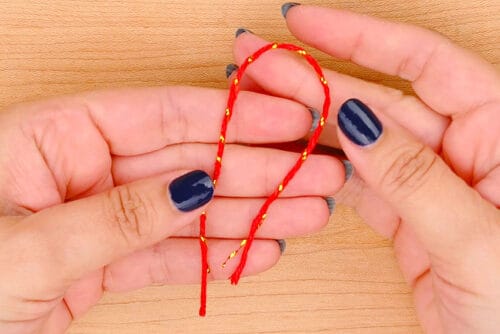
- Tie the twine into a loop and then put the loop through the ornament hole to the back.

- Slide the tied end through the loop and pull tight.

- Your clay gingerbread ornaments are complete!

Helpful Tips:
- Roll the clay on a non-stick surface: Place a piece of plastic wrap or a silicone mat under the clay before rolling it out. This keeps it from sticking to your work surface and makes it easier to gently peel up the cut ornaments without stretching or warping their shape.
- Seal the ornaments for a finished look: If you want your gingerbread ornaments to have a smooth, slightly ceramic appearance, add a clear acrylic spray sealer or polyurethane sealer once the paint and decorations are completely dry.

How can I add a cookie texture to my clay gingerbread ornaments?
We used the rough scouring side of a clean kitchen sponge to gently dab texture into the surface of the clay. It adds just enough variation to make the ornaments look more like baked gingerbread cookies.
You can also experiment with:
- Toothbrush or stiff paintbrush bristles
- A crumpled ball of aluminum foil
- A toothpick for a few deeper holes or “air bubbles”
Use a light touch so you create texture without changing the overall shape of the ornament.

What brown paint should I use for painting gingerbread ornaments?
We mixed our own gingerbread brown using DecoArt Burnt Sienna as the base, then adding small amounts of yellow, black, and blue until we got the warm cookie colour we wanted.
If you’d rather use a ready-made brown, try DecoArt Honey Brown, Apple Barrel Nutmeg Brown, CraftSmart Raw Sienna, or Chrome Craft Colors Gingerbread. A mixture of Honey Brown and Raw Sienna would also give you a really nice warm gingerbread shade.

What type of clay is best for gingerbread ornaments?
Air dry clay works really well because there’s no baking required and it’s easy to roll, cut, and add texture to before it dries. Choose a smooth clay that can be rolled fairly thin without cracking.
Keep in mind that different brands of air dry clay can shrink slightly as they dry, so make the hanging hole a little larger than you think you’ll need. Let the ornaments dry completely before painting and decorating them.
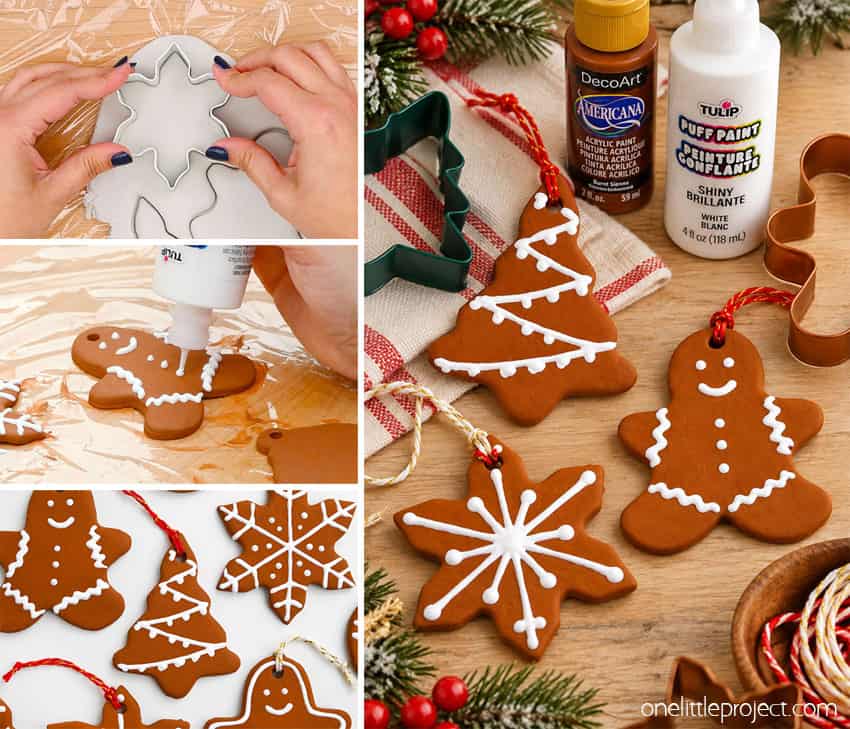
These clay gingerbread ornaments have all the cozy charm of decorated Christmas cookies, but you can bring them out again year after year. Make a few classic shapes for the tree, personalize them with names or dates, or tie one onto a wrapped gift for an extra handmade touch!
Here’s even more DIY ornament ideas:


Now available
Low-Mess Crafts for Kids Book
72 cute and fun crafts that kids and parents alike can enjoy. All with as little mess as possible!
Where to buy:
You can purchase Low-Mess Crafts for Kids from Amazon, or wherever books are sold:
Amazon | Barnes and Noble | Books-A-Million | Indiebound | Amazon Canada


Leave a Reply