
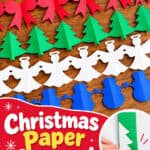
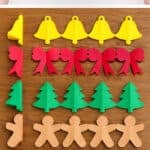
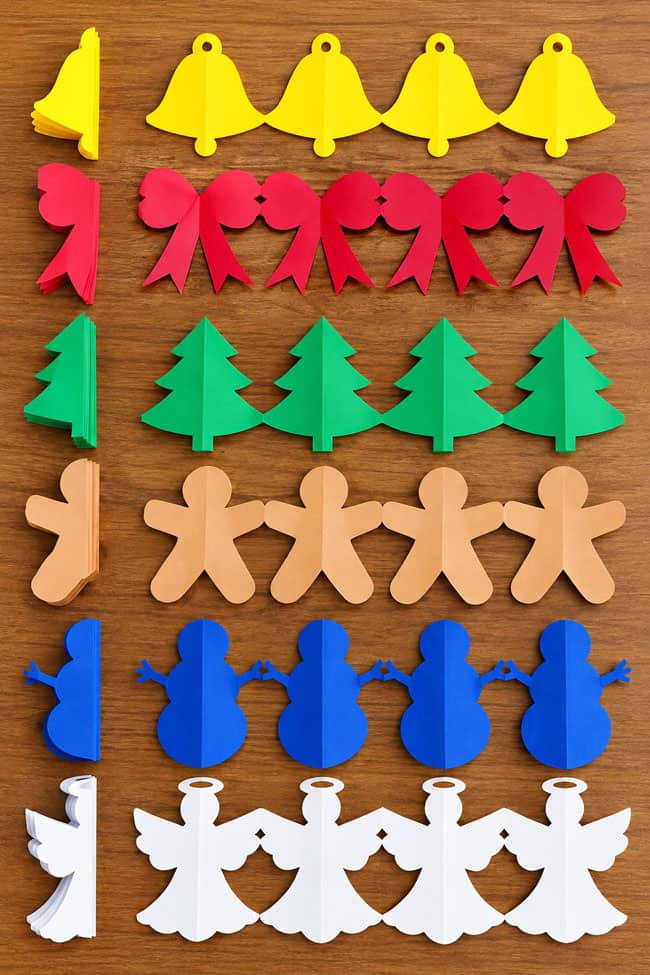
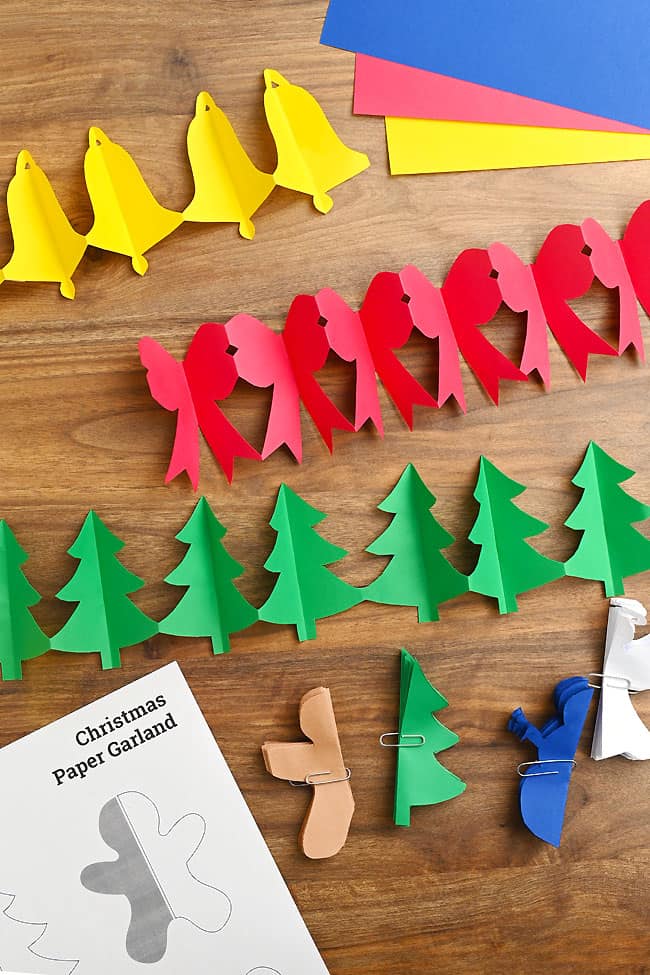
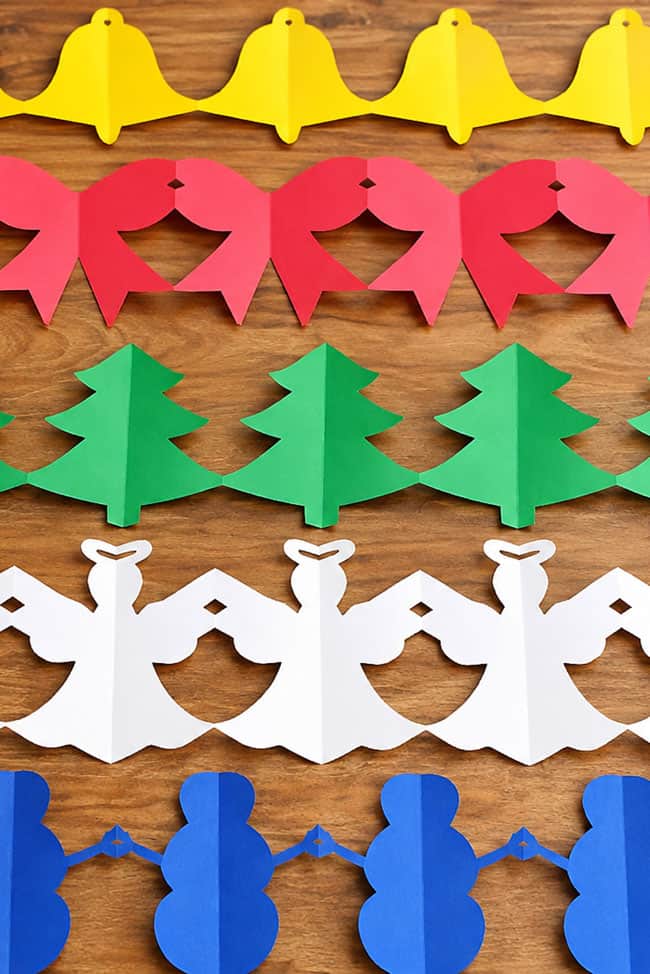
This Christmas paper garland is such a fun way to turn a few sheets of colourful paper into cheerful homemade holiday decor! Unfold each strip after cutting and you get a whole row of Christmas shapes joined together — it’s a little bit magical seeing the trees, bows, bells, gingerbread people, and other designs appear in a row.
Use our printable templates to make the folding and cutting easy, then mix and match the different garlands around a mantel, doorway, classroom, or Christmas tree. They’re inexpensive, wonderfully nostalgic, and easy to customize with whatever colours you love for the holidays.
This post contains affiliate links. If you use these links to buy something, we may earn a small commission at no extra cost to you. This helps support our website and allows us to keep creating fun, free content.
How to Make a Christmas Paper Garland
Watch the step-by-step video tutorial:
Instructions:
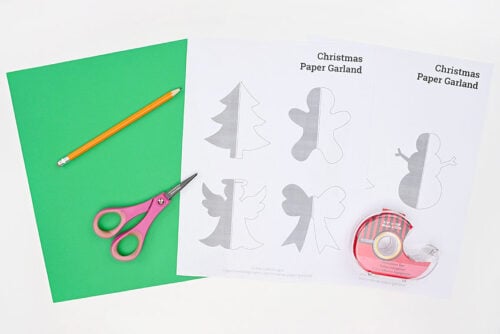
Step 1: Find what you need
- Gather your supplies and materials.

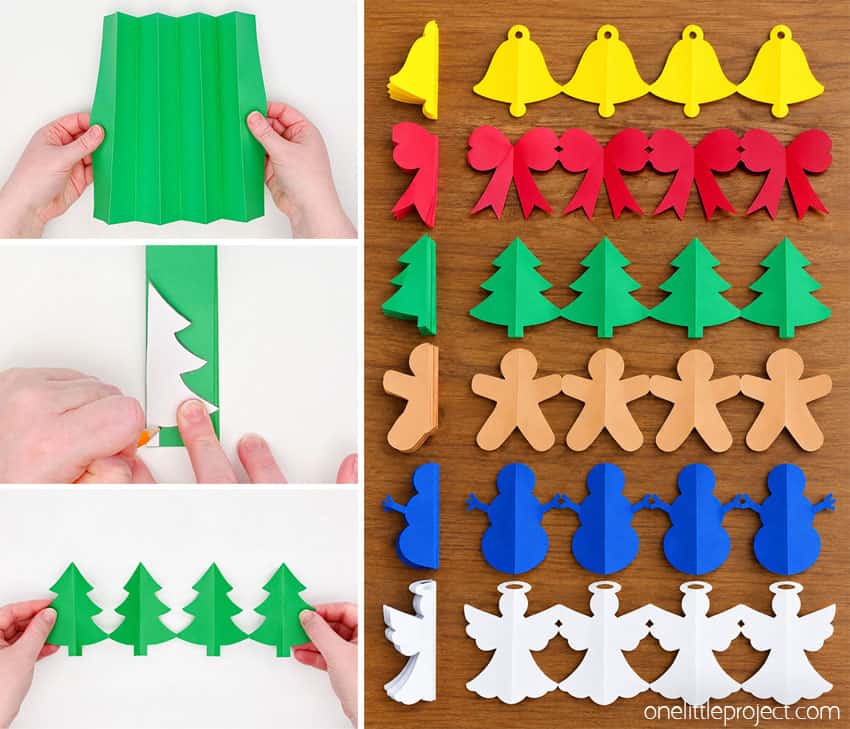
Step 2: Fold the paper
- To make your garland you’ll need a coloured piece of printer paper.

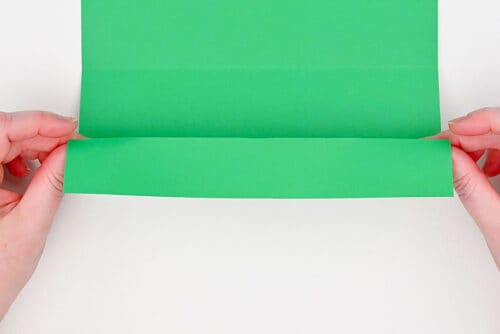
- Fold the paper in half crosswise (short end to short end).
- Then open the paper and fold one end up to the center fold.
- Repeat on the opposite side so you have 4 equal sections.
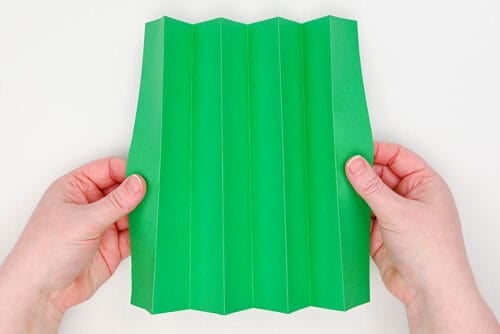
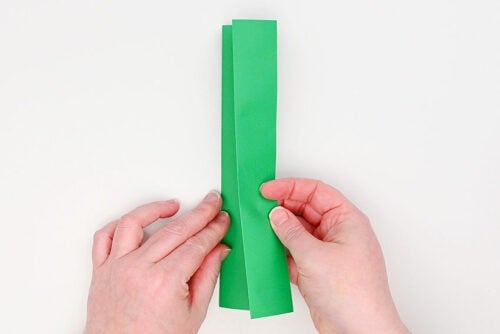
- With the paper still folded in on one end, fold the end of the paper down to the first fold.
- Flip the paper over and make another fold to the next line. Repeat until you have an accordion folded piece of paper with 8 equal sections.
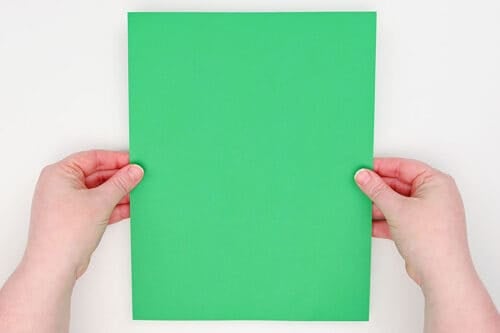
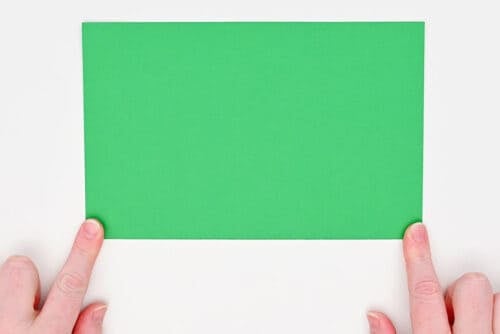
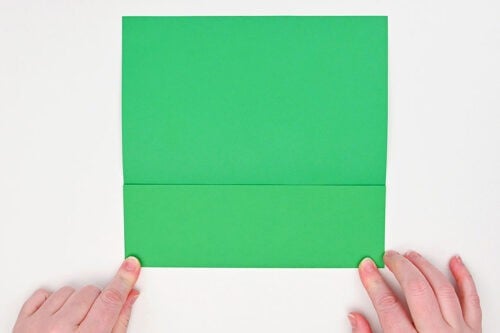
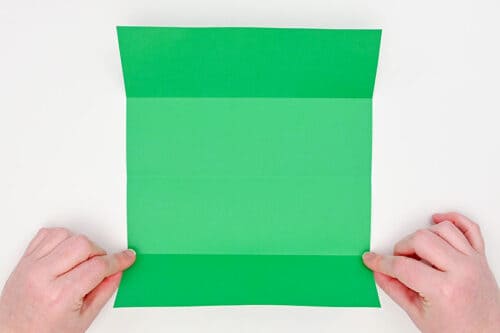
Step 3: Trace and cut the garland template
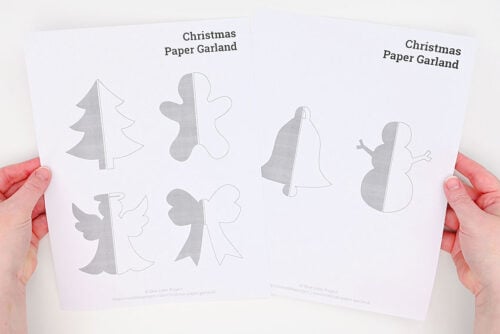
- Print our Christmas paper garland templates. It helps to print them on cardstock to make them easier to trace.Find the download link in the materials list above, with more details below the tutorial.
- Cut out half of the shape of your choice.
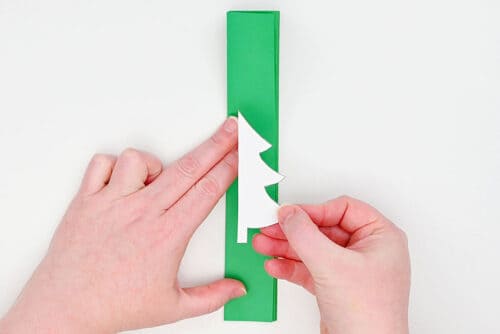
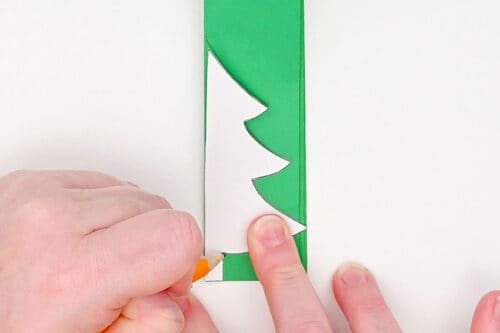
- Make sure you know where the first fold on the paper is. Here it’s to the left.
- Place the template on the paper, lining up the center of the shape (the flat edge) with the fold on the paper.Trace around the shape with pencil, carefully holding the template in place so it doesn’t move.
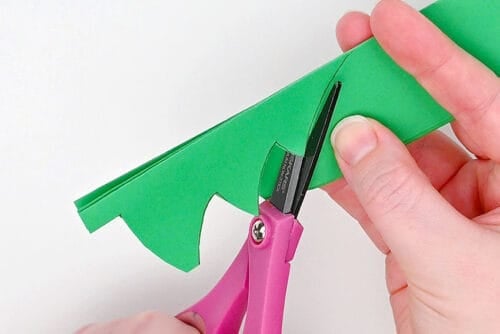
- Then cut out the shape. There should be at least 1 place where the shape goes to the right edge of the paper (opposite the first fold).This piece needs to be there, so that it becomes a garland, instead of separate shapes.
Step 4: Connect the garland
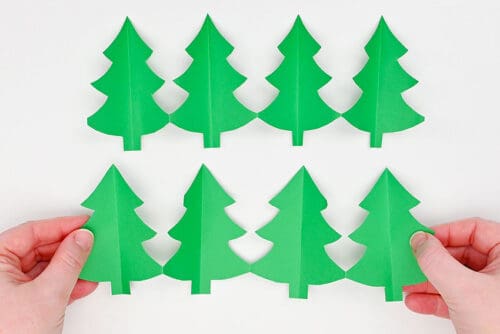
- Open up the paper to reveal your garland. Then repeat Steps 1 to 3 to make a second garland piece.You can make 2 garland sections with 1 piece of letter sized paper. Make more sections for a longer garland.
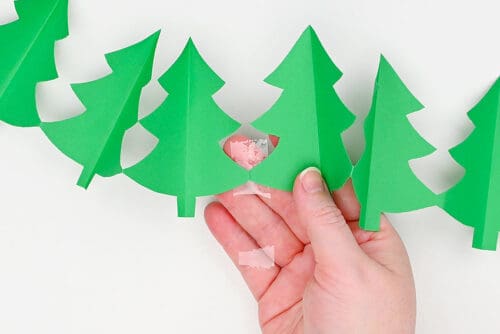
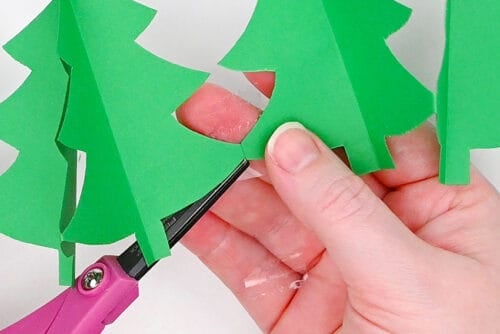
- Add tape to the edge of one garland (at the place where the shapes will meet up). Line up the second garland piece and connect them.
- Cut off the excess tape that sticks out.
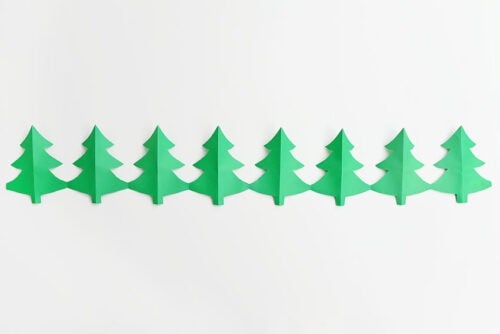
- Your Christmas paper garland is complete!
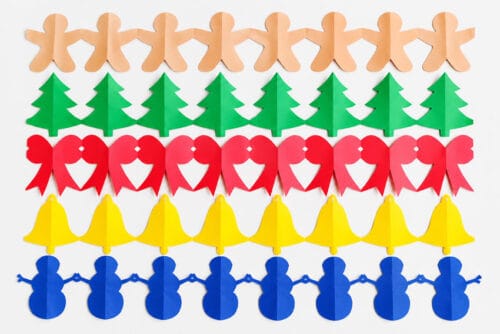
- Have fun using our templates to make all the festive Christmas garlands!
Helpful Tips:
- Use detail scissors for the smaller areas: A pair of small, sharp scissors makes it much easier to cut around the tighter curves and little details in the templates.
- Keep your folds neat and even: Try to line up the edges carefully as you accordion-fold the paper so the shapes repeat evenly. A ruler or bone folder can help you make crisp folds and keep the stack nice and flat for cutting.
Get printable templates to make Christmas paper garlands:
The link below will take you to our free, printable Christmas paper garland templates! The 2 page PDF file will open in a new window. Then simply print the patterns on 8.5 x 11 (letter size) printer paper or cardstock.
>>> Christmas Paper Garland Outlines <<<
How do I hang a paper Christmas garland?
You can tape a piece of string or cotton twine to the back of the garland, attaching it at several points so the paper is supported evenly. Or simply add twine loops to either end of the garland.
Another option is to punch a small hole near the top of each shape and thread string or twine through the holes. This works especially well if you want the garland to hang a little more loosely or drape across a mantel or doorway.
What type of paper is best for making a Christmas paper garland?
The templates are sized for standard 8.5 x 11-inch letter paper, but you can easily extend the template out a bit if you want to use 12-inch long paper.
Regular copy paper is a great choice because it comes in lots of bright colours and is thin enough to cut through several folded layers at once. Construction paper also works well, although the colours tend to be a little softer or more muted.
We don’t recommend cardstock for this project. Even though it’s sturdier, it becomes too thick to cut through cleanly once folded into multiple layers.

What other Christmas garland shapes can I make?
The easiest designs are shapes that can be folded down the middle and look the same on both sides — essentially a mirror image.
We have 6 festive outlines available to make: a Christmas tree, gingerbread man, angel, bow, bell, and snowman.
Some other fun Christmas shapes to try include:
- Star
- Reindeer
- Santa
- Santa hat
- Gift box
- Snowflake
- Ball ornament
- Holly
- Christmas light
- Wreath
- Candle
Just remember to leave part of the design connected at the folded edges so the shapes stay joined when you unfold the garland.
These Christmas paper garlands have such a cheerful, old-fashioned holiday feel, and they’re so satisfying to unfold after all the cutting is done. Make a few different designs, string them up around the house, and you’ve got easy handmade Christmas decor that feels festive without needing anything fancy.
Here’s even more Christmas craft ideas:


Now available
Low-Mess Crafts for Kids Book
72 cute and fun crafts that kids and parents alike can enjoy. All with as little mess as possible!
Where to buy:
You can purchase Low-Mess Crafts for Kids from Amazon, or wherever books are sold:
Amazon | Barnes and Noble | Books-A-Million | Indiebound | Amazon Canada






Leave a Reply