

These emoji Perler beads are such a fun and colourful craft! With bright beads, simple printable patterns, and a whole set of expressive faces, they’re a creative project that kids, tweens, and even adults will have fun putting together. From heart eyes and laughing faces to cool sunglasses and tears of joy, these emoji bead patterns are full of personality and so satisfying to make.
They’re perfect for birthday parties, rainy days, screen-free activities, or anytime you want an easy fuse bead craft with lots of playful charm. Use these emoji Perler bead designs to make magnets, keychains, backpack tags, or just a fun collection of smiley faces to display and share.

This post contains affiliate links. If you use these links to buy something, we may earn a small commission at no extra cost to you. This helps support our website and allows us to keep creating fun, free content.
How to Make Emoji Perler Bead Patterns
Materials:
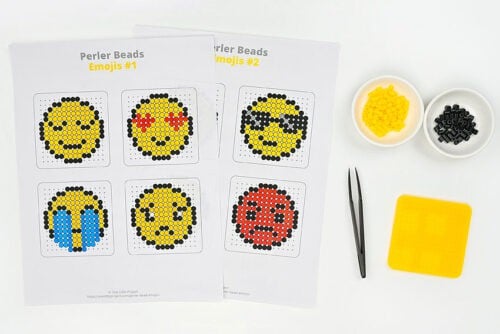
- FREE Printable Emoji Perler Bead Patterns
- Perler beads (multiple colours)
- Perler beads pegboard (small square)
Equipment:
- Tweezers (optional)
See the craft in action:
Instructions:
Step 1: Find what you need
- Gather your supplies and materials.

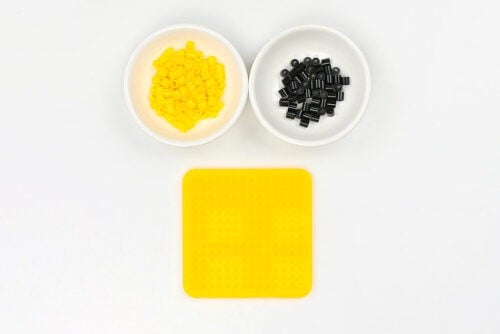
Step 2: Prepare your pegboard and beads
- Print our free emoji Perler bead patterns, or follow along with the template on your device’s screen.Find the link to the patterns in the materials list above with more details found below this tutorial.
- To make these emoji designs you’ll need a small square pegboard. If you have a clear pegboard you can place it on top of the printed pattern to make it easier to follow along.We also find it helpful to sort the Perler bead colours we need and divide them into small bowls.
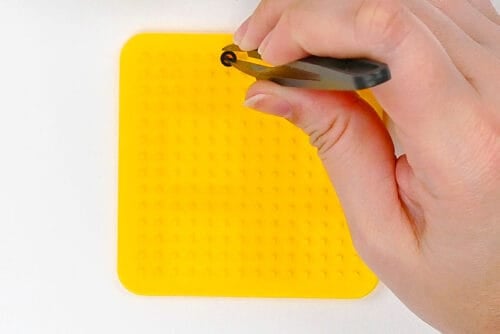
Step 3: Follow the pattern
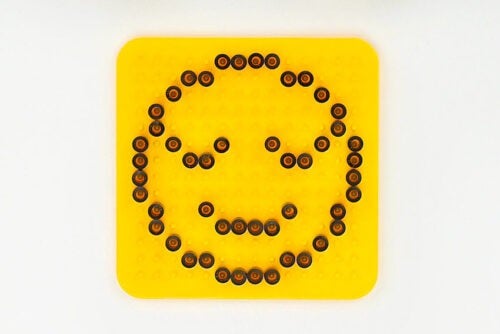
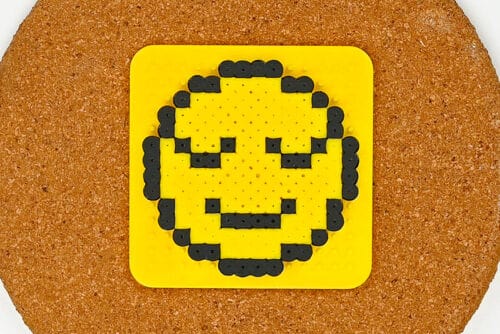
- Begin placing beads according to the pattern.Optional: Use tweezers to place the Perler beads. It makes it easier to add beads to specific pegs.
- Continue adding beads according to the pattern. We added the black outside beads first, but you can add the beads in whatever order makes sense to you.
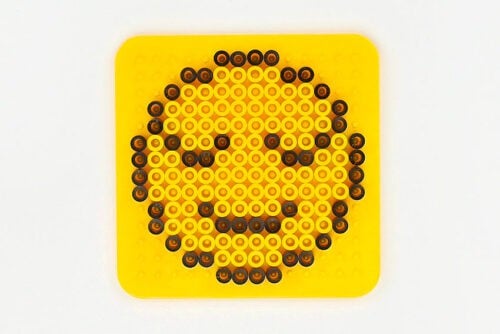
- Finish the design and compare it to the pattern 1 last time, to make sure you’re happy with it.
Step 4: Iron the design
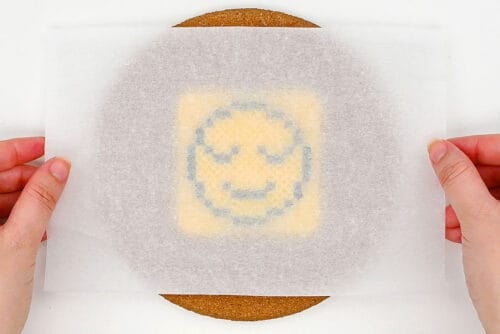
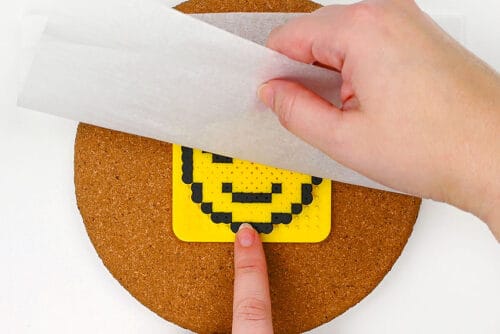
- Place the pegboard on an ironing board or other heat-safe surface. Cover the Perler bead design with a piece of parchment paper.
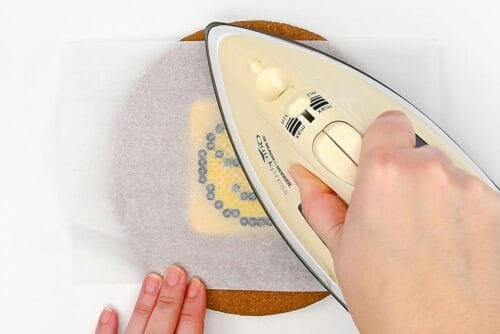
- Heat your iron to medium temperature, no steam. Place the iron on the parchment paper and move it around in circular motions for at least 15 to 20 seconds.
- Check the beads to see if they’re melted together. Continue to iron for another 10 to 20 seconds, if necessary.The beads are melted correctly when the parchment paper sticks to the beads and needs to be peeled away from them.
- Leave your design on the pegboard until it’s cool to the touch. When you remove it, place it under a stack of heavy books to stop it from warping as it cools completely.
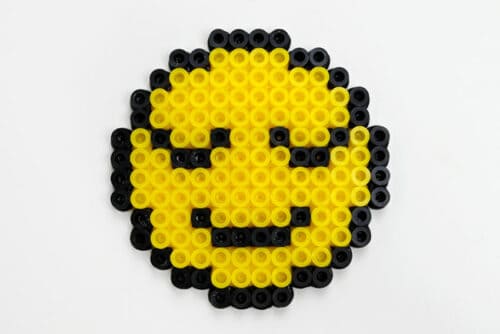
- Your emoji Perler beads design is complete!
- Now have fun making all these cute emojis! Find the free patterns below.

Helpful Tips:
- Use a clear pegboard: If you have a clear pegboard you can place the emoji template underneath it, making it super easy to follow the pattern!
- Choose how much to melt the beads: You can melt the beads completely for a fused pixel look, or melt them less so you can still see the bead shapes. You can even melt both sides of your emoji — it all depends on what you want your finished design to look like.

Get our free printable emoji Perler bead patterns:
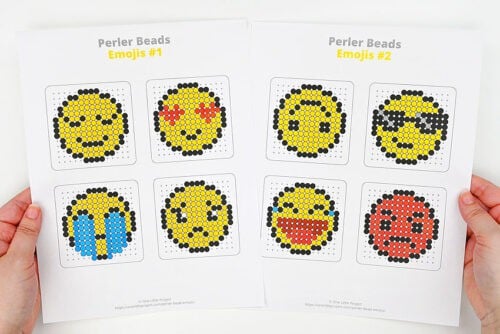
The text link and pictures below will take you to our free, printable emoji Perler bead templates! The 2 page PDF file will open in a new window.
Then simply follow along with the pattern on your device’s screen, or print the patterns in colour on 8.5 x 11 (letter size) printer paper.
>>> Emoji Perler Bead Patterns <<<


What are Perler beads?
Perler beads are small, colourful plastic beads that you place onto a pegboard to make pictures and patterns. They’re often called melty beads or fuse beads, because once your design is finished you cover it with parchment paper and melt the beads with an iron. This fuses them together into one solid shape.
They’re a popular craft for kids and adults because they’re easy to use, come in lots of bright colours, and can be used to make all kinds of fun designs. For this project, we used them to create cute emoji Perler bead patterns, but you can also make animals, decorations, magnets, keychains, and so much more.

Can I make my own Perler bead emoji patterns?
Yes, of course — it’s a lot of fun to design your own Perler bead emojis! Try and make some of the following by memory, or search “(name) emoji pixel art” to get examples:
- Wink face
- Kiss face
- Star eyes
- Party face
- Poop
- Heart
- Fire/flames
- Sparkles
- Star
- Prayer hands
- Skull

What can I do with my emoji Perler bead designs?
There are so many fun ways to use finished Perler bead designs. You can turn them into magnets, keychains, backpack tags, ornaments, coasters, bookmarks, or party favours.
They also look great as simple decorations to display on a bedroom shelf, in a school locker, or on a craft room bulletin board.

These emoji Perler bead patterns are a great way to make something cheerful and handmade that you can actually use once you’re done. Turn them into little gifts, party favours, bag charms, or magnets, or keep a few of your favourite faces to decorate a desk, locker, or bulletin board.
They’re also a fun project to make in batches, since you can mix and match expressions and colours to create your own custom set. Whether you make just one or a whole tray full, these emoji designs are a simple way to add a little extra fun to your craft time.
Here’s even more Perler bead craft ideas:


Now available
Low-Mess Crafts for Kids Book
72 cute and fun crafts that kids and parents alike can enjoy. All with as little mess as possible!
Where to buy:
You can purchase Low-Mess Crafts for Kids from Amazon, or wherever books are sold:
Amazon | Barnes and Noble | Books-A-Million | Indiebound | Amazon Canada


Leave a Reply