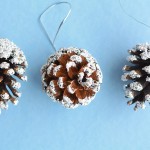
How to Make Frosted Pinecones
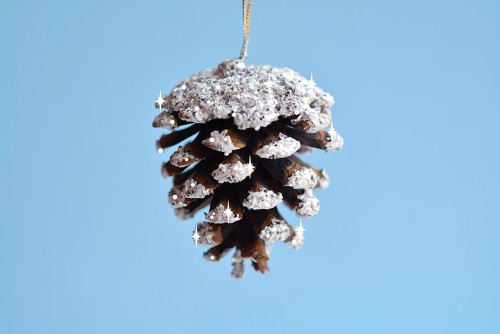
These frosted pinecones are such a pretty, glittery holiday decoration! It's so easy to make these DIY ornaments with dollar store supplies.
Yield: 4 frosted pinecones
Cost: $1
Equipment
- Cereal bowl (or paper bowl; to put glitter in)
Materials
Instructions
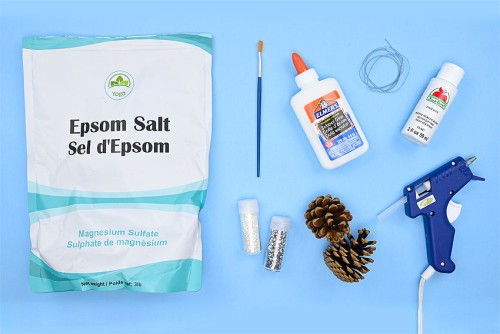
Step 1: Find what you need
- Gather your supplies and materials.
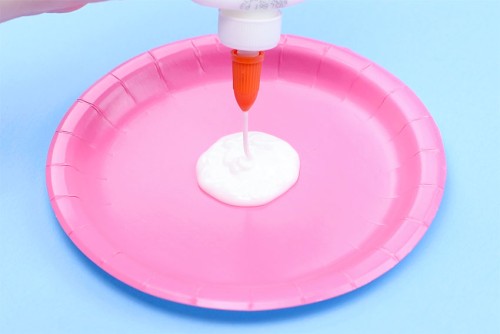
Step 2: Mix the "snow" together
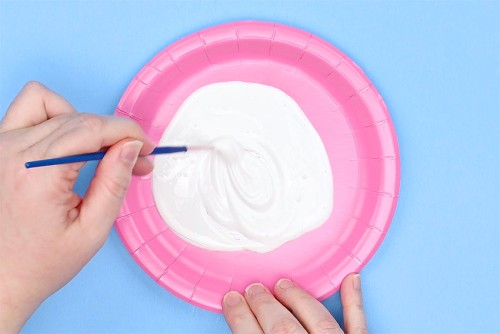
- Add about 1-1/2 Tablespoons of white glue to a disposable plate or paint palette.
- Add an equal amount of white acrylic paint on top of the glue.
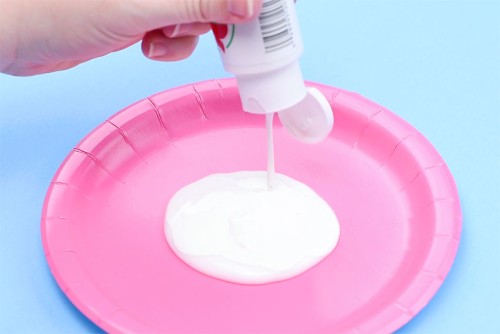
- Use a paintbrush to combine the glue and paint.
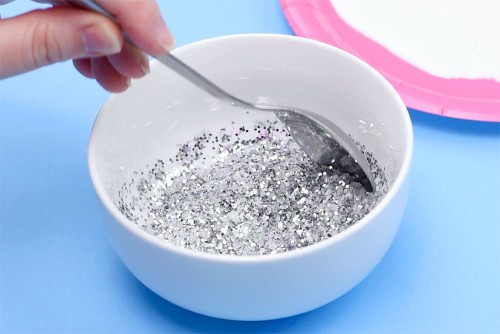
- Add the epsom salt to a bowl, along with white and silver glitter (at least a teaspoon of each). Mix together with a spoon.
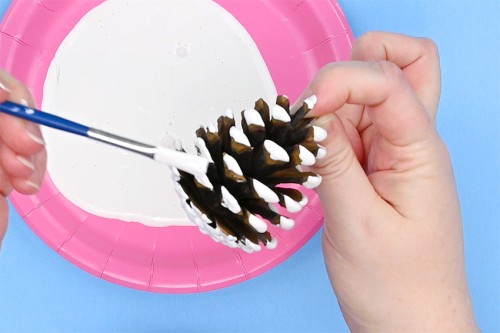
Step 3: Paint the pinecone
- Place the pinecone sideways and roll it in the paint/glue mixture.
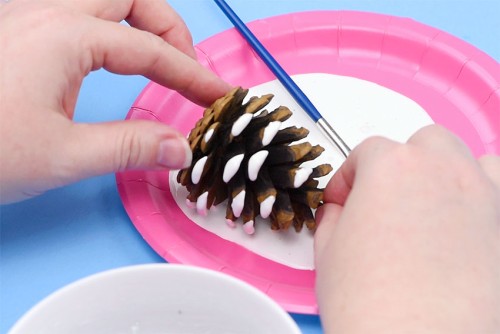
- Cover the top of the pinecone as well. You can use the paintbrush to help cover it evenly and to remove extra paint.
- Use the paintbrush to paint any tips that didn't get fully covered.
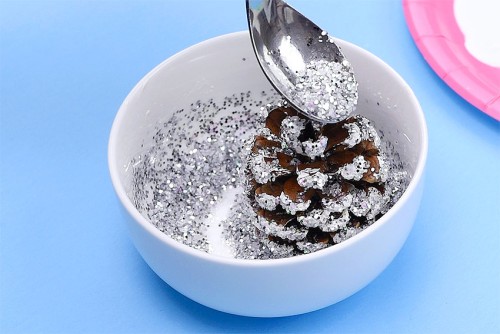
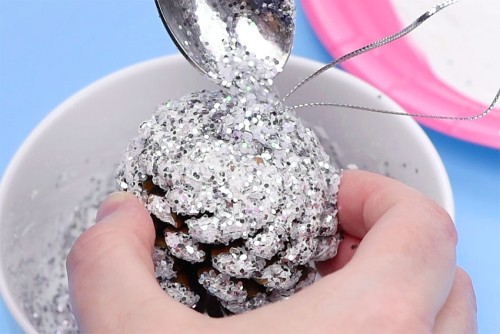
Step 4: Add glitter and salt to the pinecone
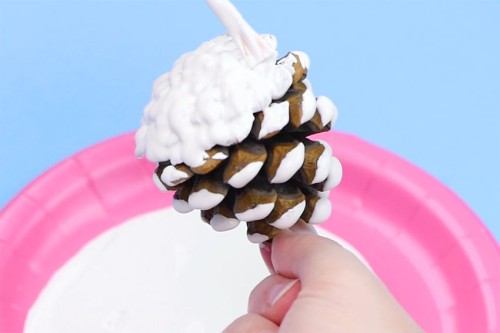
- Dip the pinecone in the glitter mixture and roll it around to cover it.
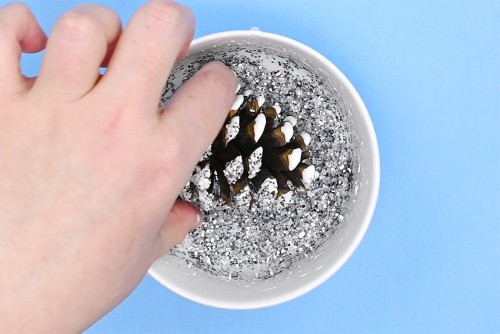
- Use the spoon to add more glitter to any areas that were missed.Set the the pinecone on another paper plate or parchment paper to dry for at least 1-1/2 hours.
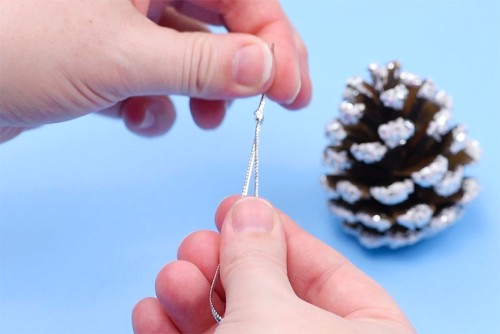
Step 5: Attach an ornament hanger (optional)
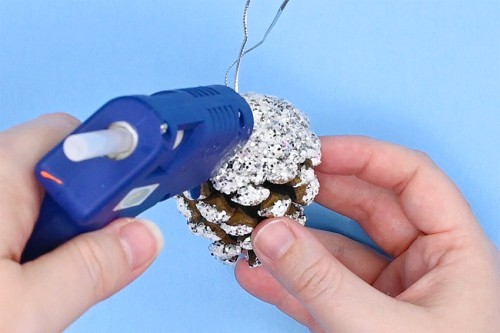
- Cut a 9 inch piece of silver cord. Tie it into a loop and then cut off the ends of the string close to the knot.
- Add a bit of hot glue to the center of the pinecone.
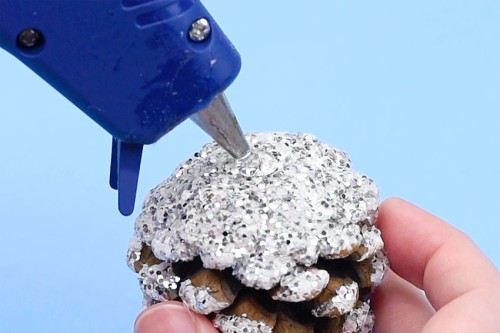
- You might have a hard time getting the ornament hanger to stick to the glitter. To fix this, pick off the first bit of hot glue before it dries completely. This will remove some of the glitter and allow the hot glue to stick to the pinecone.Add another dot of hot glue and place the knot of the ornament hanger in the glue.
- Add more hot glue on top of the knot to help keep it in place.
- Once the hot glue has dried, paint over it with the paint/glue mixture.
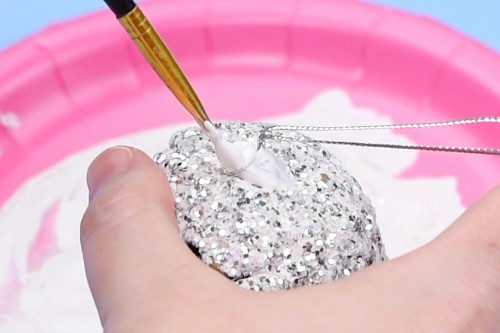
- Sprinkle more glitter and salt over top of the wet paint.Allow to dry.
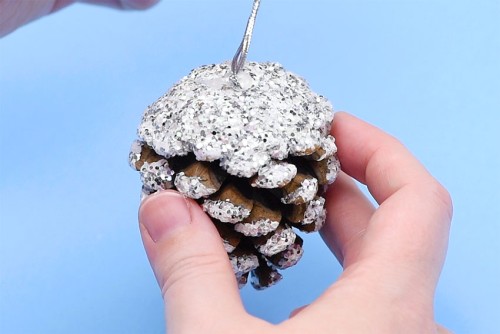
- Your frosted pinecone is complete!
TIP:
- 1. This amount of glitter mixture and paint should be enough to make 4 frosted pinecones.2. To give the pinecones even more of a snowy texture, you can increase the amount of salt in your mixture. Or even the type of salt you use. More on that below.
Video
Notes
Looking for more pinecone crafts? Here's a few of our favourites:
Pinecone Snowman Ornaments
How to Make Pinecone Owls
DIY Pinecone Elves