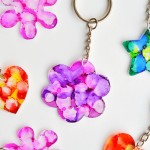
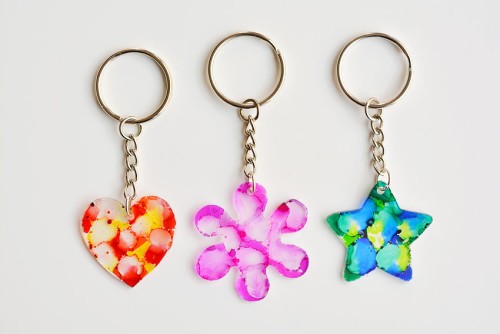
How to Make Shrinky Dink Keychains
Make an easy Shrinky Dink keychain with a tie dye look - so fun and easy!
Yield: 1 shrinky dink keychain
Equipment
- Cookie cutters (at least 3 inches wide)
Materials
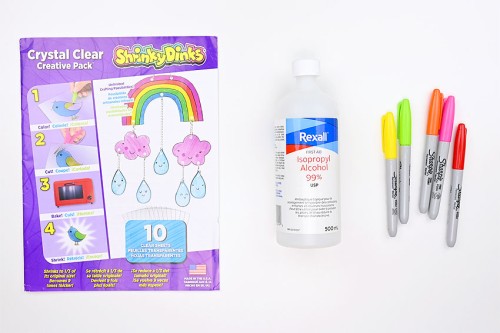
- Clear Shrinky Dink film
- Coloured Sharpie markers
- Rubbing alcohol (make sure it's 99%)
- Split key ring with chain (with jump ring)
Instructions
Step 1: Find what you need
- Gather your supplies.
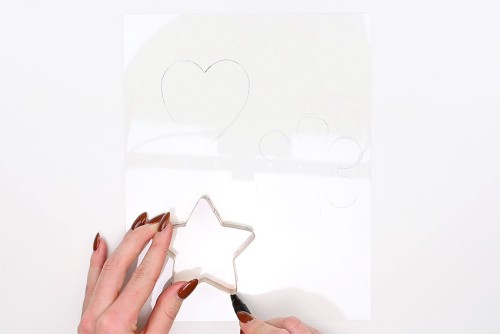
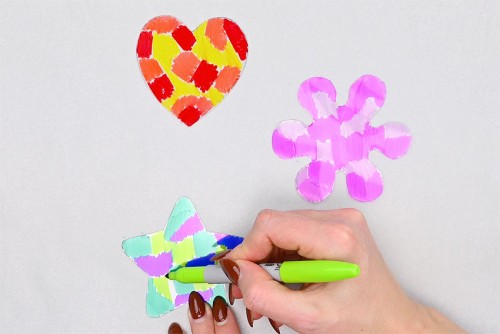
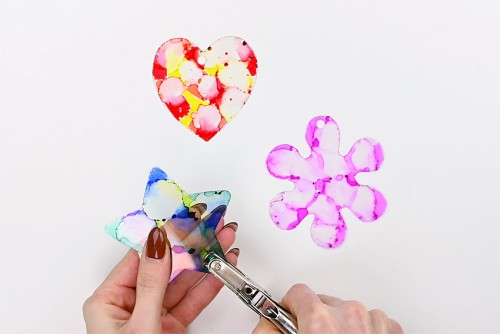
Step 2: Cut out and colour the keychain shapes
- Place a cookie cutter on the Shrinky Dink film and trace around the shape with a gel pen or Sharpie.
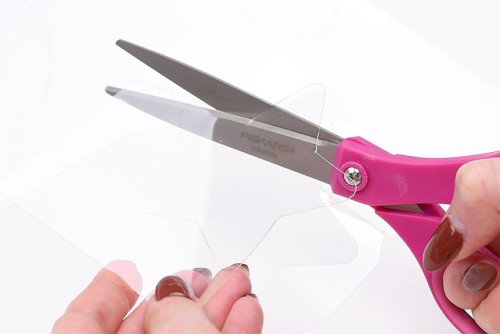
- Cut out the shape.
- Colour the Shrinky Dink shape with 3 to 4 different colours of Sharpie markers.Add small patches of different colours until you've covered most of your shape. Small gaps are okay, but the tie dye effect is best when most of the film is coloured.
Step 3: Drop alcohol on the keychain shapes
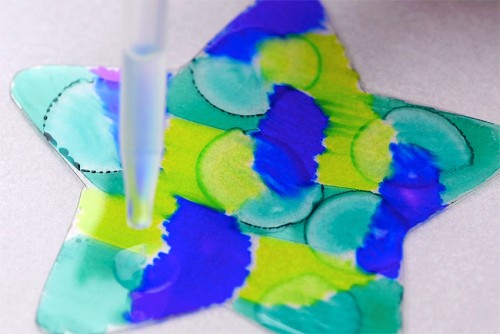
- Use an eye dropper to drop rubbing alcohol over top of the Sharpie coloured shapes.
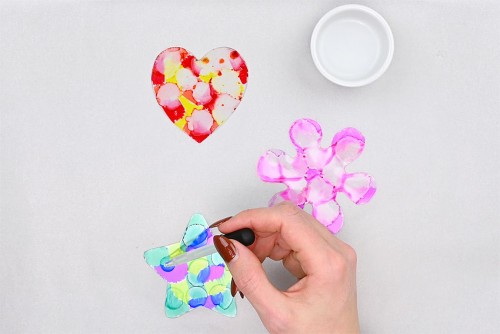
- Make sure you don't use too much alcohol, or it will push the ink off the plastic. Start with a few drops and add more if needed.
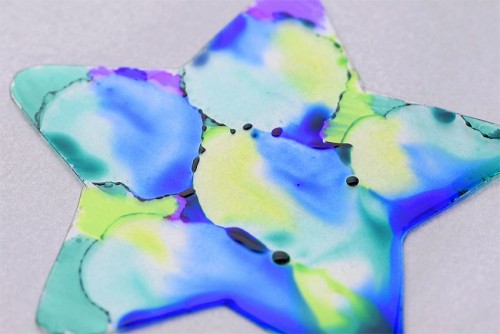
- Allow the alcohol to spread out and then let it dry for at least 20 minutes.
- Punch a hole in the Shrinky Dinks with a single hole punch. This will be where the keychain is attached.
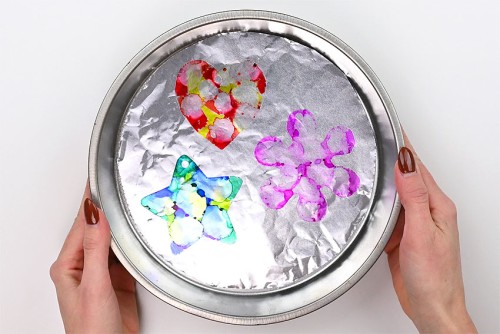
Step 4: Bake the Shrinky Dinks
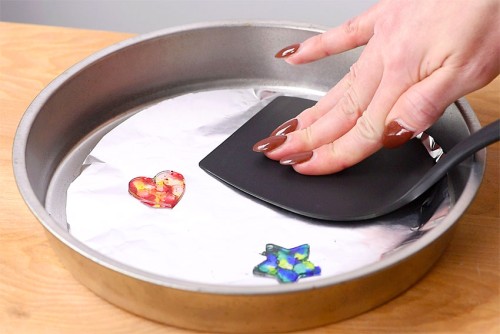
- Preheat the oven or toaster oven to 325F.Set the Shrinky Dinks on a tin foil lined baking pan and place them in the oven.
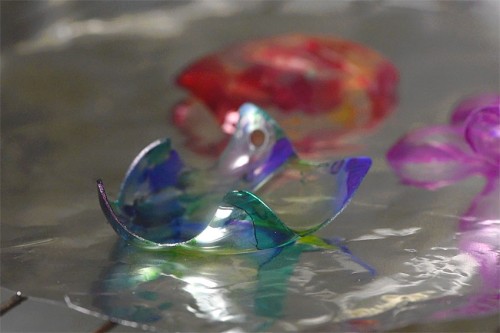
- Bake the Shrinky Dinks for 1 to 3 minutes. The time needed will depend on how big your shapes are.It's normal for the Shrinky Dinks to curl up as they shrink. They should completely flatten out the longer they bake. If they get "stuck" in a curl, use a spatula to separate the areas that are stuck together so they can flatten.
- Once the Shrinky Dinks are completely flat, wait another 30 seconds before removing them from the oven.
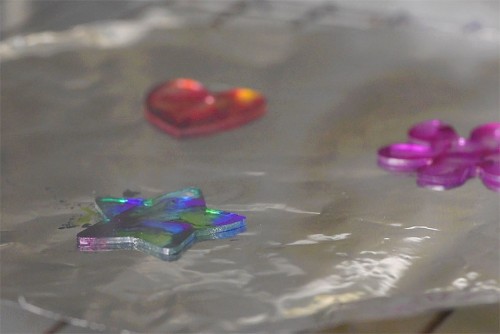
- As soon as they're out of the oven, use a flipper spatula to press down on each shape to make sure they're completely flat. This needs to be done immediately after they're removed from the oven, before they have a chance to cool.
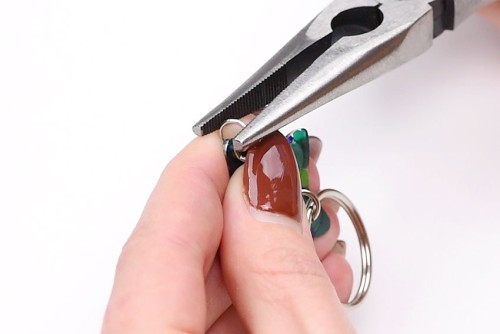
Step 5: Add the jump ring and keychain
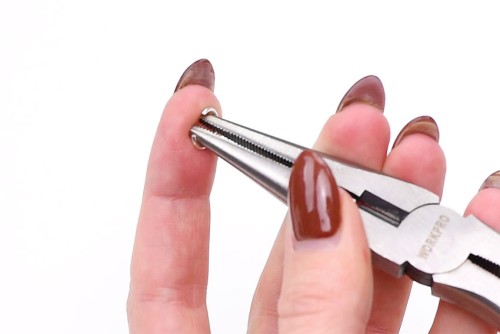
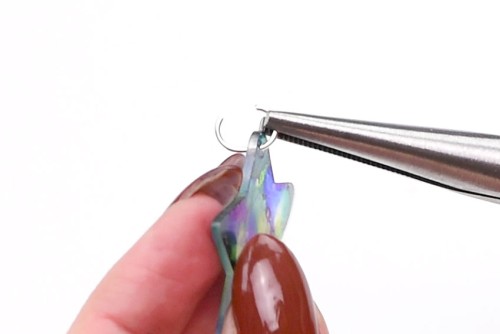
- Allow the Shrinky Dinks to cool for a few minutes before handling.Meanwhile, use needle nose pliers to open the jump ring.
- Attach the jump ring through the hole in the Shrinky Dink.
- Add the keychain chain to the jump ring.
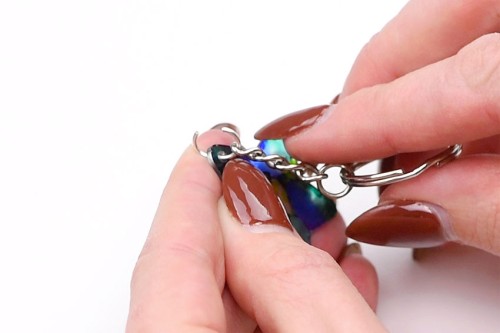
- Use the pliers to close off the jump ring.
- Your shrinky dink keychain is complete!
Video
Notes
Looking for more fun crafts? Here's a few of our favourites:
Sharpie Dyed Tile Coasters
Shrinky Dinks Powerpuff Girls Jewelry
Resin Keychain