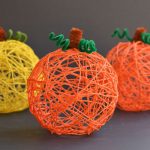
How to Make Yarn Pumpkins
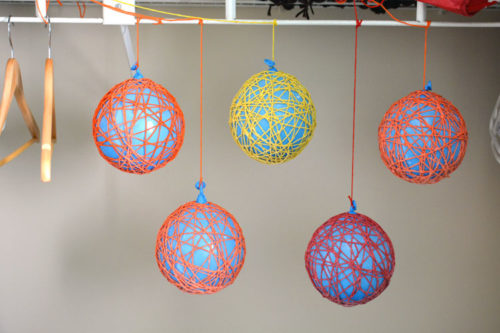
These yarn pumpkins are such a fun fall craft! They make beautiful centerpieces and decorations for Halloween or Thanksgiving. So pretty!
Yield: 1 yarn pumpkin
Cost: $2
Equipment
Materials
- Balloon
- Orange yarn
- White glue (Aleene's Tacky Glue works best)
- Pipe cleaners (brown and green)
Instructions
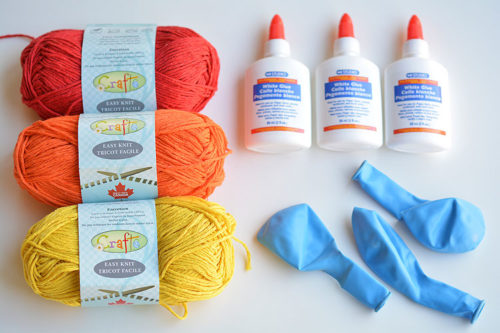
Step 1: Find what you need
- Gather your materials.
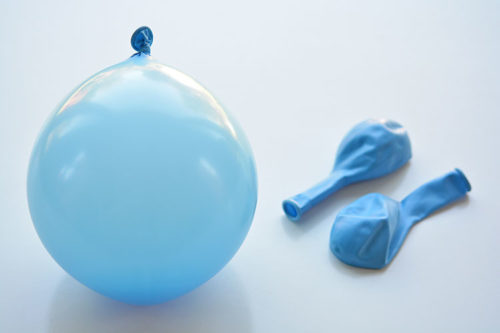
Step 2: Prepare balloon and glue
- Blow up 12″ balloons about half full. The bigger you blow the balloons, the more yarn you’ll need. But the smaller you blow them, the more egg-like the shape will be. It’s a balance.
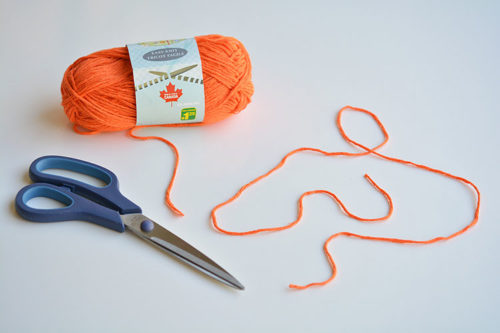
- Cut out about 21 pieces of yarn about 36 inches long. I have a table that’s exactly 36″ wide, so I used the table top to roughly measure. If you make your pieces of yarn too much longer than that, they’ll get tangled when you soak them in the glue.
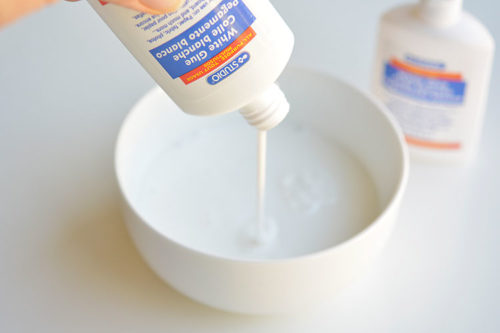
- Pour the glue into a small bowl. It takes about one full 2 ounce bottle of glue per yarn pumpkin. I added three bottles into the bowl at a time just to make it easier.(EDIT: Don't use dollar store white glue. We've made these a few times and found that half Aleene's Tacky Glue/half water works WAY better than regular white glue. Your pumpkin will be somewhat soft and flexible with other types of white glue.)
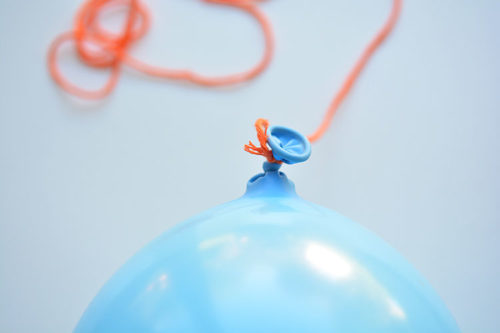
- Tie one of the pieces of yarn to the end of the balloon. Open one of your kitchen cabinets and hang the balloon from the handle. It’s way easier (and cleaner) than trying to manipulate the balloon when it’s lying on a flat surface.
Step 3: Dip yarn and wind around balloon
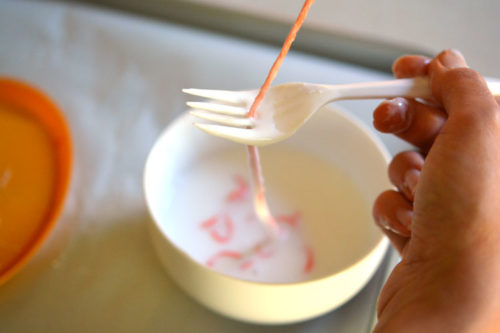
- Dunk one of the pieces of yarn into the bowl of glue, and swirl it around gently with a plastic fork to get it completely covered with glue.Hold the end of the piece of yarn with your fingers, then gently run it between the tines of a fork to remove the excess glue. I found that running it through the fork left enough glue on the yarn that it held its shape once it dried, but not so much glue that it was dripping everywhere.I tried running the yarn through my fingers to “pinch” off the excess glue, but it took off nearly all the glue, and made the yarn ball very soft once it dried. The fork method worked way better.
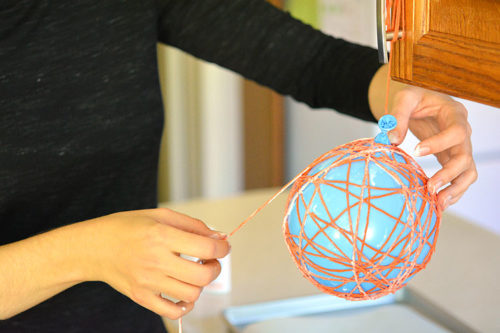
- Take the glue covered yarn strand and press the end down somewhere (I liked to either start at the top or the bottom of the balloon) and wind it around the balloon, making sure the press down the ends of the yarn to secure them when they’re in place.Repeat with the remaining pieces of yarn.
Step 4: Allow to dry
- When you’re done, find somewhere to hang the yarn covered balloons to dry. I squeezed all of our jackets to one side in our coat closet, and hung the balloons there.They did drip a few drops of glue as they were drying, so make sure you put down an old towel, tarp, or dollar store table cloth so you don’t wreck whatever is beneath them.
- It took a full 24 hours for them to dry. But when they did, I was really happy with how firm they were! The glue hardened beautifully!

Step 5: Remove the balloon
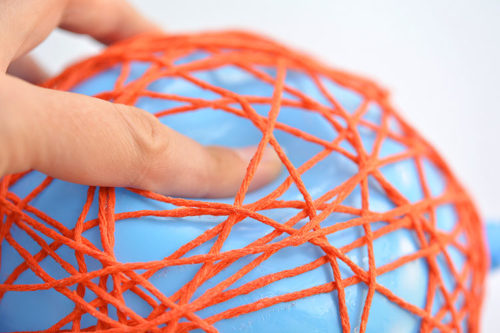
- This is CRITICAL. You need to make sure you press your fingers down under the yarn to detach the glue from the balloon – around the entire surface of the balloon. It’s a little tedious, but if you don’t do it, the balloon will pull the yarn to the inside as it deflates and it may ruin the shape of your pumpkin.
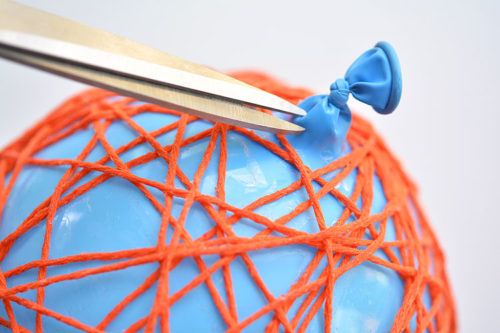
- Make a very small hole in the balloon close to where the knot is (it won’t pop if you cut it near the knot). You want the air to leak slowly so you can detach any yarn that you might have missed as it shrinks.
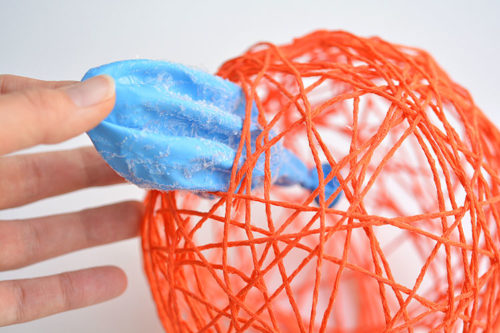
- Then pull the deflated balloon out through one of the openings in the yarn.
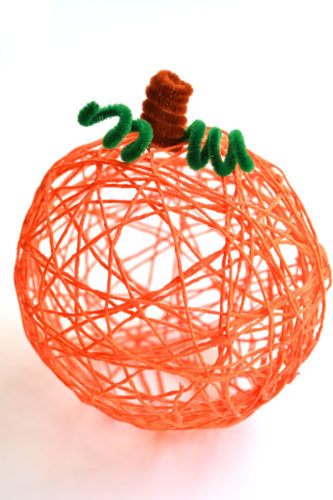
Step 6: Add pipe cleaner stem and tendrils
- Make the pipe cleaner stem and vine by wrapping the pipe cleaners around your baby finger. The stem is just a spiral, so I tucked the end of the pipe cleaner into the yarn. I didn’t glue it on, I just tucked it in and it stayed in place.Your yarn pumpkin is complete!
TIP:
- If you use regular white glue, your pumpkin will be somewhat soft and flexible. We recommend using half Aleene's tacky glue and half water mixed together to get a firmer pumpkin.
Video
Notes
Looking for more pumpkin craft ideas? Here's a few of our favourites:
Paper Mache Pumpkins
Chunky Yarn Pumpkins
Paper Pumpkin Craft