
How to Make a Coffee Filter Turkey Craft
This coffee filter turkey craft is a fun way to celebrate Thanksgiving! It's such an easy fall craft, and so cool to see the colors blend!
Yield: 1 coffee filter turkey
Cost: $1
Equipment
- Spray bottle (can also use eye dropper or measuring spoon)
Materials
- Coffee filter (1 per turkey)
- Washable markers
- Tongue depressor (aka jumbo craft stick)
- Brown acrylic paint
- Construction paper scraps (yellow and red)
- Googly eyes (6 or 8 mm size)
- Glue tape (or glue stick)
Instructions
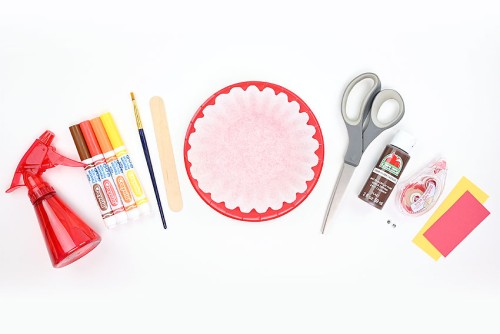
Step 1: Find what you need
- Gather your materials and supplies.
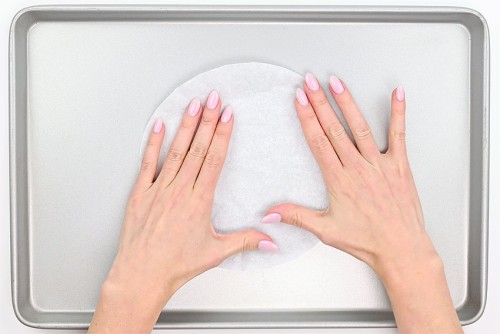
Step 2: Colour coffee filter
- Flatten out a coffee filter on a tray.
- Draw on the coffee filter with washable markers. The more marker you add, the darker your turkey will be. If you leave a lot of white space the turkey will be mostly white.

- Spray the coffee filter with water, just enough that the coffee filter is soaked through.
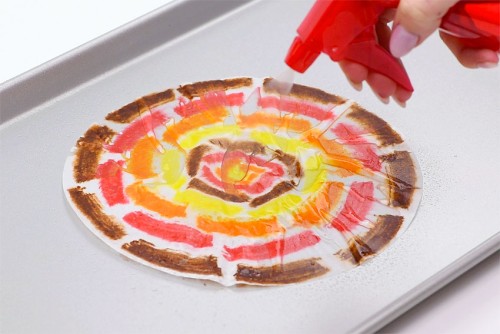
- You can also use an eye dropper or small measuring spoon to add water.
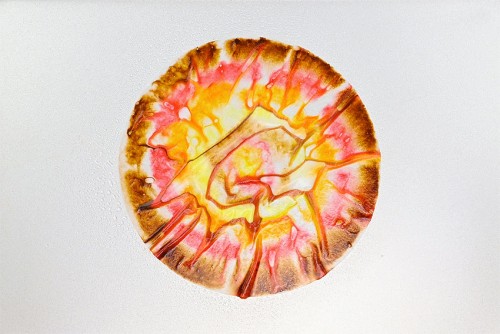
- Allow the coffee filter to dry. Here's our coffee filter after it dried overnight. (You can also dry the coffee filter in the oven in 20 minutes. For more on that, see the notes below).

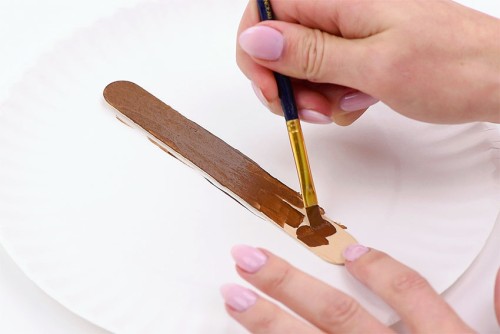
Step 3: Make turkey body and face
- Paint a tongue depressor brown.We only painted the front side, but you can paint both sides if you'd like!
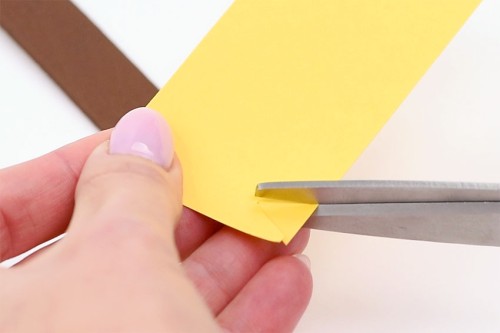
- Now cut out a small triangle from yellow construction paper for the beak.
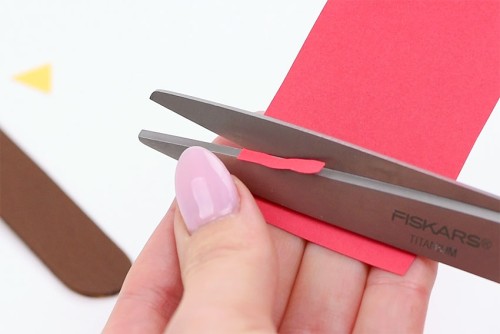
- Then cut out a small squiggly line for the turkey's wattle from red construction paper.
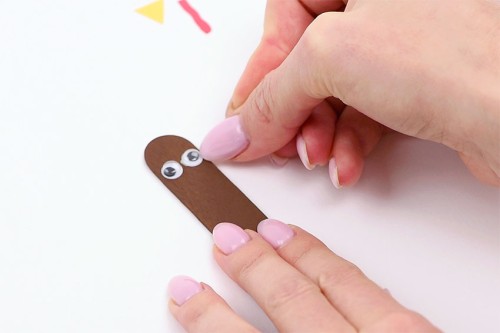
- Add glue tape to the back of the googly eyes and attach them close to the top of the tongue depressor.
- Add glue tape to the beak and press the red wattle toward one side of the beak.
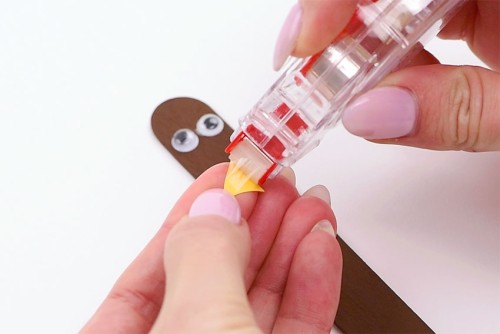
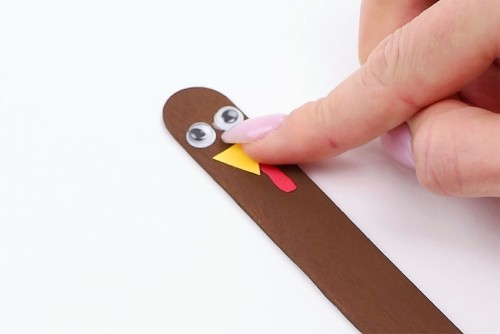
- Add more glue tape if needed, then attach the beak (wattle side down) below the googly eyes.
Step 4: Make coffee filter feathers
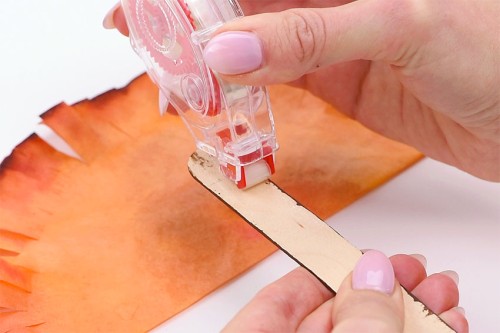
- Fold the coffee filter in half. Open it back up and add glue tape to one half of it.
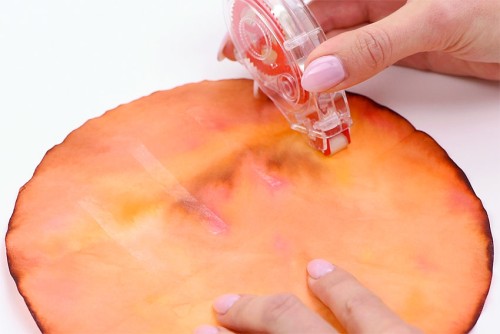
- Re-fold the coffee filter, pressing down to connect both sides.
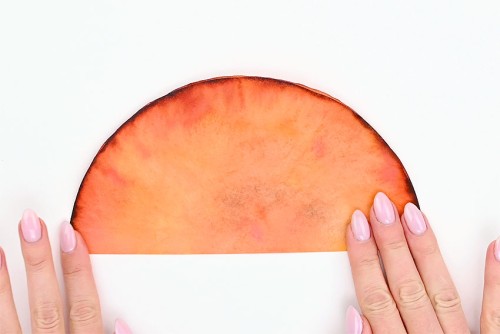
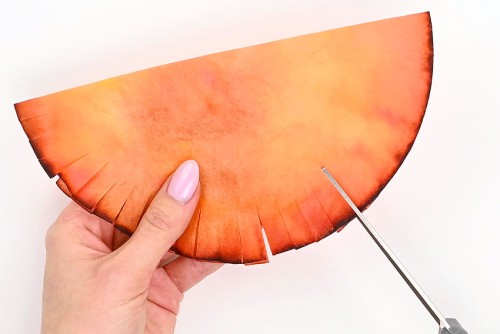
- Now take a pair of scissors and cut 1 inch slits around the curved edge of the coffee filter to make a fringe.
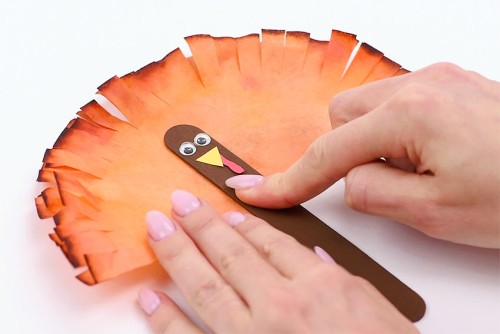
- Add glue tape to the top third of the back of the tongue depressor.
- Press the tongue depressor onto the coffee filter (make sure the folded side is down, with the fringe at the top).
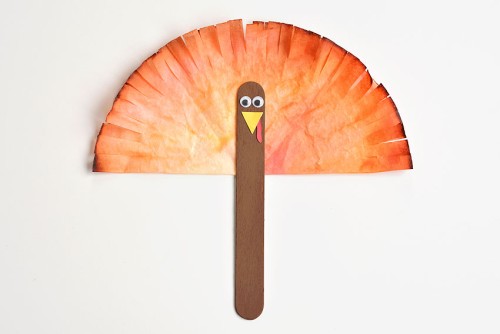
- Your coffee filter turkey craft is complete!
TIP:
- If you want to make more than one turkey you can stack two coffee filters together and only colour the top coffee filter.
Video
Notes
Looking for more coffee filter crafts? Here's a few of our favourites:
Coffee Filter Bats
Coffee Filter Spiderwebs
Coffee Filter Monsters