
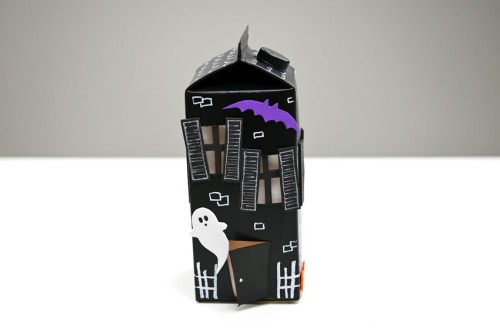
DIY Haunted House Craft
Paint and decorate a milk carton to make this haunted house craft that's both spooky and sweet. This is such a fun kids craft for Halloween!
Yield: 1 milk carton haunted house
Cost: $1
Equipment
- Black marker (Sharpie or similar)
Materials
- Milk carton (washed and dry)
- Black acrylic paint
- Black craft foam
- White paint pen
- Tacky glue
- Parchment paper
- Tape
- Halloween foam shapes
- Battery operated tealight candle
Instructions
Step 1: Prepare and paint milk carton
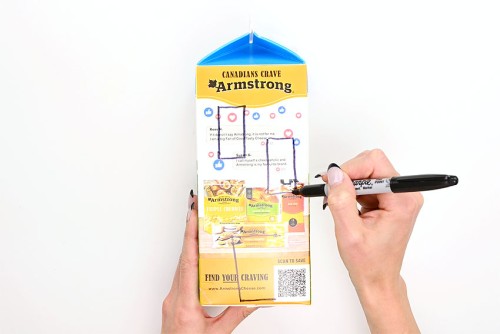
- With a black marker, draw two windows and a door shape on the left side of the carton. This will be the front of our haunted house.
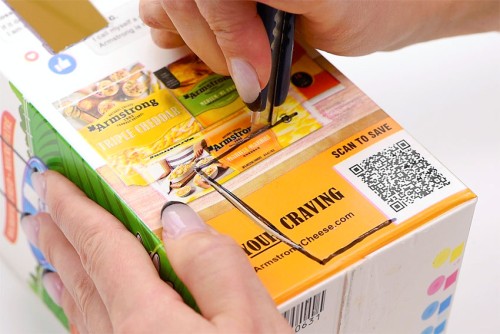
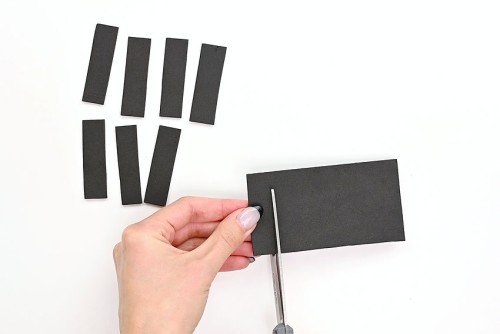
- Use an x-acto knife to cut out the windows completely, and cut out three sides of the door.
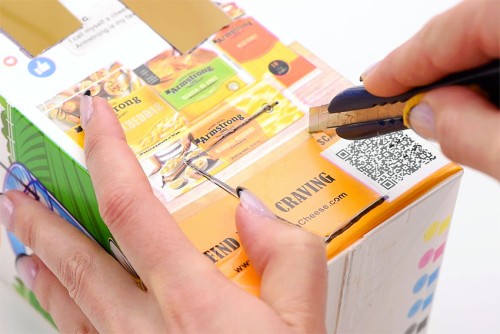
- Use the x-acto knife to score a line on the remaining side of the door, to allow it to open easier. Just scratch the surface and be careful not to cut all the way through.
- Draw windows in the center of both sides of the house (the front and back of the milk carton). Then cut them out with the x-acto knife. Set aside the scraps - you'll use them to measure decorations later.
- Paint the milk carton black. Be sure to paint the cap and just inside the windows and door as well.You can paint most of the carton while holding it. Either wait for the paint to dry before painting the bottom third, or set it on scrap paper while you paint.
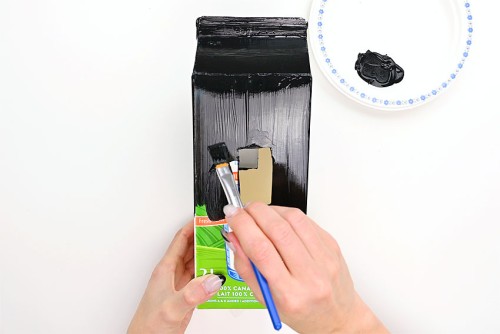
- It's best to cut out the access door before you paint, but unfortunately we forgot. Use the x-acto knife to cut an access hole on the back of the house (the right side of the carton). This door needs to be large enough to fit your hand in.
Step 2: Cut foam pieces
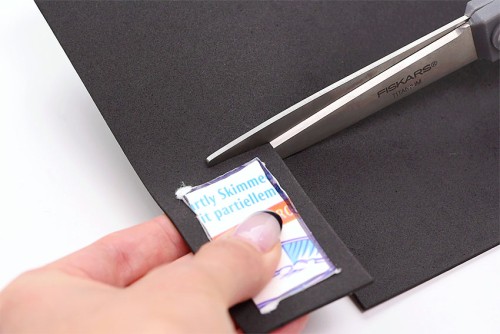
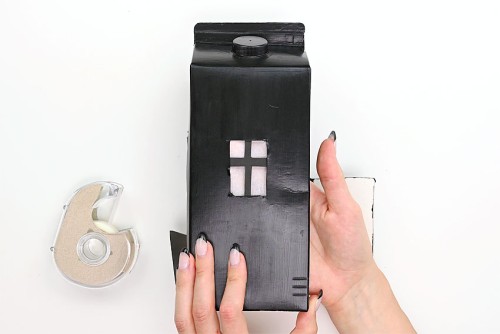
- Place a scrap window cut out on a piece of black craft foam and cut a rectangle around it, making the foam slightly larger than windows. Do this for all four windows.
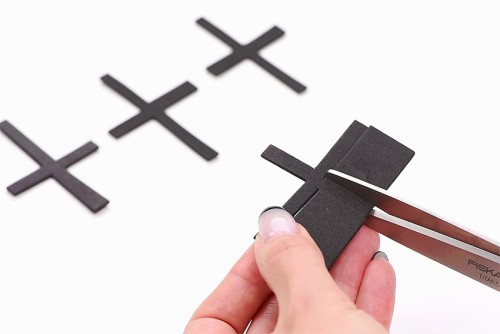
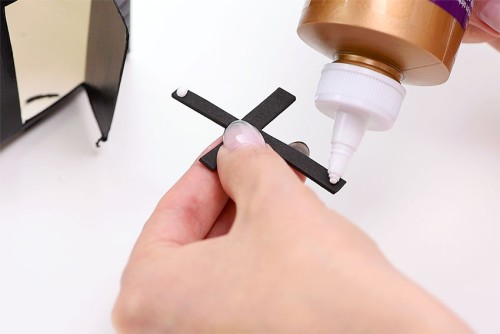
- Take the foam rectangles and cut out cross shapes from them. These will become the window panes.
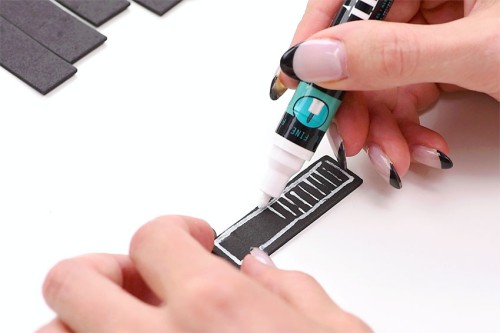
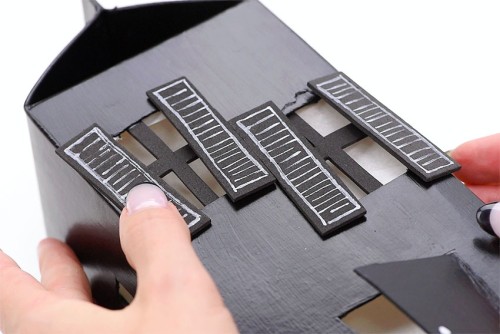
- Take the window cut out and cut a length of foam a bit taller than the window. Now cut that foam into eight smaller strips - around 1/2 inch wide.No need to use a ruler, since crooked shutters are perfect for a haunted house.
- Use a white paint pen to draw a rectangle outline on the shutters. Then draw short horizontal lines for slats on the shutters.
Step 3: Add window panes and parchment
- Put tacky glue on the top and bottom points of a window pane.
- Reach inside the access opening and stick it in place behind a window.Repeat for the other windows.
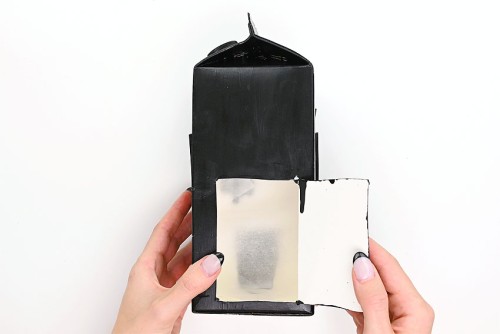
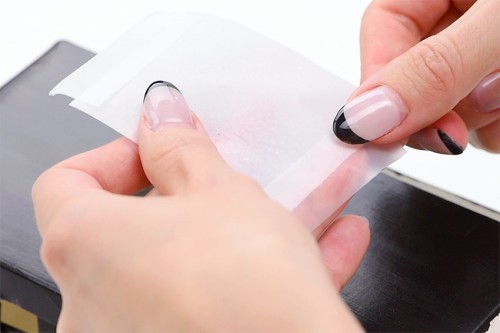
- Cut a piece of parchment paper large enough to fit inside the front of the house, covering the two windows and door.
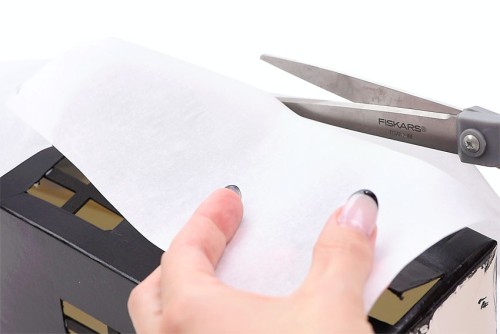
- Cut two other pieces of parchment paper to fit behind the side windows.
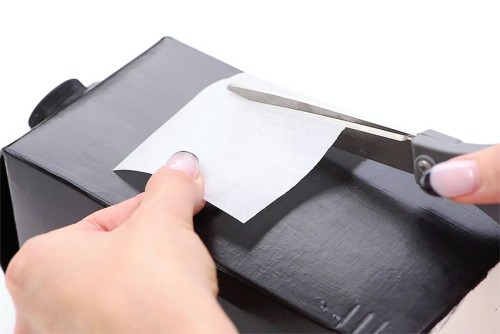
- Add tape to the top and bottom of the parchment paper.
- Reach inside the access hole and put the parchment paper in place behind the window. Repeat for the two other pieces of parchment paper.For the larger piece of paper you may need to add two more pieces of tape to the sides to keep it in place.
Step 4: Decorate the house
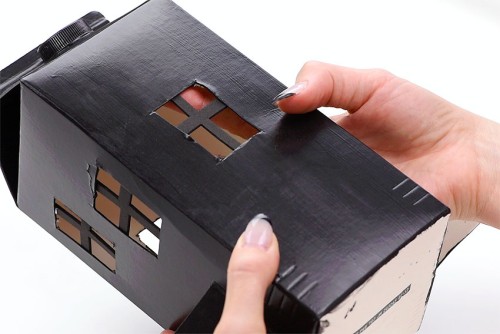
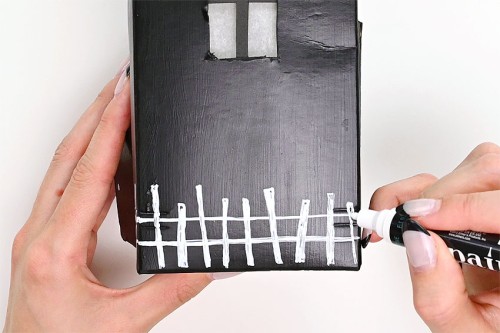
- Use a white paint pen to draw a fence all the way around the haunted house.
- Now add tacky glue to the backs of the shutters and put them in place - the more crooked, the better! (You could even glue one partially falling off.)
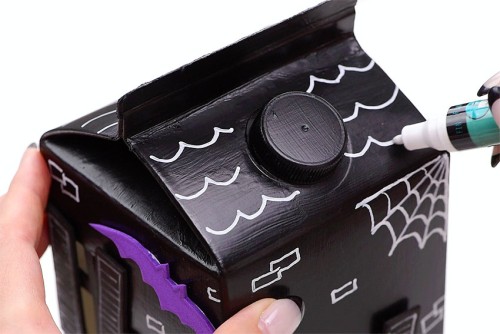
- Now glue on the foam Halloween shapes. We added a bat and ghost to the front of our house, and a pumpkin on either side, down by the fence.

- Draw scallop borders on the roof to look like shingles.You can also add spider webs and little brick accents to all sides of the house.
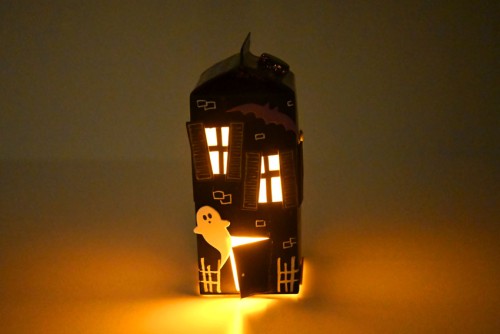
Step 5: Add flameless candle
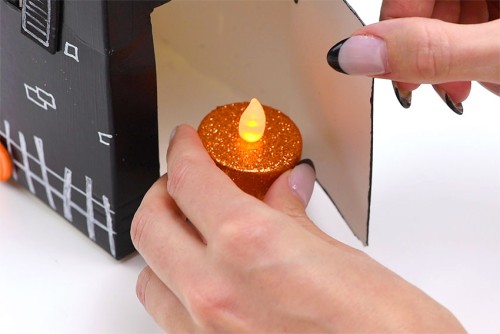
- Turn on and insert a battery operated tealight candle into your haunted house and close the door.
- Your milk carton haunted house craft is complete!
- Now turn off the lights and watch the flameless tealight flicker!
Video
Notes
You can glue all four points of the window panes, but we found that a lot messier. Two dots of glue is enough to hold the panes in place.
We cut out our own shapes (ghosts, bats, pumpkins, and tomb stones) from craft foam sheets, but you can also buy foam Halloween sticker shapes from the dollar store or Amazon.