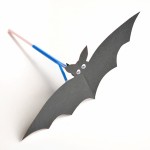
How to Make a Flapping Bat
This flapping bat craft is SO COOL and it's the perfect STEM craft for Halloween. Use drinking straws to move the bat's wings - so fun!
Yield: 1 flapping bat
Cost: $1
Materials
- Bat template (see tips section for link)
- Black cardstock
- Tacky glue
- Plastic straw (smaller)
- Plastic straw (larger)
- Tape
- Glue tape
- Googly eyes (6 mm size)
Instructions
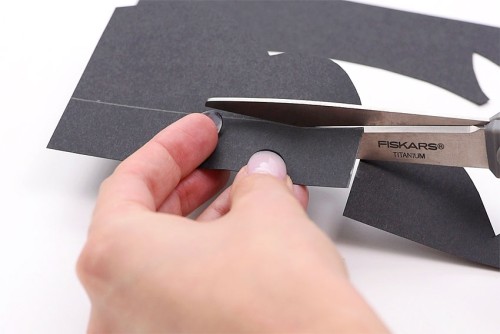
Step 1: Cut out the bat
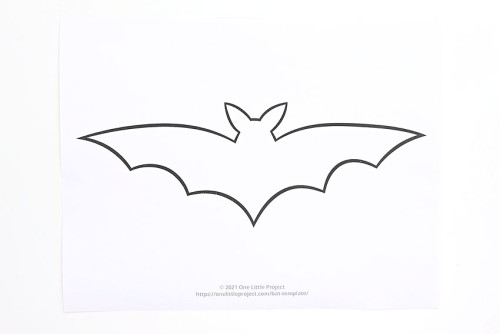
- Print out a free bat template and cut it out. (See Tips section below for link)
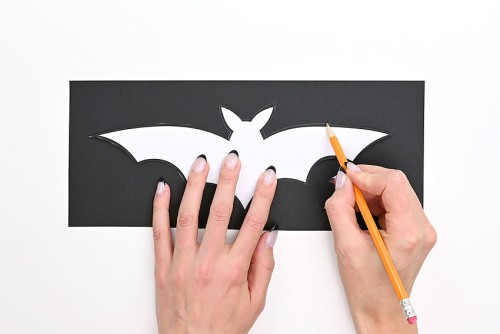
- Trace the bat onto black cardstock.
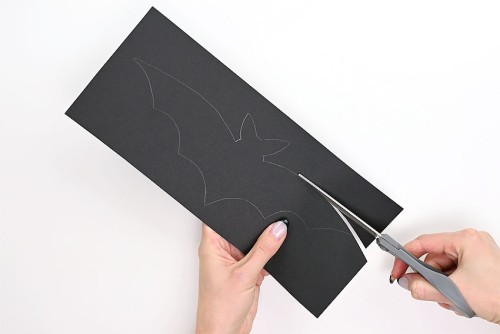
- Cut out the bat.
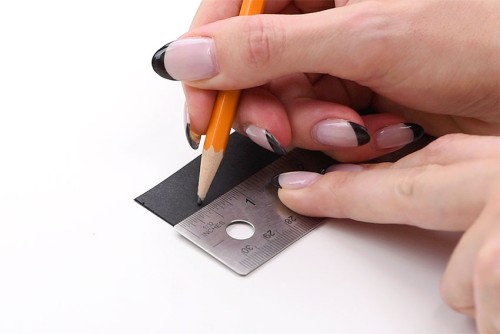
Step 2: Add backing to the bat
- Measure a rectangle that's 1 by 4 inches and then cut it out.
- Measure and make a mark about 1/2 inch in on both ends of the rectangle.
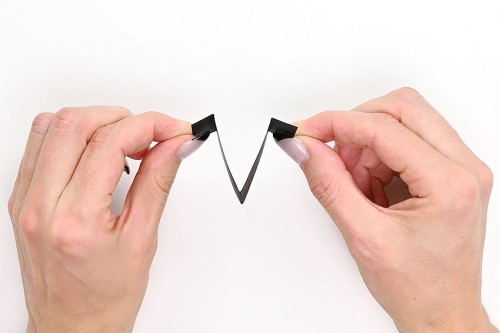
- Fold the rectangle in half, and then fold the two ends down where marked.
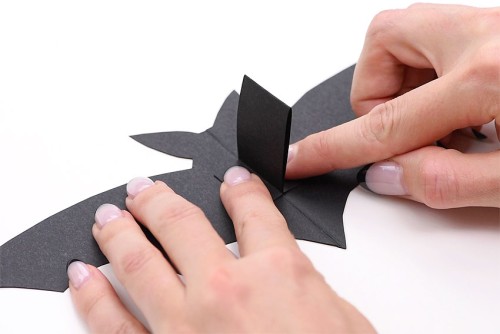
- Fold the bat in half, then open it up again.
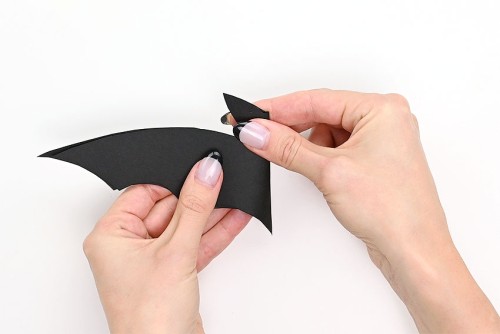
- Add tacky glue to the tabs of the folded rectangle.
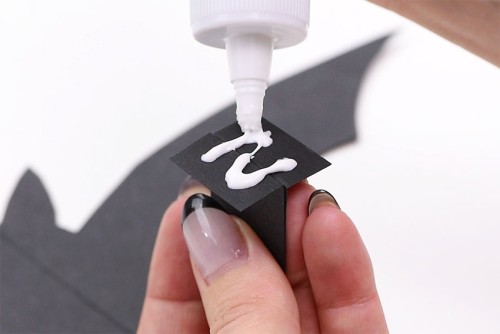
- Attach the tabs to the center of the bat, lining up the crease in the bat with the tabs and the fold.
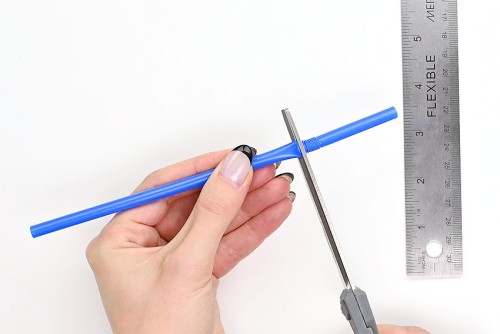
Step 3: Cut the straws
- On the smaller straw, cut a slit 2 inches long.
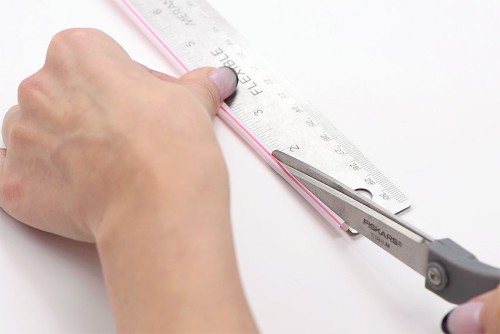
- Rotate the straw 180 degrees and cut another 2 inch slit, directly across from the first.
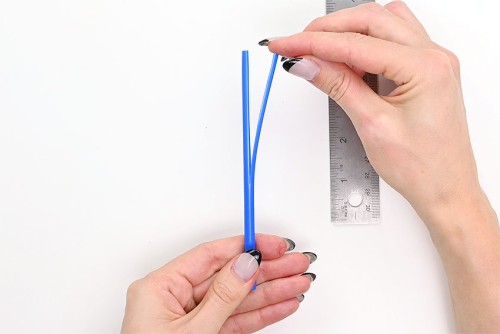
- Cut off the bendy part from the larger straw (or about 2 inches).
- Cut a 3 inch slit in this straw, again rotating it 180 degrees before making another 3 inch cut.
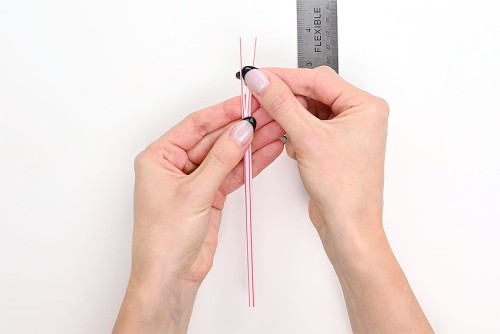
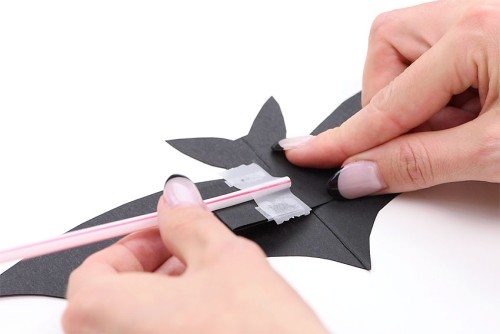
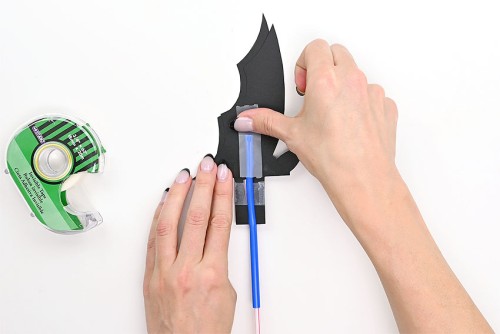
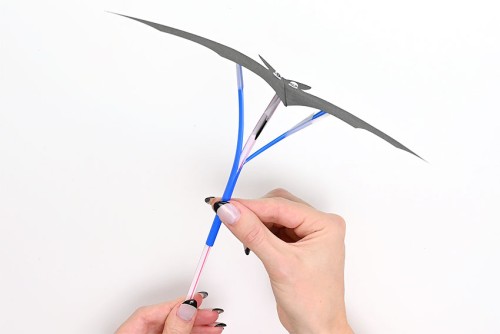
Step 4: Tape straws to back of bat
- Open the two flaps of the smaller straw and slide it over the folded backing of the bat. Center it and tape it into place on both sides.
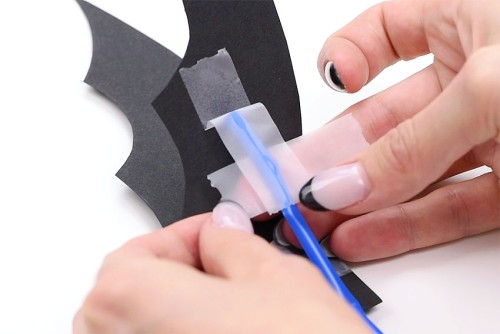
- Fold the bat in half and slide the larger straw over the smaller straw, pushing the straw flaps up as far as they will go.
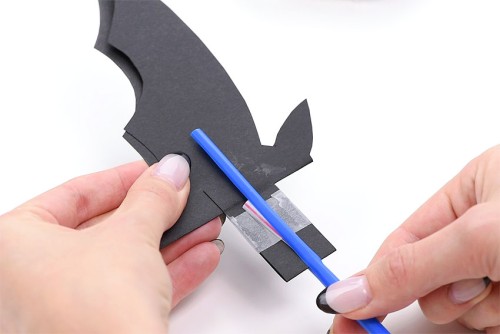
- Attach a long piece of tape vertically to one flap of the larger straw, but don't fully press down the tape yet.
- Attach a smaller piece of tape horizontally behind the straw.Wrap this piece of tape around the straw and the first piece of tape, allowing the straw to move freely away from the wing.
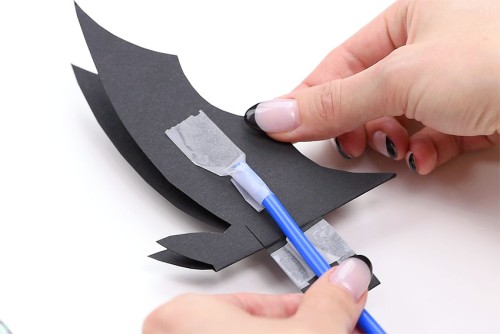
- Repeat the taping process on the other wing.
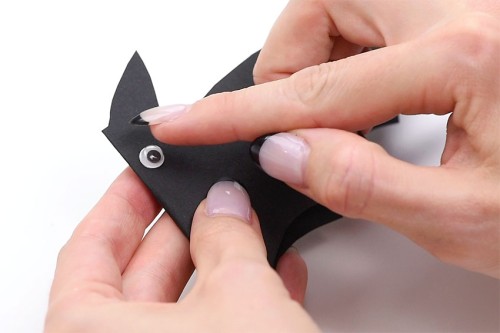
Step 5: Add bat eyes
- Use glue tape on the back of two googly eyes.

- Attach the eyes to either side of the bat head.
- Hold the smaller straw with one hand, and with the other hand move the larger straw up and down. Marvel at how the bat can flap its wings!Your flapping bat craft is complete!
Video
Notes
You can download and print our bat outlines for free! We used the large #4 bat template for our flapping bat craft.