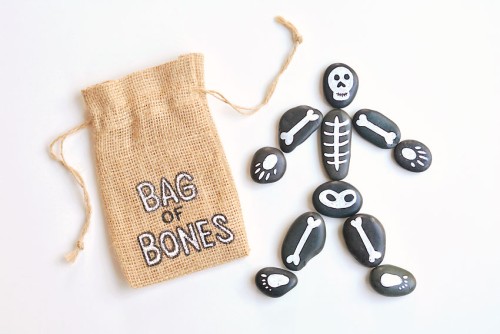
DIY Halloween Painted Rocks
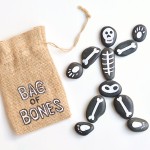
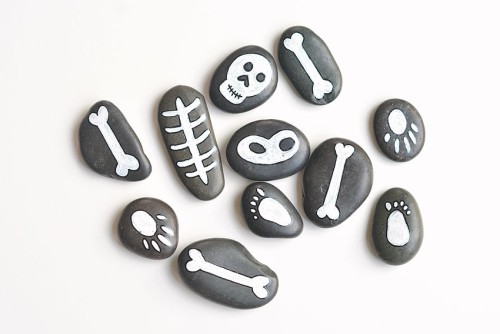
Halloween painted skeleton rocks make a creepy but cute "bag of bones"!
Yield: 1 bag of bones
Cost: $2
Equipment
- Paintbrush (for burlap bag)
Materials
- 11 Flat black rocks
- White paint pen
- Fine tipped black paint pen
- Drawstring burlap bag (5 x 7 inch size)
- Liquid acrylic paint (to paint burlap bag)
Instructions
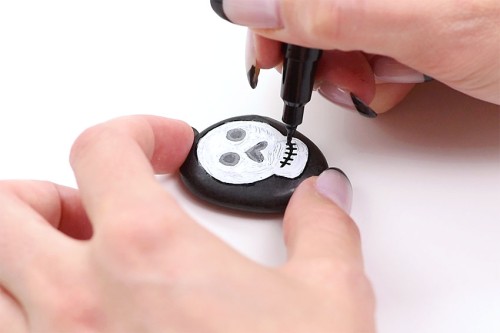
Step 1: Draw the white parts of the skeleton
- Using a white paint pen, draw the outline of a skull, making two circles for eye sockets and an upside down heart for the nose area.
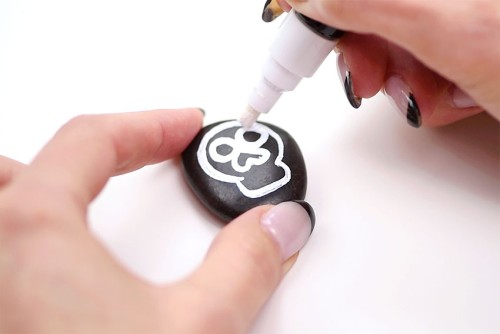
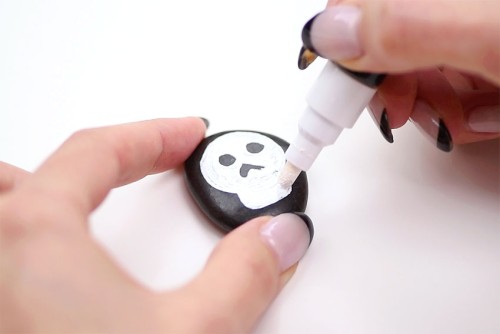
- Fill in the outline, leaving the eyes and nose unpainted.
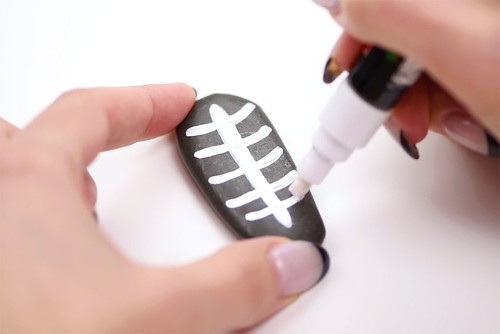
- Now draw a rib cage. Make one thick line down the center of the rock for the spine, and then draw slightly curved lines horizontally across the rock for the ribs.
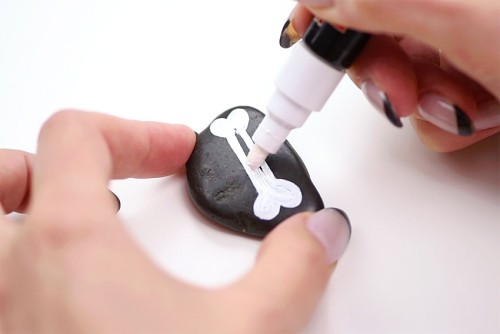
- Now draw a long bone with heart shapes on each end for an arm bone. Repeat for the second arm.Take two longer rocks for leg bones and draw the same bone type twice more.
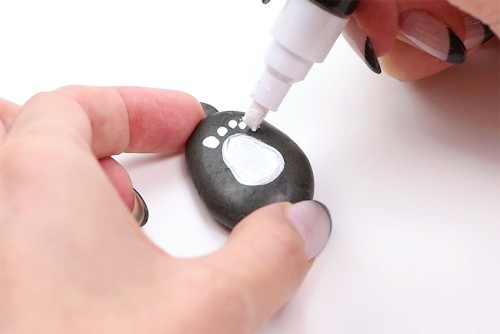
- For the hands, paint an oval shape in the center of the rock and colour it in. Then draw five lines for finger bones.On a second rock, paint another hand, with the thumb on the opposite side.

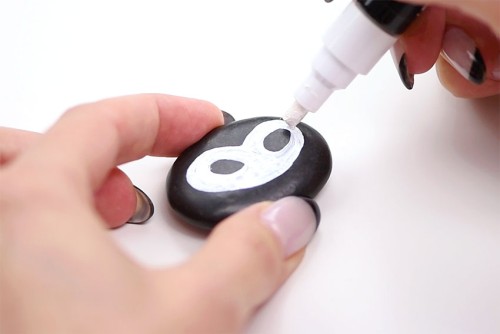
- Now draw a pelvis to connect the skeleton, leaving two inner oval shapes unpainted.
- Finally, on the two remaining rocks paint a foot shape with five toes (be sure to paint the big toes on opposite sides).
Step 2: Outline the bones in black (optional)
- Now you can outline the skeleton with a fine tip black paint pen.Start by drawing a line around the skull, then an outline around the eyes and nose shape as well.
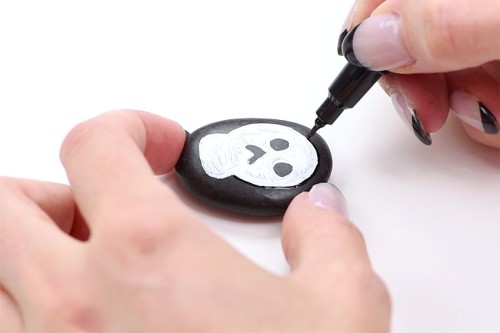
- Use the black paint pen to draw a smile on the skull. Then make short vertical lines on the smile for the teeth.
- Now draw around each of the bones in the ribcage.
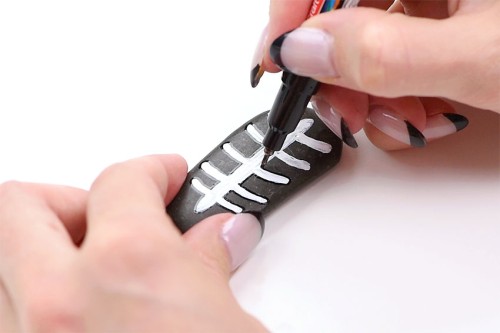
- Continue making a black outline around each of the bones.
Step 3: Paint the burlap bag
- Use a paintbrush and white acrylic paint to write "Bag of Bones" on a burlap bag. Once the paint has dried, use a thinner brush to outline it in black paint.
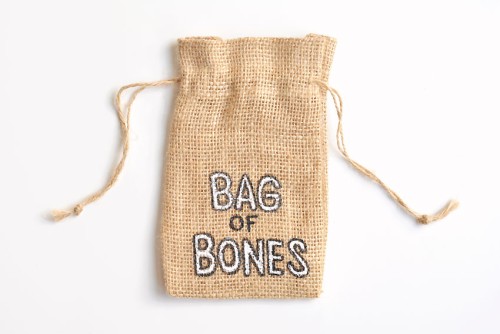
- Your bag of bones is complete!
Video
Notes
If you gather your own river rocks, be sure to wash and dry them completely before starting your bag of bones.
Before you start painting your rocks, lay them out in a skeleton shape and decide which rocks you'll be using for which body part. Smaller rocks are great for hands and feet, and a longer rock is great for the spine.