
How to Make Clay Flowers
These clay flowers are SO PRETTY and easy to make! Use air dry clay, your hands, and toothpicks to sculpt a beautiful clay flower.
Yield: 1 clay flower
Cost: $1
Equipment
- Water
Materials
Instructions
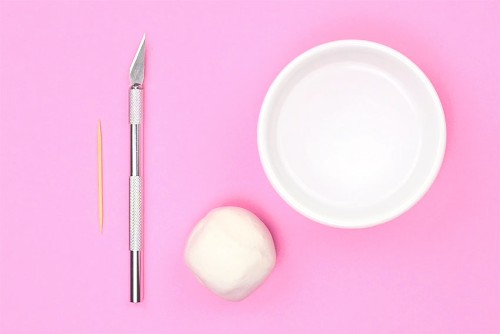
Step 1: Find what you need
- Gather your supplies and materials.
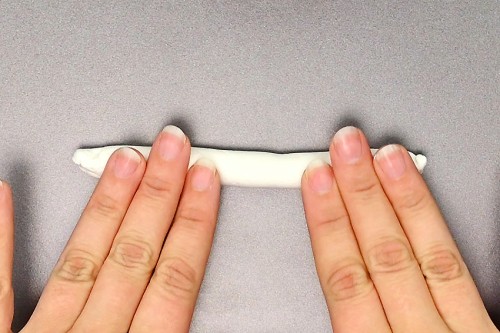
Step 2: Make the petals
- Roll a small ball of clay into a log that's about 5 inches long and 3/8 inch thick.
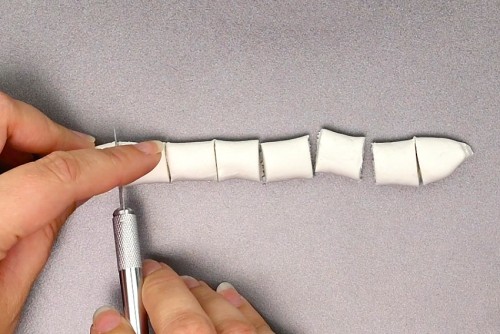
- Use a craft knife to cut the log into 8 equal parts.
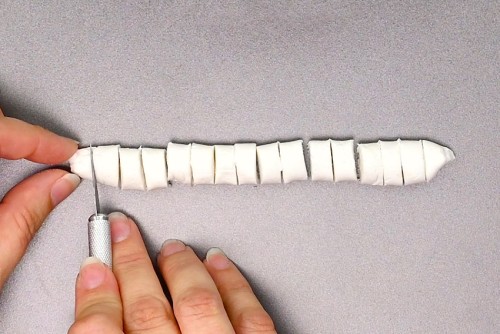
- Now cut these pieces in half again, giving you 16 pieces that are roughly the same size and shape.
- Roll and shape each piece between your palms to form little balls.
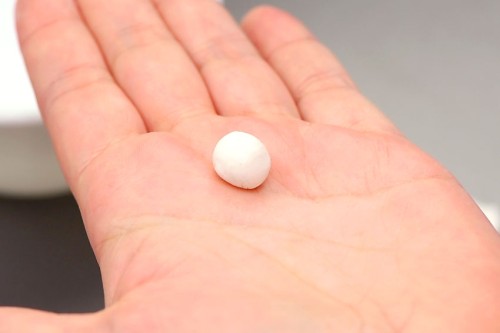
- Use your fingertip to press the balls into flat round petals.

Step 3: Connect the petals
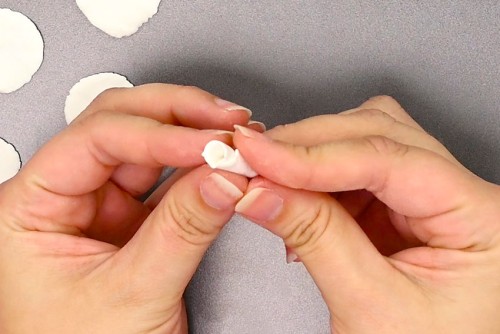
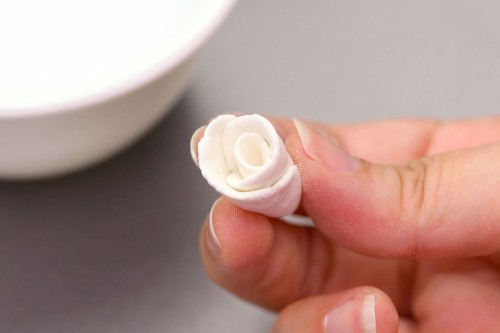
- Add a bit of water onto one petal and roll it tightly to form the center bud of the rose.
- Rub some water on the outside of the bud and press on the second petal.
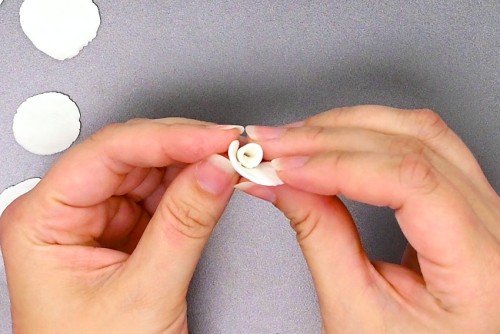
- Wrap the second petal around the bud. Dip your fingers in water and smooth down the petal edges where they connect with the first bud.
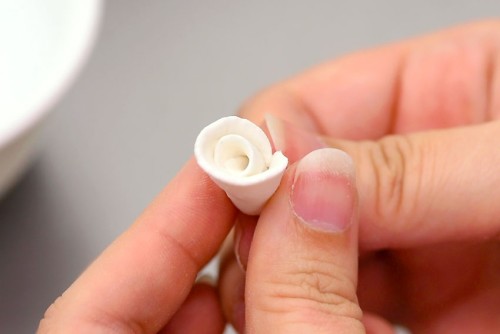
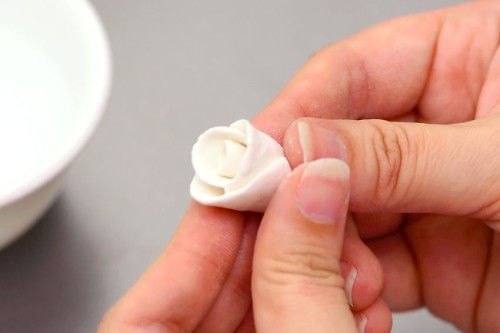
- Add the next petal to the bud, placing it on the opposite side from the second petal. Dip your fingers in water and smooth down the edges where it meets the other buds.
- Add another petal, again starting at a different place so that the petals are staggered. Smooth out the clay where the petal is connected with a bit of water each time you add a new petal. This helps get rid of any uneven bumps and helps the clay stick together as it dries.
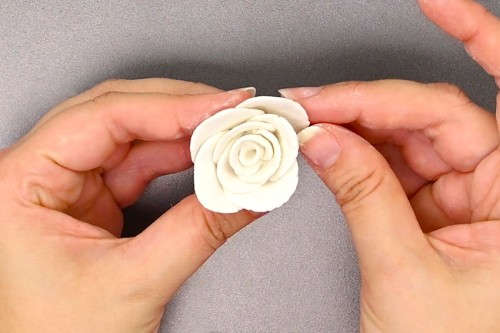
- Continue adding petals. As your flower grows, place the petals so the tips are slightly higher than the previous petal. Pinch the tips of the petals slightly to bend the petals outward.
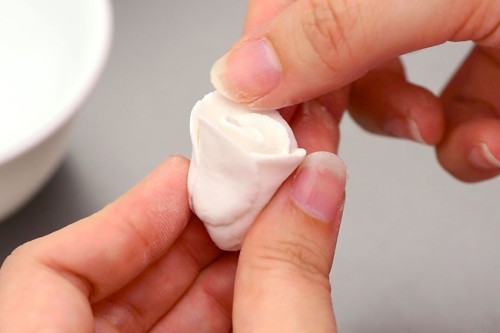
- Dip your finger in water, then gently run it along the tips of the petals to smooth out any rough or cracked edges.
- Continue adding the petals so that they're staggered, the top of the petal going in between two from the last layer. Make sure each petal is slightly higher than the last, and bend the edges of the petals slightly outwards.
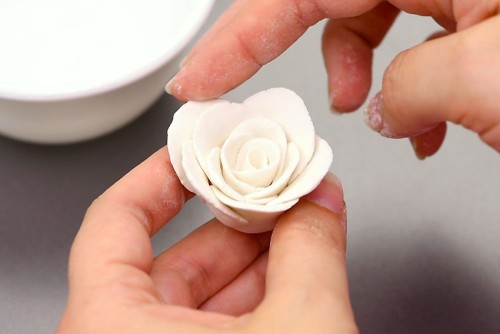
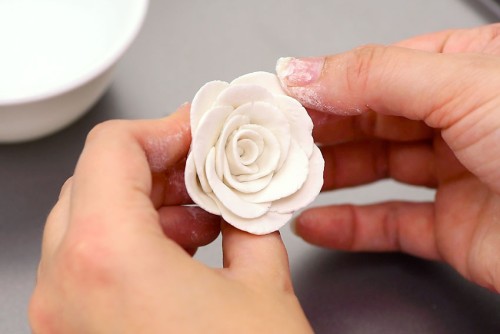
Step 4: Finish and smooth the rose
- Add the remaining petals until you're happy with the size of your rose. Use water and your fingertips to smooth out the petal edges and the base of the flower, where the petals are connected.Allow to dry overnight. (Follow the package directions of your clay for drying.)
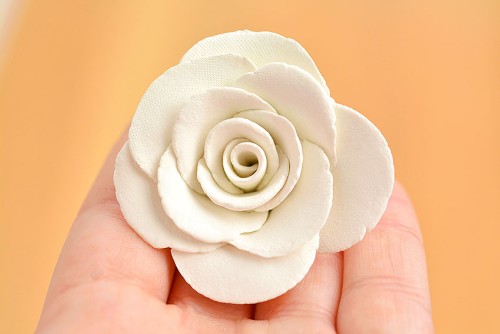
- Your clay rose is complete!
Video
Notes
Looking for more clay crafts? Here's a few of our favourites:
How to Make Clay
Clay Bear
Clay Monsters