
DIY Salt Dough Cat Ornaments
These salt dough cat ornaments are SO CUTE and easy to make! Make adorable cat ornaments using our easy, 3 ingredient salt dough recipe!
Yield: 6 cat ornaments
Cost: $2
Equipment
Materials
- 1 cup All-purpose flour
- 1/2 cup Salt
- 1/2 cup Warm water
- Black paint pen
- Glossy Mod Podge
Instructions
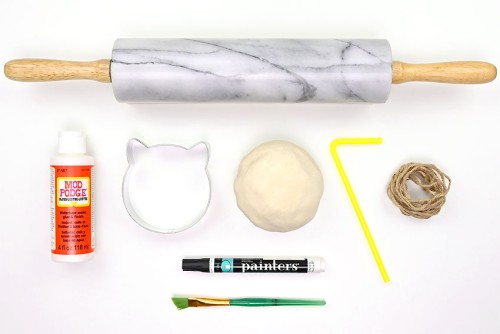
Step 1: Find what you need
- Gather your salt dough ingredients and supplies for decorating the ornaments.
Step 2: Make and roll out the salt dough
- Microwave the water until warm (about 45 seconds). Then add the warm water, flour, and salt to a mixing bowl.Mix the dough with a spoon until it becomes hard to stir.

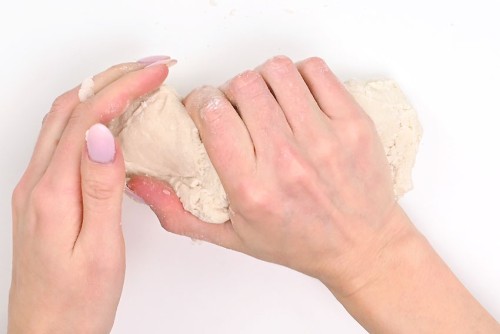
- Squeeze the dough with your hands and knead it on a flat surface until you have a nice, soft dough ball.If the dough is too sticky, add more flour 1 teaspoon at a time. If the dough is too dry, add more water 1 teaspoon at a time.
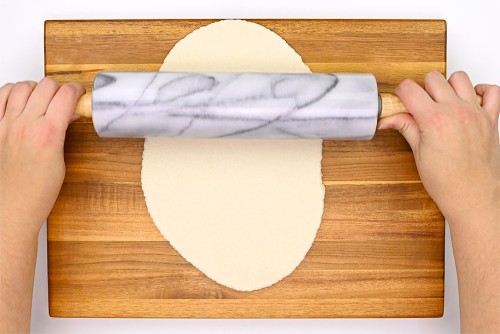
- Sprinkle a little bit of flour onto your surface, then use a rolling pin to roll out the dough to about 1/4 inch thick.
Step 3: Cut out and bake the ornaments
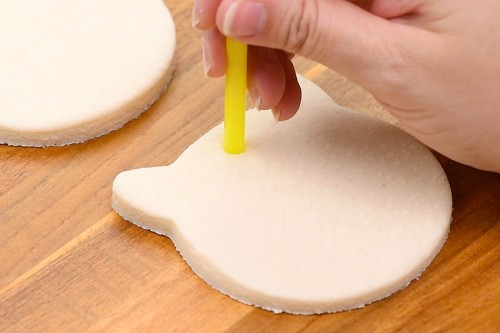
- Press the cat head cookie cutter into the dough.
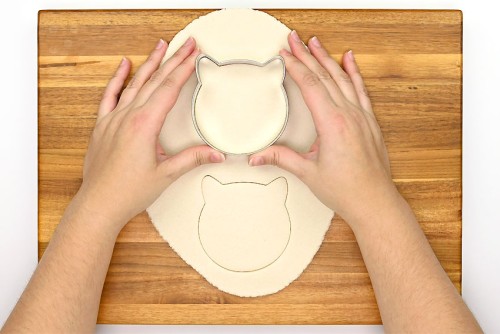
- Remove the dough scraps around the cat heads and push the end of a drinking straw (or the flat end of a wooden skewer) into each shape to make a hole to hang the ornament.
- Place the ornaments on a parchment lined baking sheet. Bake at 225F for 4 - 6 hours or until dry and hard.Flip the salt dough ornaments half way through baking to ensure both sides are dry. Larger or thicker ornaments may take longer to dry.

- Remove the ornaments from the oven and allow to cool.

Step 4: Decorate the salt dough cat ornaments
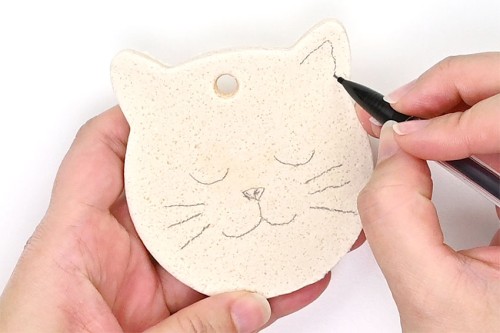
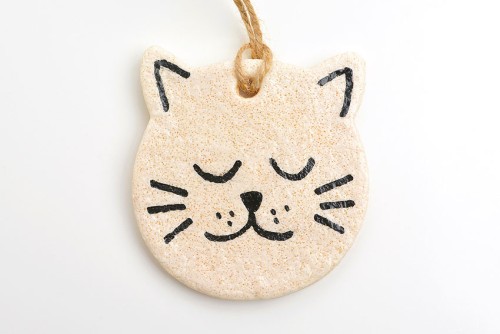
- Use a pencil to sketch out a cat face on your baked salt dough ornament.
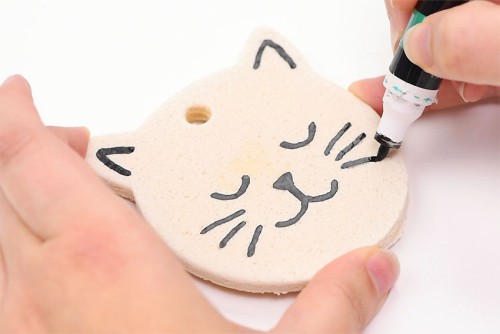
- Use a paint pen to go over the pencil lines. Allow to dry completely.
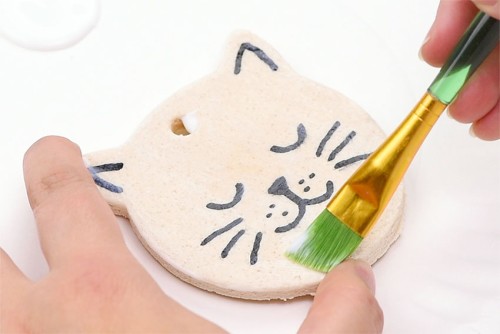
- Brush a thin layer of glossy Mod Podge over the cat face. Allow to dry.You can also seal the back of the ornament with Mod Podge, if you'd like. We chose to only seal the front surface of the cats.
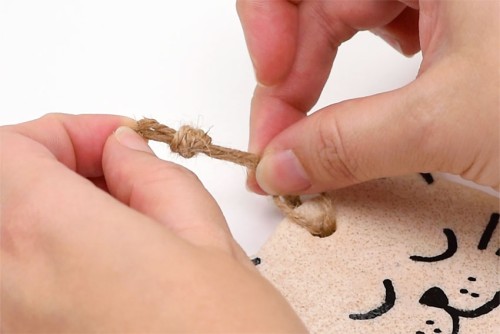
- Cut a piece of twine about 10 inches long and fold it in half. Pull the loop through the hole so it faces the front of the ornament.

- Pull the loose ends of the twine through the front loop and then tie them in a knot.
- Repeat for your remaining ornaments. Try drawing different expressions on each of your cats!Your salt dough cat ornaments are complete!
Video
Notes
Looking for more salt dough crafts? Here's a few of our favourites:
Easy Salt Dough Recipe
Salt Dough Ornaments
Salt Dough Monster Pets