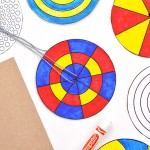
DIY Spinner Toy
Use our free templates to make a DIY string spinner toy! These paper wheel spinners are SO FUN to play with and are super easy to make!
Yield: 1 spinner toy
Cost: $1
Equipment
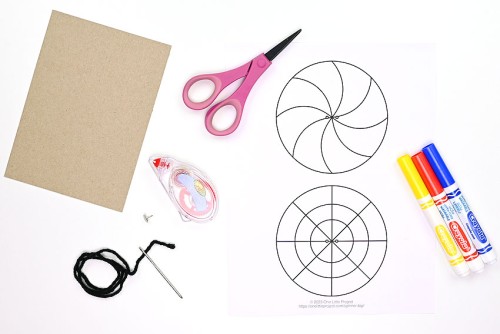
- Thumb tack (or push pin, or skewer)
Materials
- Free Printable Spinner toy template (more template options below)
- Cardboard (cereal or cracker box)
- Glue tape
- Coloured markers
- Yarn (any colour)
Instructions
Step 1: Find what you need
- Gather your supplies and materials.
Step 2: Make the base of the spinner toy
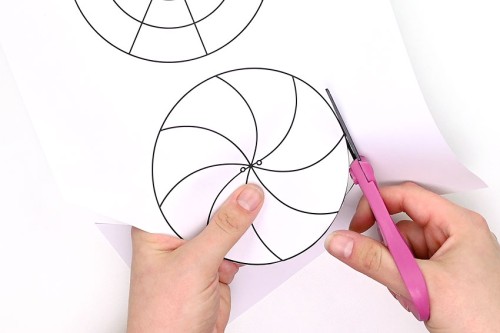
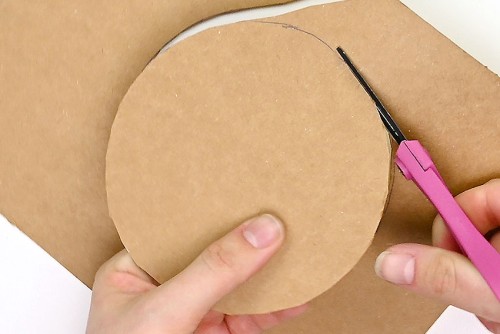
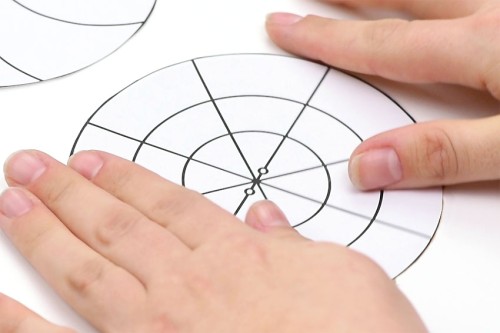
- Print out one of our free spinner toy templates (links below!) and cut out the two circles.
- Trace one of the circles on a piece of cardboard. We used the cardboard from an empty cereal box.
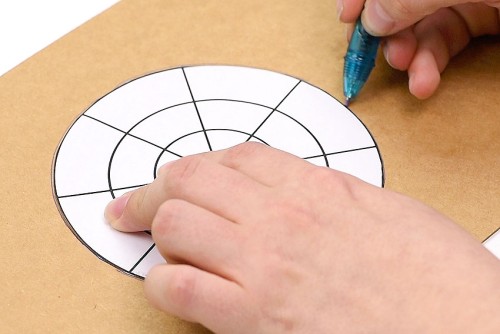
- Cut out the cardboard circle.
- Apply glue tape to the cardboard circle, especially around the outer edges.
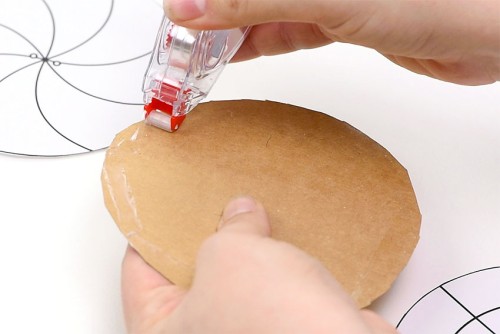
- Line up the edges and carefully attach one of the template circles onto the cardboard.
- Apply glue tape to the other side of the cardboard. Attach the other paper circle so that the two dots line up with the two dots on the opposite side.
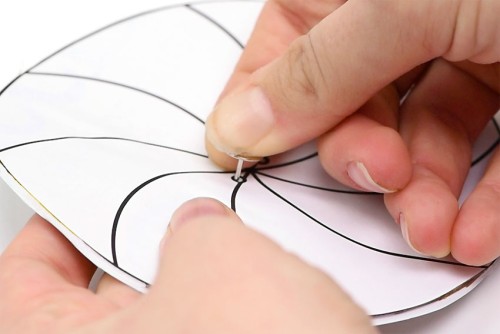
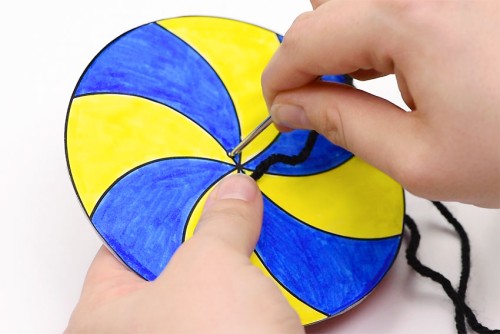
- CAUTION: Have an adult perform this step. Use a thumbtack to poke two holes where the two dots are marked on the template. Be sure to wiggle the thumbtack around to make the hole large enough for the yarn to pass through.
Step 3: Decorate the spinner toy and add yarn
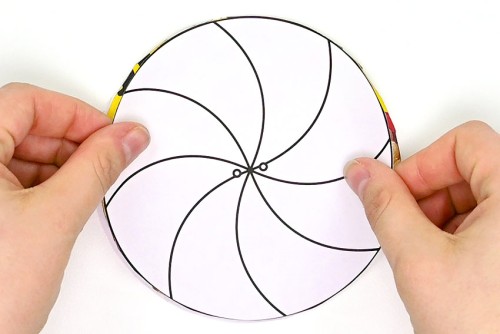
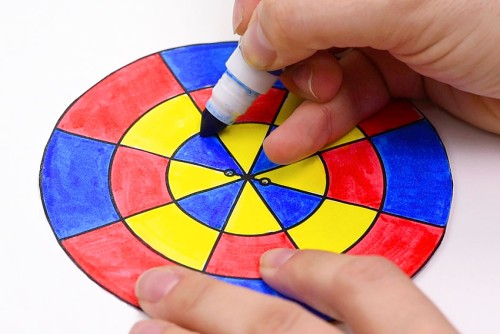
- Use washable markers, Sharpies, coloured pencils, or crayons to add colour to your spinner toy.Try using primary colours beside each other to create a whole different colour once the spinner is moving! (For example, the red and blue beside each other on this side looks like purple once the spinner is going.)
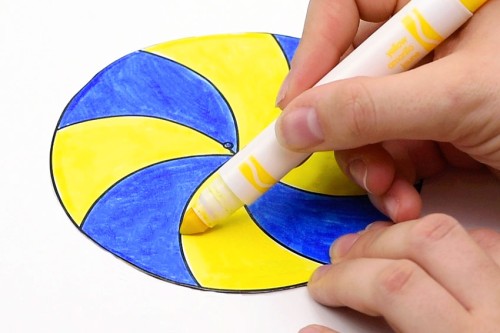
- Colour the second side of the spinner toy.
- Cut a piece of yarn, about 18 inches long, and use a yarn needle (or toothpick) to poke it through one of the holes in the center of the spinner. Pull the yarn half way through so there's an equal amount on each side.
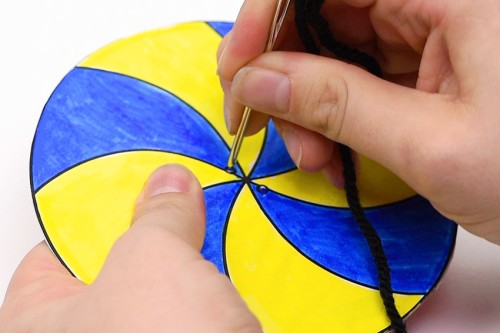
- Repeat with a second piece of yarn on the second hole.
Step 4: Enjoy the spinner toy
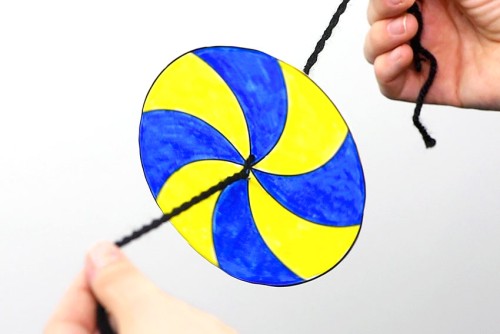
- To play with the spinner toy, hold the yarn on either side of the disc. Rotate one or both of your wrists in a fast circular motion, towards your body, to wind up the string.
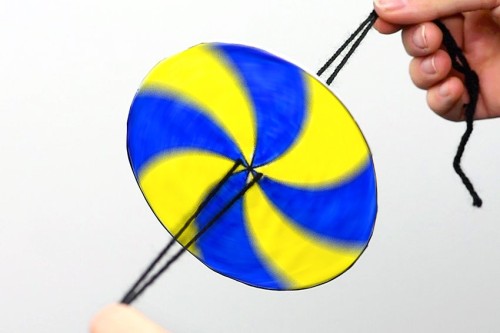
- Now pull your hands away from each other so the yarn becomes taut. Watch the spinner toy swirl and twirl!You can control the speed of the spinner by moving your hands closer together and farther apart.Your spinner toy is complete!
Video
Notes
Looking for more DIY toys? Here's a few of our favourites:
Balloon Car
Cotton Ball Sheep Craft
Caterpillar Craft
How to Make a Bouncy Ball