
How to Make Squishies
Learn how to make squishies with our step by step photo and video tutorial. It's SO FUN to make and paint your own squishy fidget toy!
Yield: 6 donut squishies
Cost: $10
Equipment
- 3 Tongue depressors (or plastic spoons, for mixing)
- Black Sharpie marker (for labeling)
- Vinyl gloves (or rubber)
Materials
Instructions
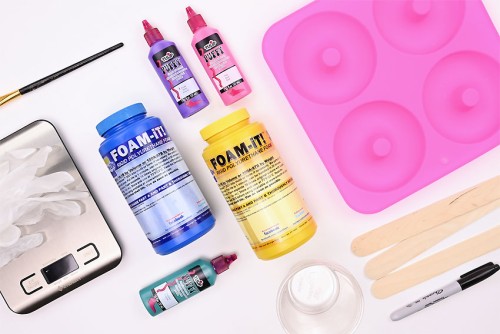
Step 1: Find what you need
- Gather your supplies and materials.
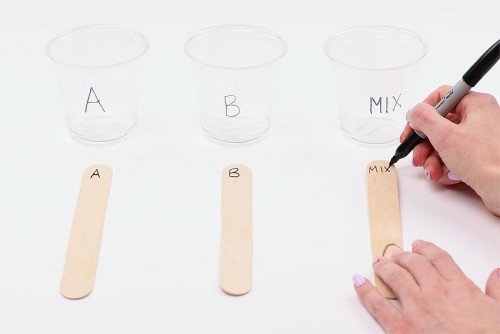
Step 2: Label your cups and stir sticks
- Use a marker to label the plastic cups. Write 'A' on one cup, 'B' on another, and 'MIX' on the third. Label the tongue depressors to match.
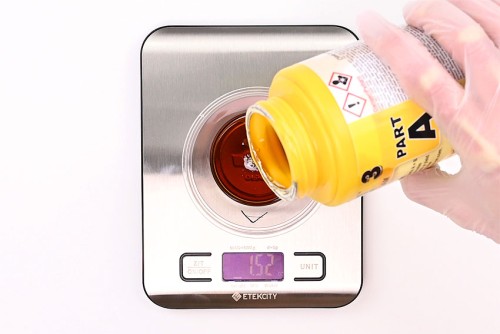
Step 3: Measure the two liquids
- Stir the Part A liquid well with the tongue depressor marked A. Put cup A on a kitchen scale and tare it.Measure out 1-1/2 ounces of solution A into cup A. (Confirm the exact amount with your Foam-It kit instructions).
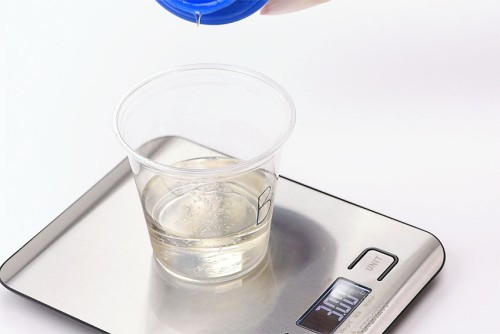
- Stir liquid B well with the B stir stick. Measure out 3 ounces of solution B. (Confirm the exact amount with your Foam-It kit instructions).
Step 4: Combine the liquids and pour into the mold
- Pour cup A's contents into the mix cup, making sure to use stir stick A to scrape out all of the liquid.
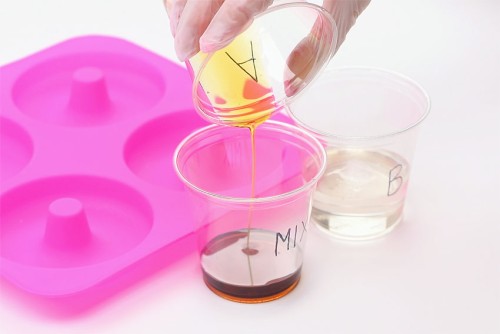
- Pour cup B into the mix cup, again scraping out all the liquid. Make sure to do this quickly, since the chemical reaction will begin as soon as the two liquids touch.
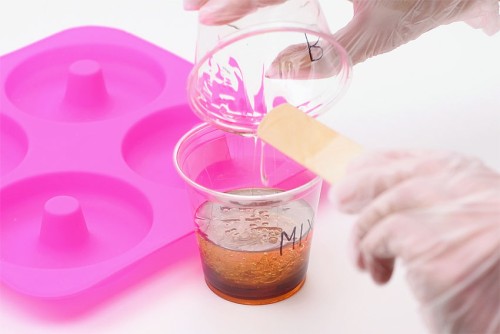
- Use the Mix stir stick to stir the two liquids together. Stir for about 20 seconds, making sure the liquids are well combined.

- Immediately pour the mixture into the silicone mold, covering only the bottoms of each mold.
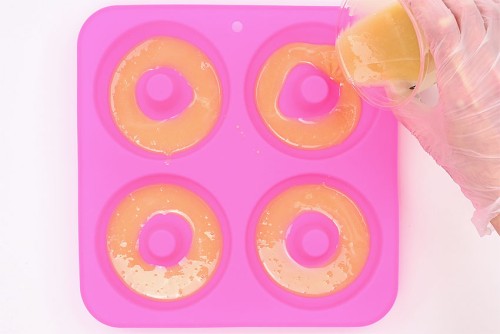
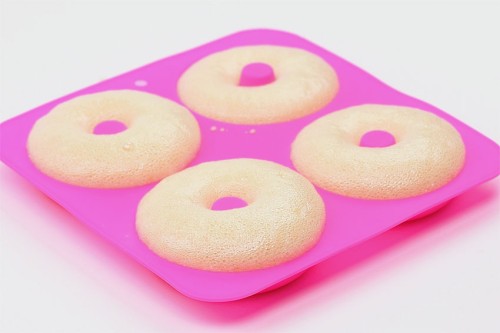
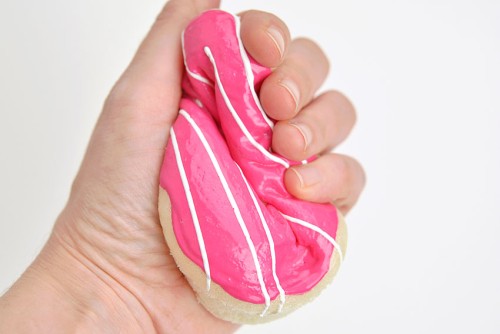
- Watch as the squishies grow before your eyes. The solution will expand to 15 times its size!Leave the squishies to set in the molds for 2 hours.
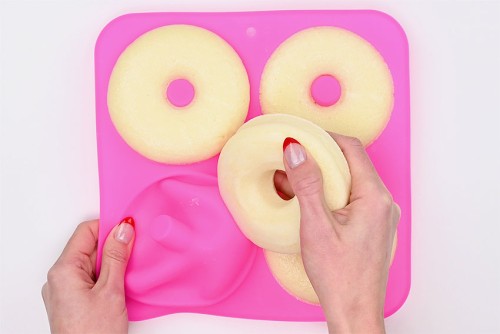
Step 5: Paint the squishies
- Once the squishies have set you can remove them from the molds. They should peel away from the silicone easily.
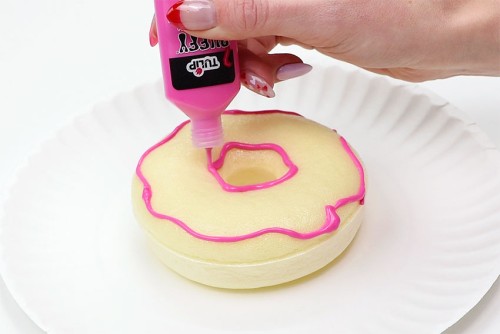
- Use thin lines of puffy fabric paint to create an outline for the donut's icing.
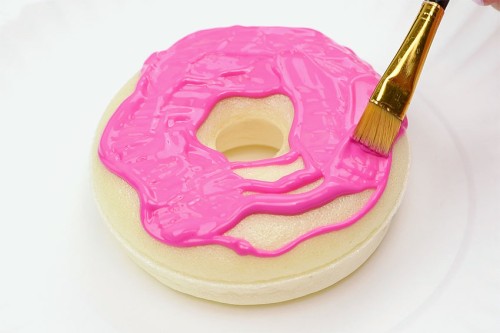
- Add thicker lines of paint inside the lines and use a paintbrush to spread it evenly.Allow paint to dry for 1 hour.
- Add a thin glaze line or sprinkles with a different colour of puffy paint.
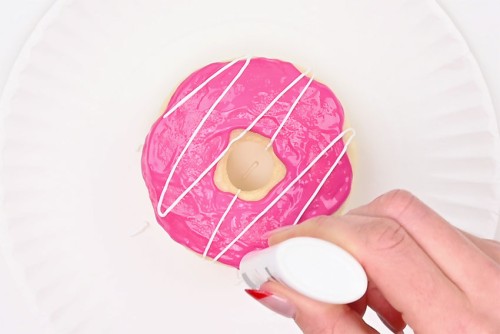
- Allow the paint to dry overnight. Make sure the paint is completely dry before playing with the squishy.
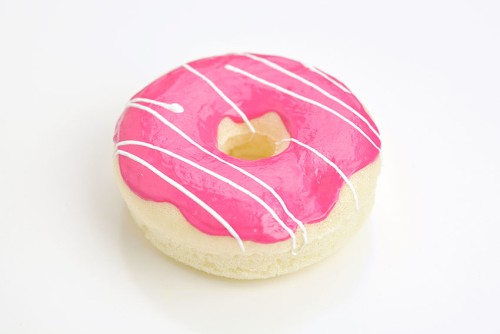
- Your DIY squishies are complete!
Video
Notes
Looking for more fun crafts? Here's a few of our favourites:
Orbeez Stress Ball
Shrinky Dink Keychain
DIY Spinner Toy
Butter Slime
IMPORTANT:
Read all instructions one time before starting to make your squishies.
SAFETY FIRST:
Wear rubber or vinyl gloves while working with the Foam-It liquids. Be sure to read and follow the instructions from your Foam-It kit.