
How to Make a Handprint Paper Plate Ghost
These paper plate ghosts are SO EASY to make! This handprint craft is great for younger kids and makes a fun homemade Halloween decoration!
Yield: 1 paper plate ghost
Cost: $1
Materials
- 1 piece Printer paper
- 1 piece Black cardstock
- Glue tape
- Tape
- White tissue paper
Instructions
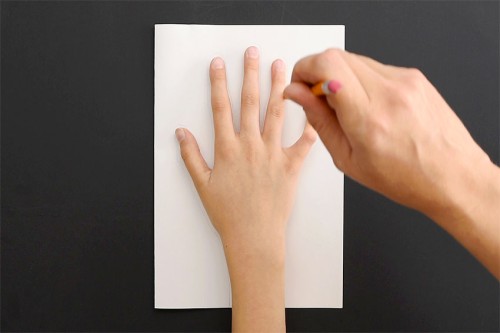
Step 1: Trace and cut handprint
- Fold a piece of printer paper in half.
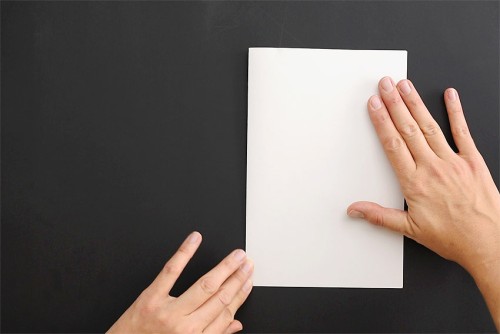
- Use a pencil to trace your child's handprint, along with at least a couple inches of their wrist.
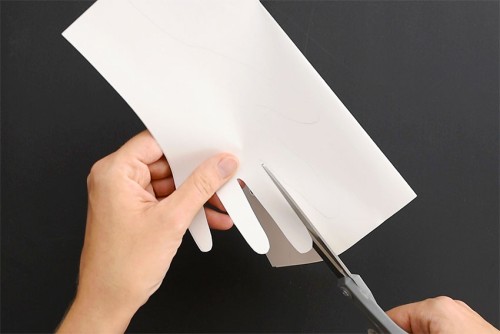
- Cut out the handprint through both layers of paper.
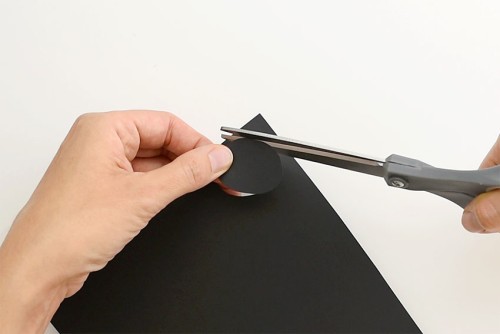
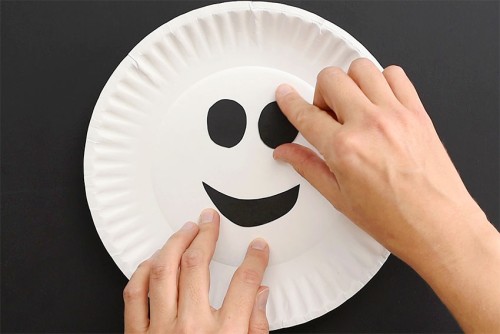
Step 2: Cut out and attach eyes and mouth
- Cut out a round eye shape from black cardstock or construction paper. You can draw the shape with pencil first, or cut it out freehand.Or you can skip this step and simply paint or colour the face on with markers.
- Cut out another eye (trace the first one if you want them identical), and a mouth shape.

- Attach the mouth to the paper plate with glue tape or a glue stick.

- Now attach the two eyes to the plate.
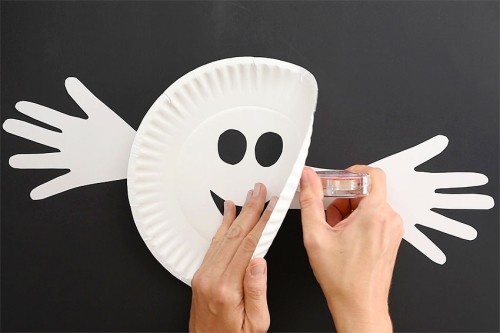
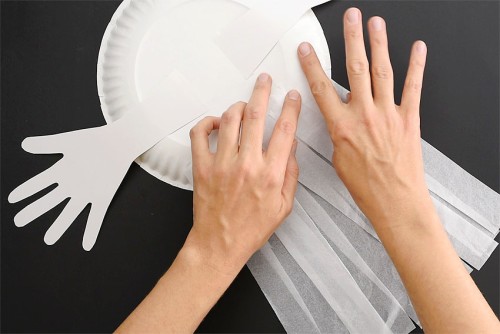
Step 3: Attach handprints
- Flip the paper plate over and attach the handprints to the back with tape (make sure you place them with the thumbs up!).
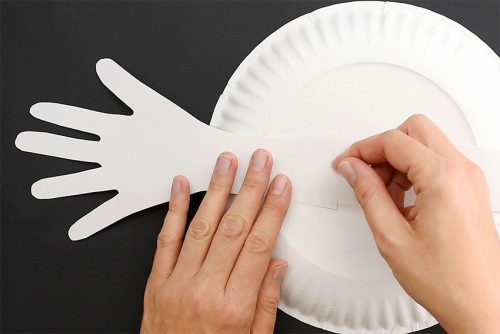
- Flip the plate back over and use glue tape or a glue stick to connect the wrist part of the handprint to the back of the plate so it doesn't flop around too much.
Step 4: Cut and attach tissue paper
- Fold open a piece of tissue paper and cut it in half, setting aside one half.
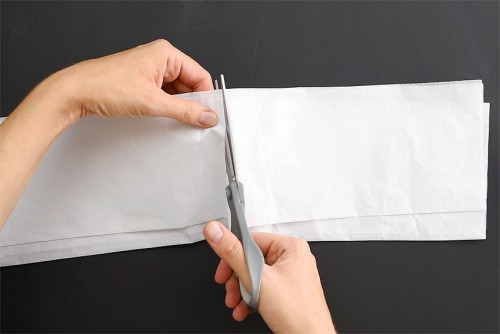
- Cut the tissue paper lengthwise, making strips around 1 inch wide.
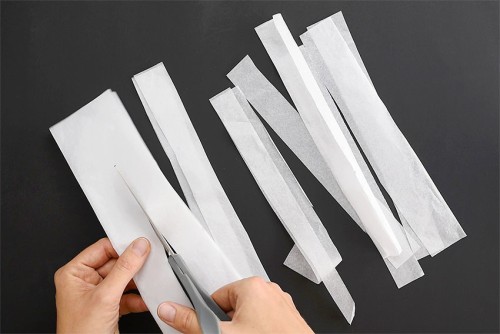
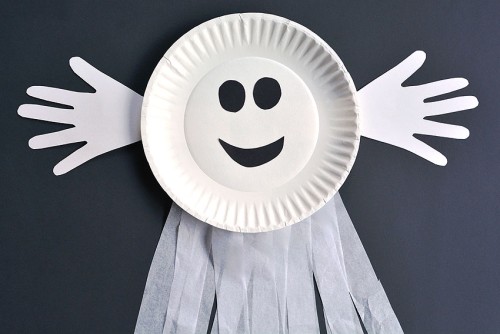
- Attach the tissue paper strips to the back of the paper plate with scotch tape.
- Your paper plate handprint ghost is complete!
Video
Notes
These ghosts are especially fun if you hang them over an air vent so the tails blow around a little bit.