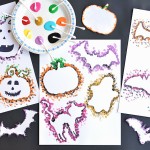
How to Make Halloween Q-Tip Paintings
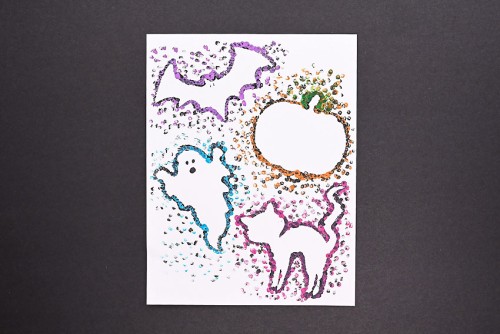
Halloween q-tip painting is SO FUN and easy to do! Use templates and a unique "paintbrush" to make this fall q-tip art.
Yield: 1 q-tip painting
Cost: $1
Equipment
- Paper plate (or plastic lid, for paint palette)
- Q-tips (aka cotton swabs)
Materials
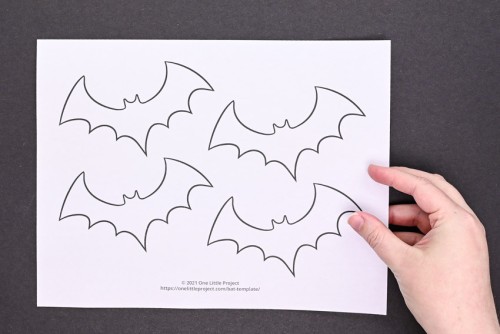
- Halloween templates
- Cardstock
- Acrylic paint
Instructions
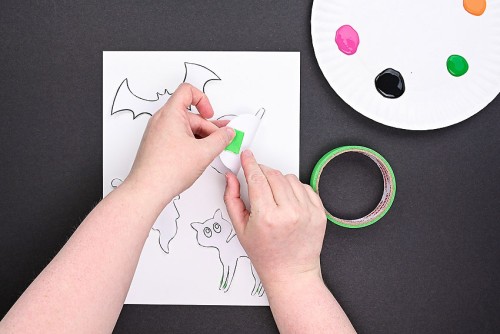
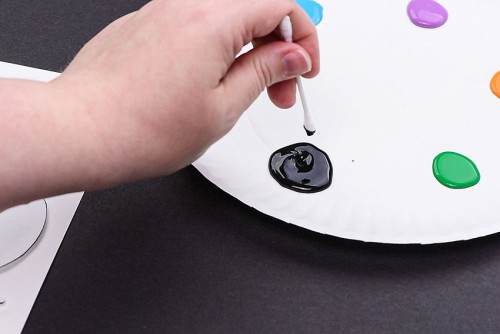
Step 1: Attach templates & prepare paint
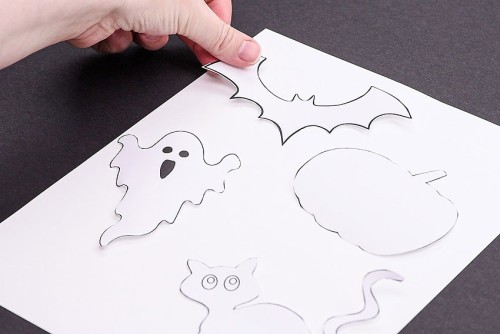
- Print off Halloween themed templates and cut out the shapes.
- Choose paint and add a little bit of each colour to a paper plate or plastic lid. You'll need black to outline each template, but the other colour choices are up to you!

- Arrange the templates on the piece of cardstock until you're happy with their position.
- Apply painter's tape to the back of the templates, securing them in place.
Step 2: Outline in black paint
- Dip the end of a q-tip in black paint.
- Start stamping the q-tip around the outside of one of the shapes. When you start running out of paint, stamp away from the shape, in whatever pattern you want.
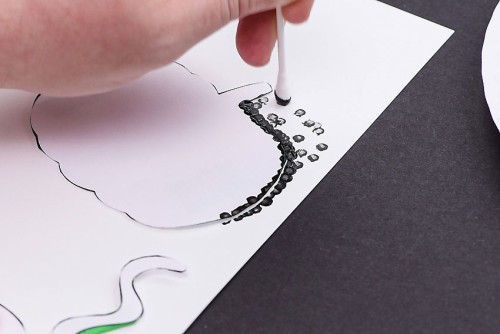
- Continue outlining each shape in black, filling as much of the page as you want with the faded black dots.
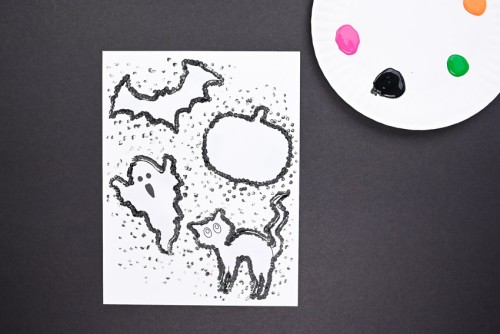
Step 3: Add colour
- Now choose another colour and, using a new q-tip, start painting around the templates in the same way.You can even use more than one colour per shape, like we did with our pumpkin.
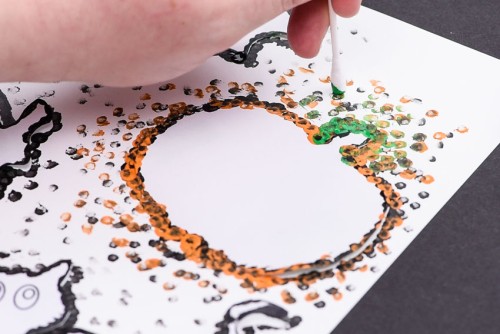
- Paint around the other shapes with different colours, again leaving fading paint dots around the outside.
Step 5: Remove templates
- Wait a few minutes for the paint to dry enough that it won't smudge. Carefully pull the templates and tape off the cardstock.
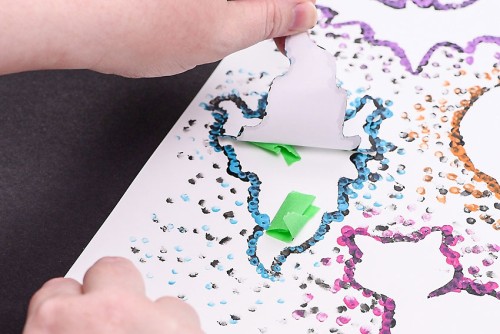
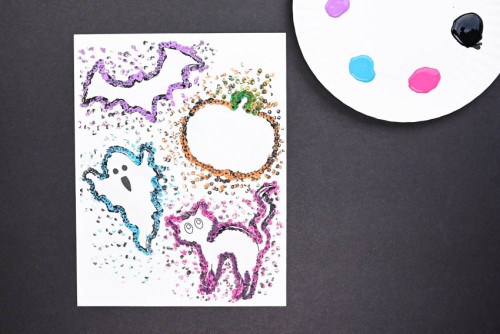
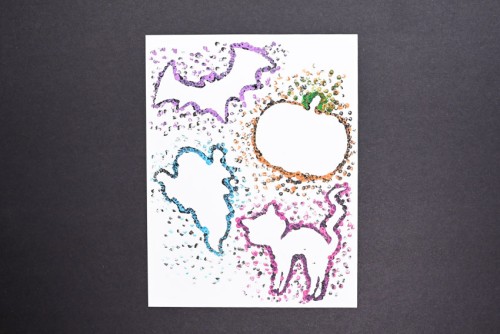
- Remove all the templates and admire the cool outlines you've made!
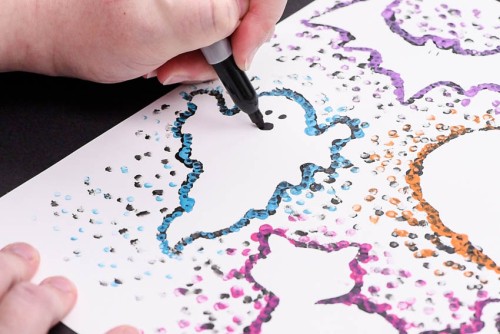
- Once the paint has dried you can use a black marker to draw faces or other details inside the shapes.
- Your Halloween q-tip painting is complete!
Video
Notes
If you don't want to wait for the paint to dry, be careful not to smudge the paint when you remove the templates. You could use tweezers to remove the templates if you're worried about spreading the paint inside the outline.
Be sure not to let the paint completely dry with the templates in place - the paper can stick and rip if left to dry completely.