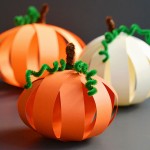
How to Make a Paper Pumpkin
Making a paper pumpkin is SO EASY! Use cardstock and pipe cleaners to make this paper strip pumpkin - perfect for Halloween or Thanksgiving.
Yield: 1 paper strip pumpkin
Cost: $1
Equipment
Materials
- 1 piece Orange cardstock (8.5 inch x 11 inch)
- 1 Paper fastener
- 1 Brown pipe cleaner (12 inch)
- 1 Green pipe cleaner (12 inch)
Instructions
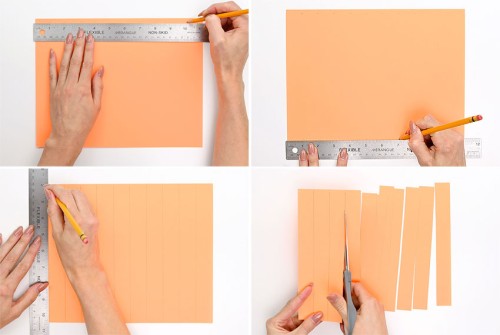
Step 1: Cut and connect the paper
- Make a small mark every inch along the top and bottom of long edge of the paper. Using a ruler, draw lines from the top marks to the bottom. Cut along the lines so you end up with 11 strips.
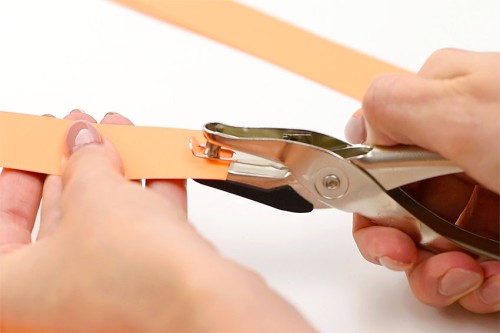
- Use a single hole punch to punch holes on both ends of the strips. You can line up the strips and punch several at a time.
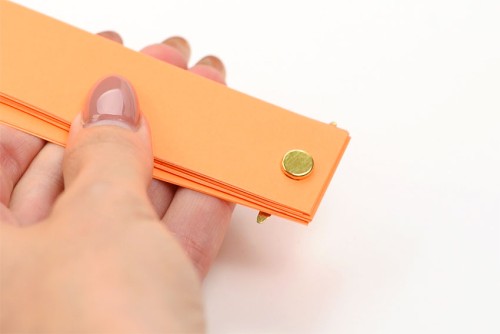
- Once all the strips have been hole punched, gather them into an even stack and put a paper fastener through one end.
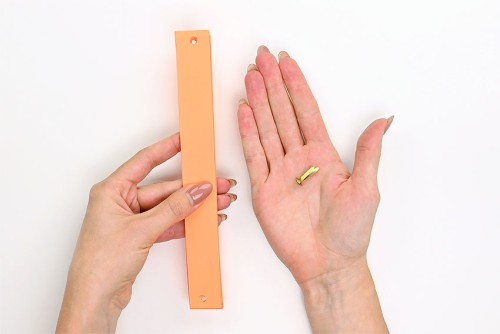
- Close the paper fastener to secure the paper strips together.
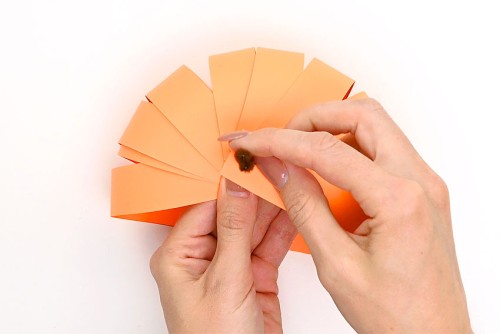
Step 2: Form the pumpkin
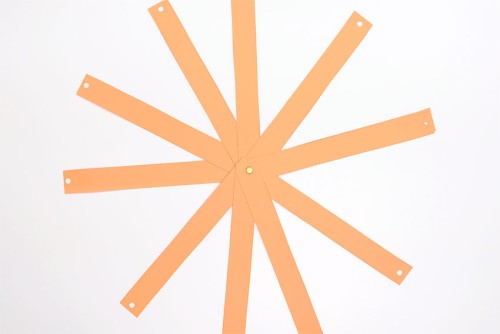
- With the round part of the paper fastener facing up, spread out the paper strips evenly.
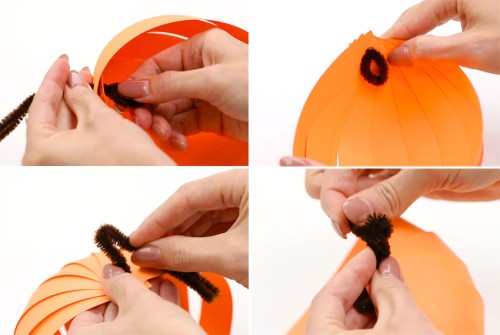
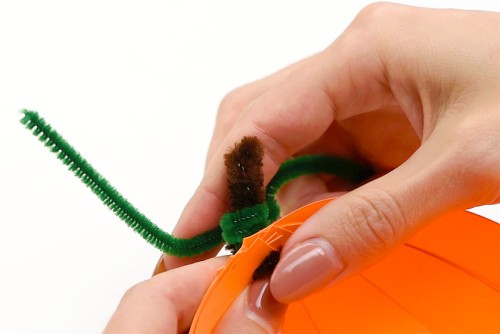
- Fold a brown pipe cleaner in half.
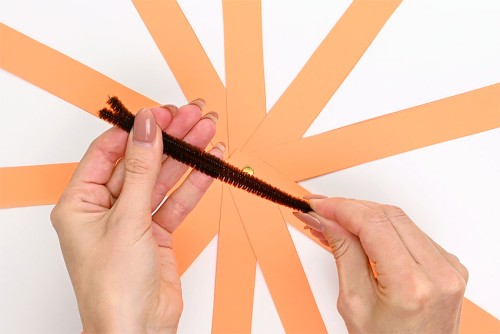
- Bend the pipe cleaner into an "L" shape and hold it with the two ends of the pipe cleaner pointing upwards.Lift a paper strip up and feed the pipe cleaners through the hole. Add the next paper strip on top of the first. Continue adding each paper strip in order.
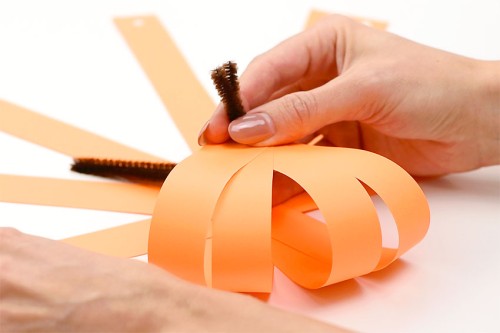
- Once all the paper strips are on the pipe cleaner, pull the pipe cleaner most of the way out (leave about a 1 inch inside the pumpkin).
Step 3: Form the stem and vines
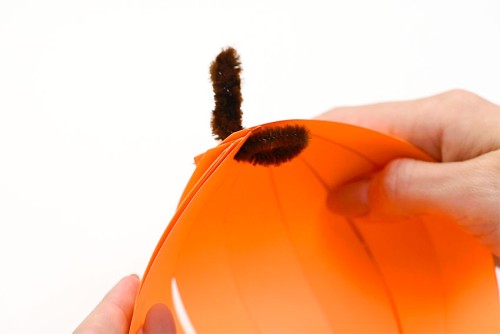
- Open the folded pipe cleaner inside to form a loop shape. Twist the loop around several times and then bend it 90 degrees so it's flat against the paper strips.Fold the stem on the outside of the pumpkin in half and twist the extra pipe cleaner around the stem to make it thicker.
- You should now have a short pumpkin stem with a "hook" inside that will keep the paper strips together.
- Center the green pipe cleaner on the base of the stem.
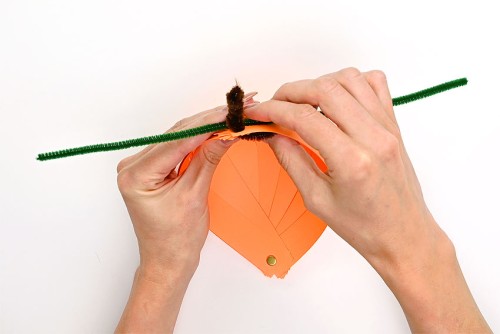
- Wrap each side of the green pipe cleaner around the brown stem a couple times.
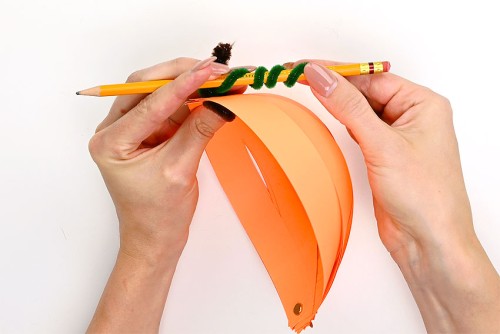
- Wind each end of the green pipe cleaner around a pencil to form the vines.
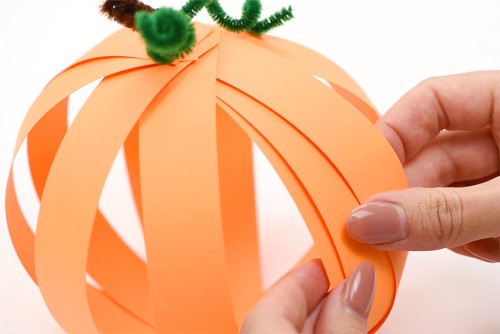
- Separate the strips so they are evenly spaced around the pumpkin.
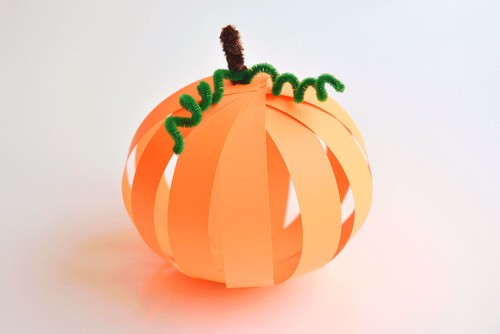
- Your paper pumpkin is complete!
Video
Notes
You may have to press the pumpkin down in the middle slightly a few times to get the paper strips to curve properly - this will allow the pumpkin to stand perfectly on its own.