How to Make a Clay Turtle
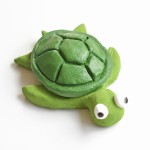
This clay turtle is cute and SO EASY to make! Made with air dry clay and painted with acrylic paint, it's perfect for beginners working with clay.
Yield: 1 clay turtle
Cost: $1
Equipment
Materials
- Air dry clay (link in tips section below)
- Acrylic paint
Instructions
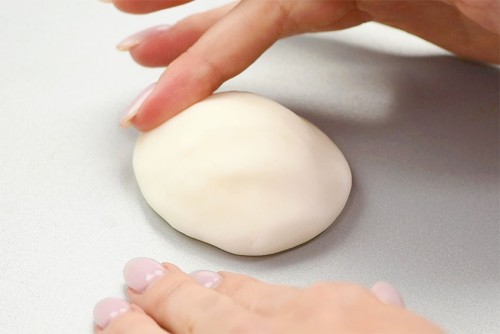
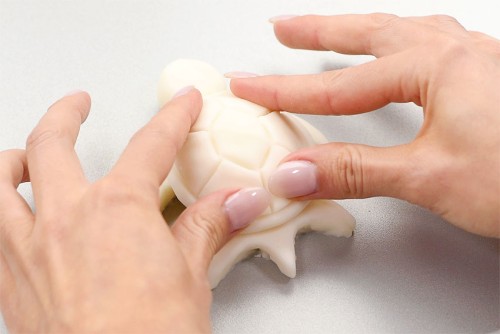
Step 1: Make the turtle's shell
- Form a ball of clay and flatten it down to be 2-1/2 inches long and 2-1/4 inches wide. Smooth out the edges to create a dome shape.
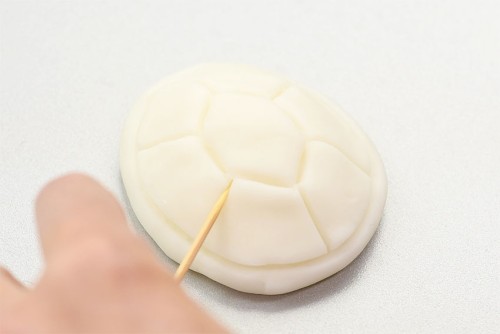
- Use a toothpick to carve shell markings into the clay.
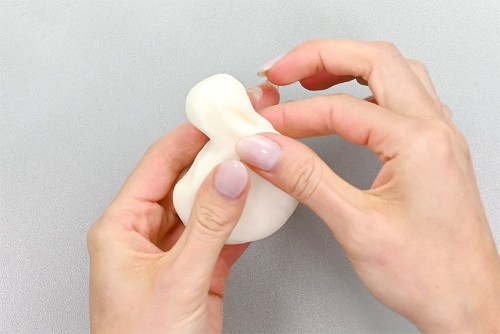
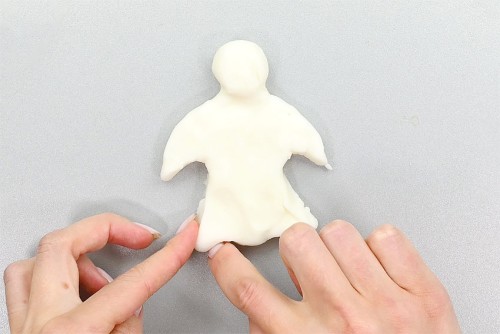
Step 2: Make the turtle's body
- Take another piece of clay, slightly larger than the shell, and form the turtle's body. Take one side of the ball and form a head about 1/2 inch wide and 1 inch long.
- Flatten out the rest of the clay and make a body and four flippers/feet.Our turtle's body was about 1-1/2 inches across. The front flippers were 1-1/2 inches long and 1/2 an inch at the widest part, tapering down to 1/4 inch.The smaller back flippers were about 1 inch long and 1/2 inch wide, tapering down to 1/4 inch.
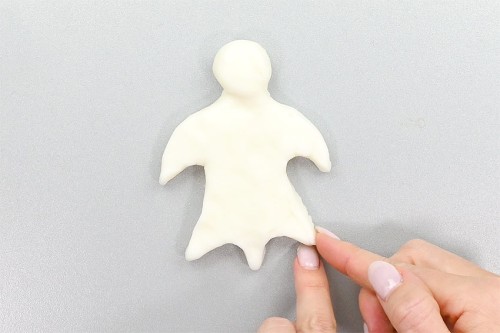
- At the bottom of the turtle form a little tail around 1/2 inch long, 1/2 inch wide at the top and 1/4 inch at the end.The turtle should be around 3-1/2 inches long from head to tail.
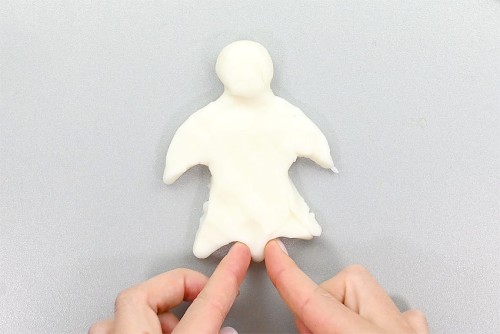
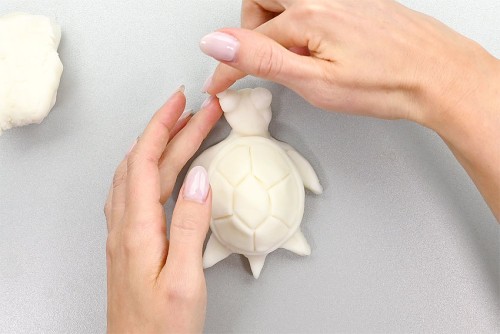
- Now that the turtle's body is formed, smooth out the edges with your fingers.
- Press the turtle shell down on top of its body.
Step 3: Make the turtle's eyes
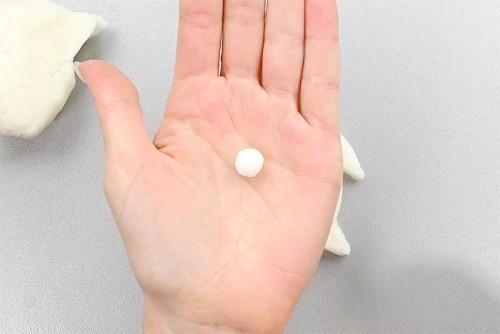
- Roll a ball of clay a bit less than 1/2 inch in diameter.
- Make another tiny ball and press it down flat. It should be around 1/8 inch in diameter. Add it to the centre of the 1/2 inch ball.
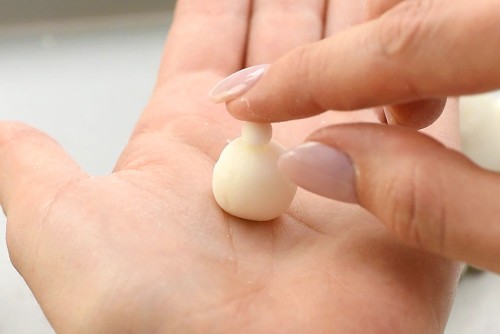
- Make another eye and attach both to the top front of the turtle's head.
- Allow your turtle to dry. If using store bought clay, follow the directions on the package.If using our air dry clay recipe (see link in tips section below) this will take 3 - 4 days at room temperature. You can also place the turtle on a parchment lined baking tray and bake it at 200 degrees Fahrenheit for 1 to 1-1/2 hours.
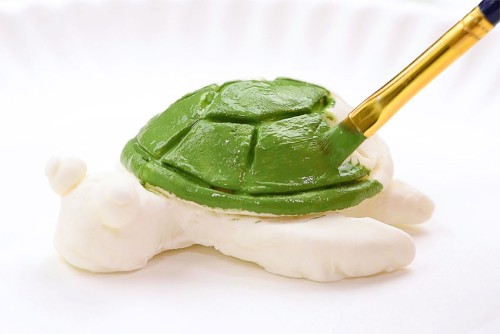
Step 4: Paint the turtle
- Use a darker green (or whatever colour you'd like!) to paint the turtle's shell.
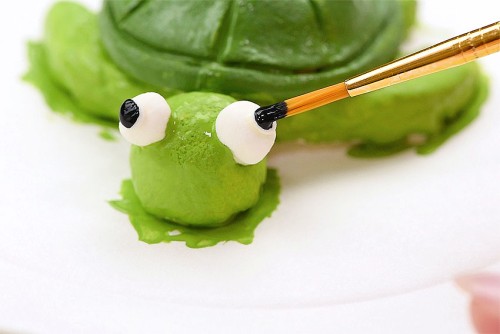
- Use a lighter or contrasting colour to paint the turtle's body, and add a dot of black to the turtle's eyes.Allow paint to dry before handling.
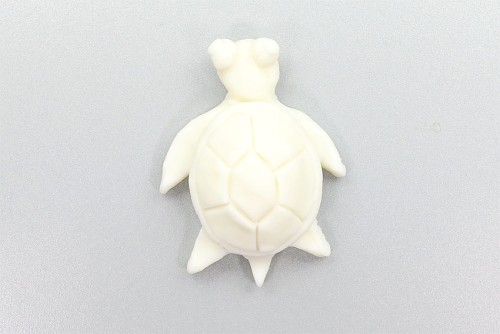
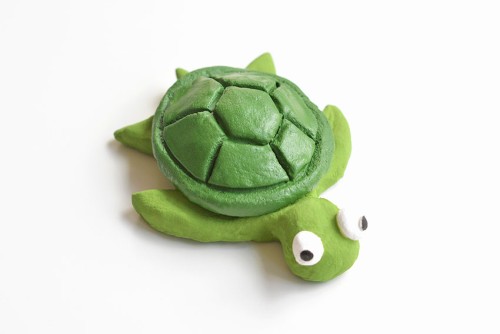
- Your clay turtle is complete!
Video
Notes
We made this clay turtle using our Homemade Clay Recipe!
If you're having trouble getting the clay to stick to itself, put a small dab of water on one of the pieces before attaching it. This will help the pieces stick to each other.