
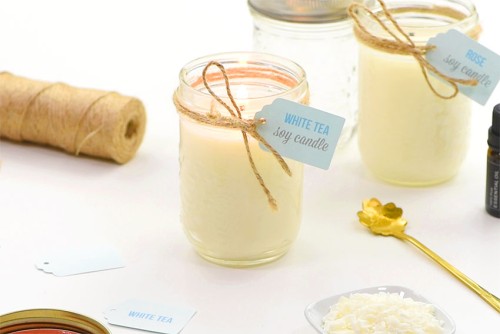
DIY Mason Jar Candles
These mason jar candles are so easy and SO FUN to make! Light up your home with their welcoming glow or give them as a homemade gift.
Yield: 1 mason jar candle
Cost: $5
Equipment
- Kitchen scale (with tare option)
- Candy or deep fry thermometer (with a clip)
Materials
- 8 ounce Mason jar
- 6 inch Wick (pre-tabbed)
- Wick sticker
- 6 ounces Soy wax
- 0.3 ounce Essential oils (1 bottle, 10 ml)
Instructions
Step 1: Prepare mason jar
- Remove wick sticker from paper and place the sticky side on the bottom of the wick tab.Now remove the other paper from the wick sticker.
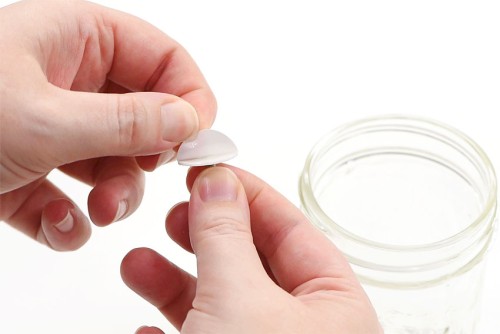
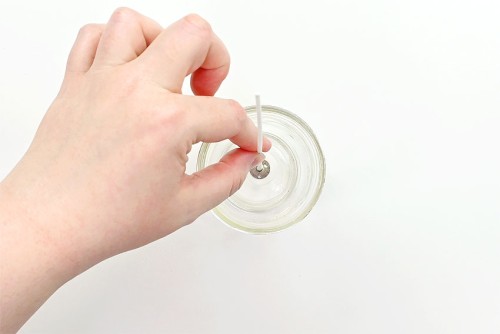
- Place the wick in the centre of the mason jar, pressing down on the wick tab with a spoon or pencil to ensure it's stuck well.
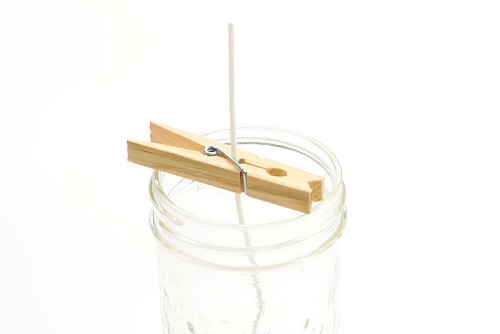
- Add a wick holder or clip a clothespin on the wick to ensure that it is straight and centred.
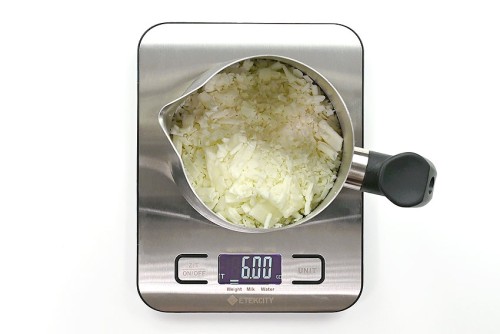
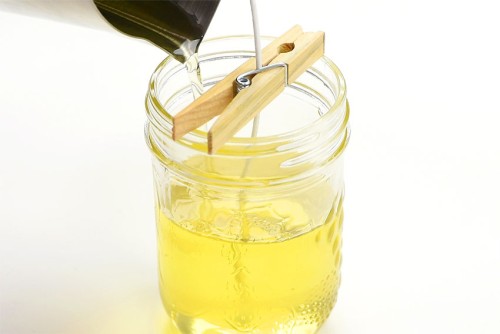
Step 2: Melt wax
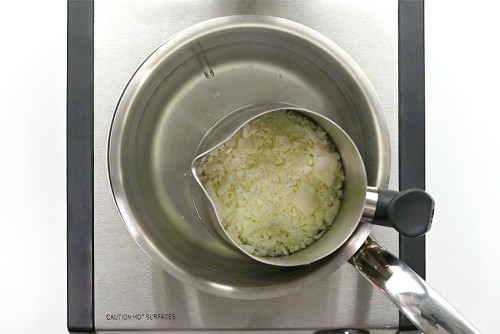
- Fill a saucepan with a couple inches of water and bring it to a boil on high.While your water is heating, measure out the amount of wax needed. Add your melting pot to a scale and press the "tare" button. Fill the melting pot with wax until the scale reads 6 ounces.
- Set your melting pot in the saucepan of boiling water. Reduce the temperature to medium or medium-low (whatever is required to maintain a slight simmer).
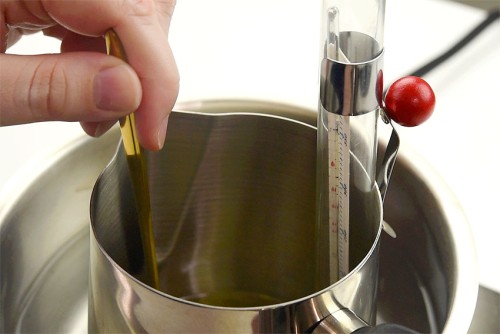
- Allow the wax to melt and insert a thermometer into the wax, clipping it to the side of the melting pot.Heat the wax to 185 degrees Fahrenheit, stirring occasionally. Turn off stove and remove the melting pot from heat.
Step 3: Add scent and pour candle
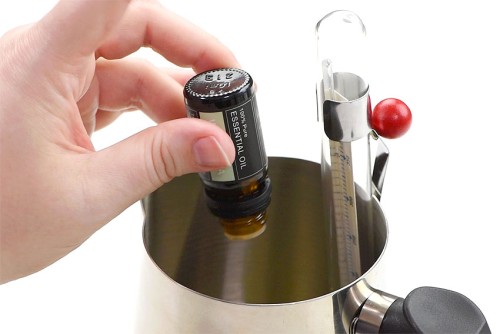
- Once the wax has cooled to 170 degrees Fahrenheit, set the melting pot on the scale, hitting tare again, and start adding essential oil.1 ounce of fragrance should be used per pound of wax, which works out to roughly 0.3 ounce for this candle (a full 10ml bottle).
- Stir the essential oil together with the wax. Stir well for at least 2 minutes to ensure the oil and wax mix.
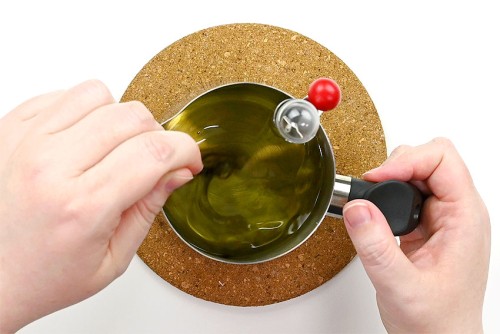
- Allow the wax to cool to 140 degrees Fahrenheit and pour it into the prepared mason jar. Pour the wax slowly, but steadily.Let the candle cool undisturbed in a place with low air flow.
Step 4: Finish off candle
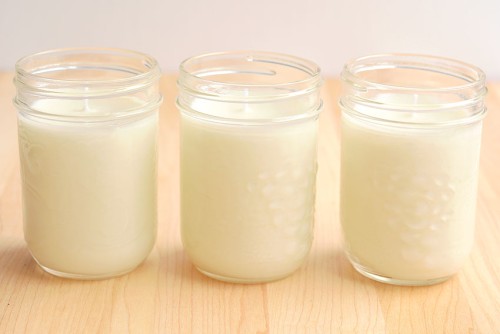
- Wait at least 4 hours for the candle to harden, remove the wick holder, and trim the wick to 1/4 inch.

- These candles can be lit after 24 hours, but ideally you want to allow the candle to "cure" for 1 to 2 weeks before burning.Soy wax will continue to harden over time, and waiting to burn the candle will improve the burn and allow the wax and essential oil to bind to one another.
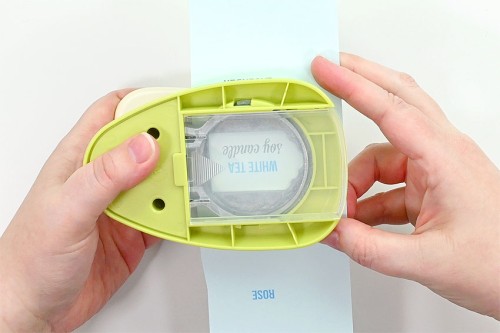
Step 5: Make the labels (optional)
- Use a label shaped lever punch to punch out a label for the candle. We printed our labels on coloured card stock.
- Punch a hole in the label and tie it around the mouth of the mason jar with twine.
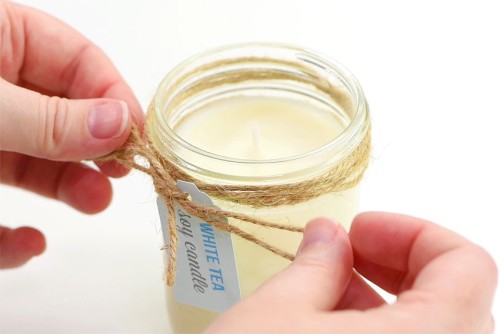
- Your mason jar candle is complete!
Video
Notes
For best results, set the candle on a cookie cooling rack or something similar, to allow even air flow as it cools. This will help prevent cracking.
If your finished candle has an uneven surface, simply use a heat gun (on a low setting) to re-melt the surface wax - the top should smooth out as it hardens again.