Paper Handprint Bunny Craft
These paper handprint bunnies are so simple to make and they are SO CUTE! You can make them using construction paper, coloured printer paper, or even plain white paper if you're in a pinch.
Yield: 1 bunny craft
Cost: $1
Equipment
Materials
- 1 sheet Construction paper (any colour)
- pink marker (or pink pencil crayon)
- Black gel pen (or pencil or black pencil crayon)
Instructions
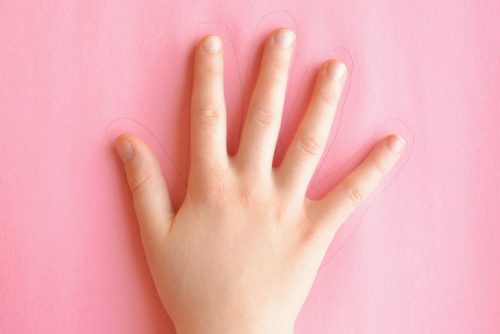
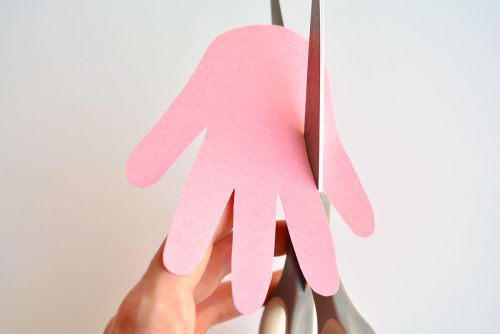
- Start by tracing a handprint – BUT you have to make the handprint a little fatter than you normally would. If you trace tightly around the fingers, the ears and arms will be super skinny.Maybe not quite as fat as what I’m showing in the photo below, but definitely fatter than the fingers really are. You can watch how I traced the handprint in the video above.
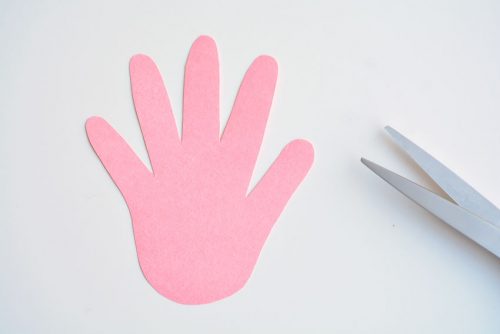
- Cut out the handprint. Make sure you have a V at the bottom between each finger (rather than a curve).
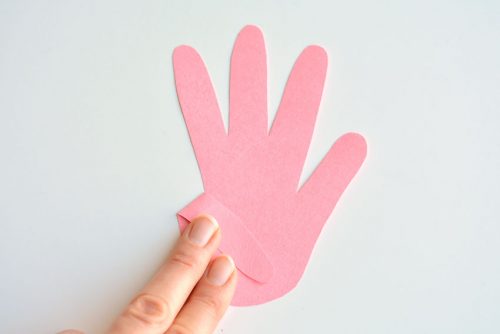
- This next part is optional, but it really helps make the bunny more proportional.Cut a small slit beside the baby finger. You want the bottom of the cut to line up with the bottom of the space beside the thumb.
- Once you cut the slit, the baby finger will look a bit crooked. So feel free to trim that baby finger a little to fix the shape.

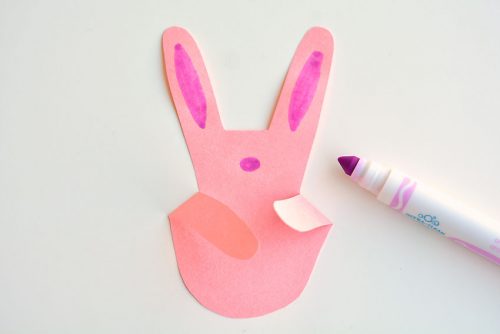
- Next, you can fold down the baby finger towards the center to make one of the bunny arms.
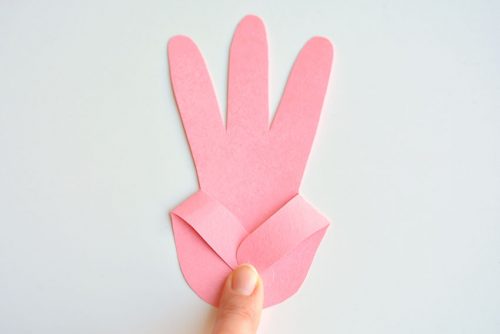
- Then fold down the thumb towards the center for the other bunny arm. I like to fold them so the two hands “touch” in the middle.
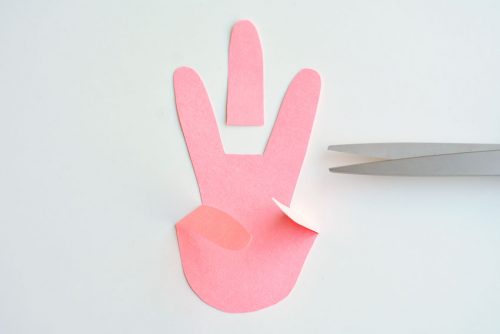
- Cut off the middle finger so you’re left with two finger “bunny ears”.
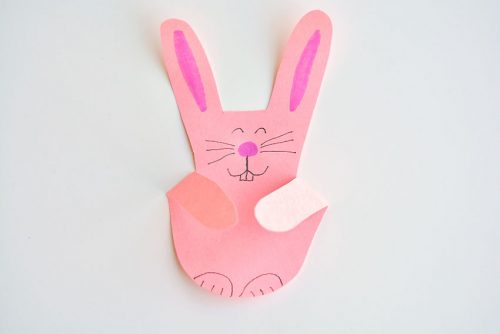
- Use a pink marker, pen or pencil crayon to draw the pink parts of the ears. Then draw an oval for the rabbit’s nose.
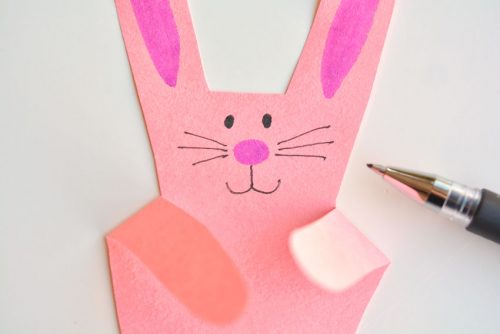
- Using a black gel pen, regular pen or marker, draw the rest of the face – eyes, whiskers and mouth. (See below for a few different face options).
- Finally draw two little paws at the bottom of the handprint to make the bunny’s feet.
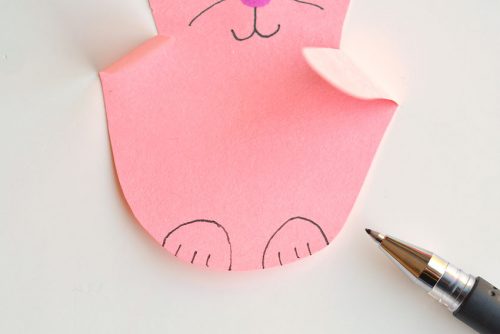
- Your paper bunny is complete!