Learn how to make a paper star with our step by step photo and video tutorial! It’s SO EASY to make a perfect paper star with just a piece of paper and a pair of scissors. You’ll want to make them in all different colours and sizes!
These paper stars make such fun decorations for a birthday party, the 4th of July, or even Christmas. Attach them to a present, tape twine or ribbon to the back of the stars to hang them, or use a single hole punch and turn them into a garland!

This post contains affiliate links. If you use these links to buy something we may earn a small commission which helps us run this website.
How to Make Paper Stars
Materials:
- 1 piece Letter sized printer paper (8.5 x 11 inches, any color)
Check Out The Video Tutorial:
Instructions:
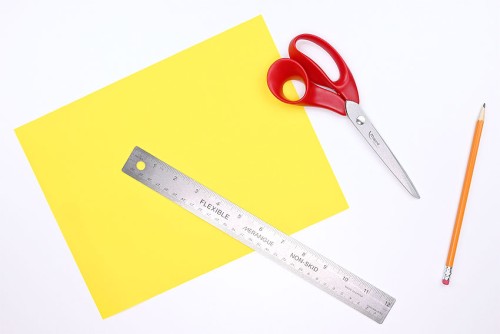
Step 1: Find what you need
- Grab a piece of paper, scissors, a pencil, and a ruler! That's all you'll need to make your paper star.If you have a square piece of paper, you only need the paper!

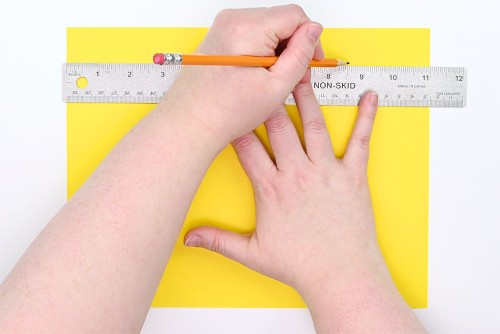
Step 2: Cut your paper into a square
- If you're starting with an 8-1/2 by 11 inch rectangular piece of paper, you'll need to cut it into a square shape.Place the paper down landscape. Measure 8-1/2 inches across the paper in 4 - 5 spots and mark it with pencil.
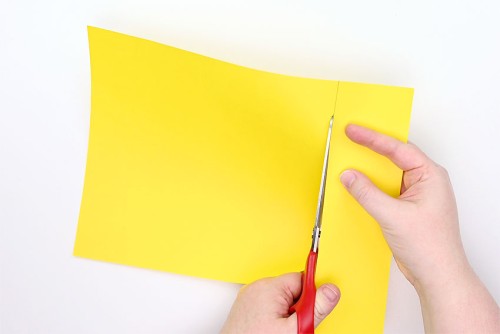
- Draw a line connecting the marks, and then cut the excess paper off. (You can use this paper to make smaller stars!)
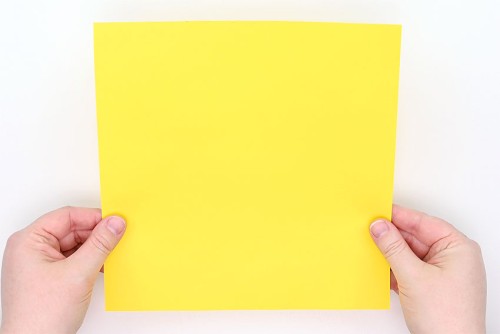
- You now have a square piece of paper to fold a star with!
Step 3: Fold the paper
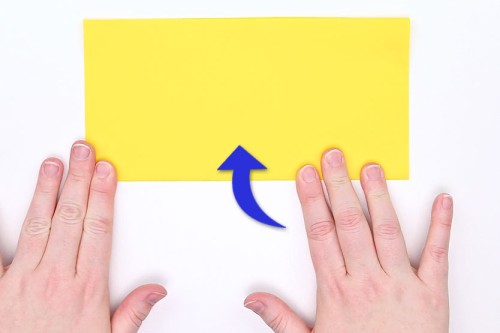
- To begin, fold the paper in half by bringing the bottom of the paper up to meet the top.

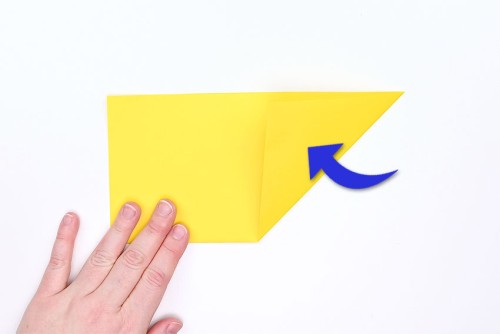
- Fold the bottom right corner up to meet the top edge.
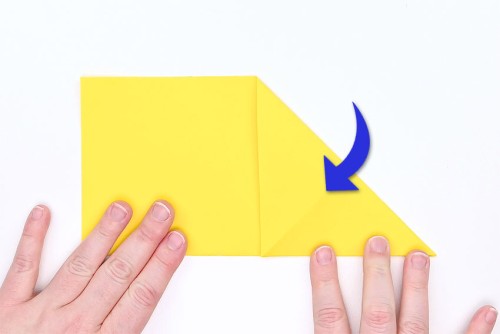
- Open up your last fold, and then bring the top right corner down to meet the bottom edge.
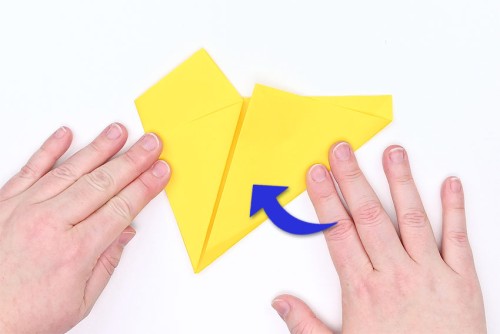
- Open your last fold and you will see an 'X' on the right half of the paper, created from your folds.Take the bottom left corner and bring it to the center of the 'X'. Crease the fold on the left.
- Now take the corner that was on the 'X' and fold it to the left, bringing the bottom right edge of the top flap over to meet left edge.Make sure that the bottom point of this fold is a crisp point because this will be the center of the star.
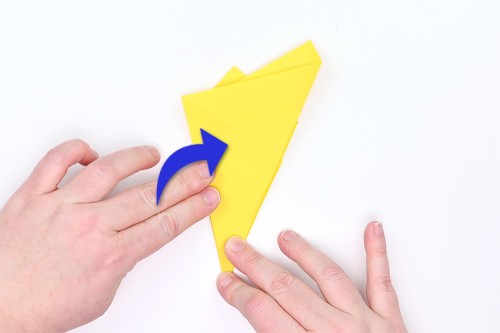
- Fold up the bottom edge on the right to meet the center fold.
- Flip over the paper and bring the left edge to meet the right, folding it in half. (There is a natural folding point in the center.)
- Flip the paper over again, bringing the bottom point to the top, making sure you can see the folds/edges of paper.


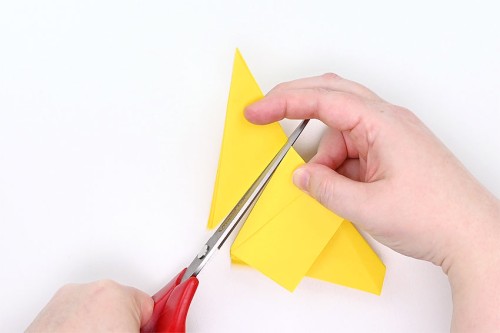
Step 4: Make a cut and unfold the star
- Grab your scissors and cut from the bottom left up to the right on an angle.
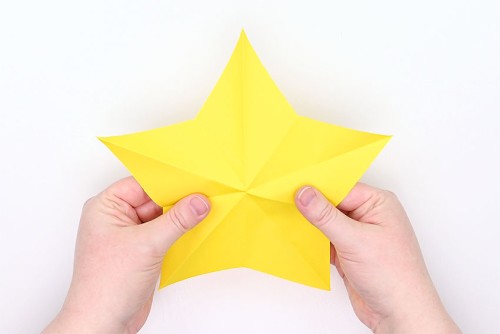
- Discard the bottom right section and unfold the triangle. You've create a star!
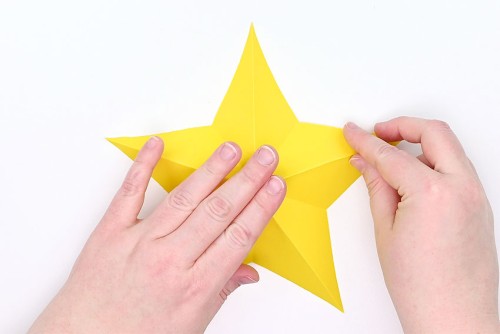
- Crease the folds so every long line going to a point is folded upwards, and every short line is folded downwards.
- Set the star down and press on the center to relax the folds and make star a bit flatter.
- Your paper star is complete!


What type of paper to use to make a paper star?
There are a lot of different types of paper that work well for making a paper star. You can use printer paper, scrapbook paper, origami paper, magazine pages, newsprint, sheet music, or wrapping paper.
Try using square pieces of paper, or cut the paper you have into a square. The heaviest paper we recommend is 24 lb coloured printer paper to make these stars.
Thicker paper like card stock will not work. The paper doesn’t fold crisply enough, and it would be impossible to cut through at the end.

How to make a paper star with different sizes of paper?
As long as your paper is square, you can make a paper star in all different sizes! We started off with squares that were 2-1/2 inches, 5-1/2 inches, and 8-1/2 inches in size.

How do you cut a paper star?
You always want to start cutting at the bottom left point, but the angle of the diagonal cut will determine the thickness of the star’s arms. If you cut up higher you’ll get thinner arms, whereas cutting down lower to the right will create broader arms.
You can also take it a step further and cut patterns inside the star, like you do with a paper snowflake.

Are these paper stars origami?
Technically these paper stars are kirigami, not origami. Modern origami practices generally discourage the use of cutting or gluing. In contrast, kirigami is a variation of origami that includes cutting as well as folding!

It’s so easy to learn how to make a paper star, with no glue or special tools required. These folded paper stars are really fun to make, and they turn out beautifully every time!

Here’s even more paper craft ideas:


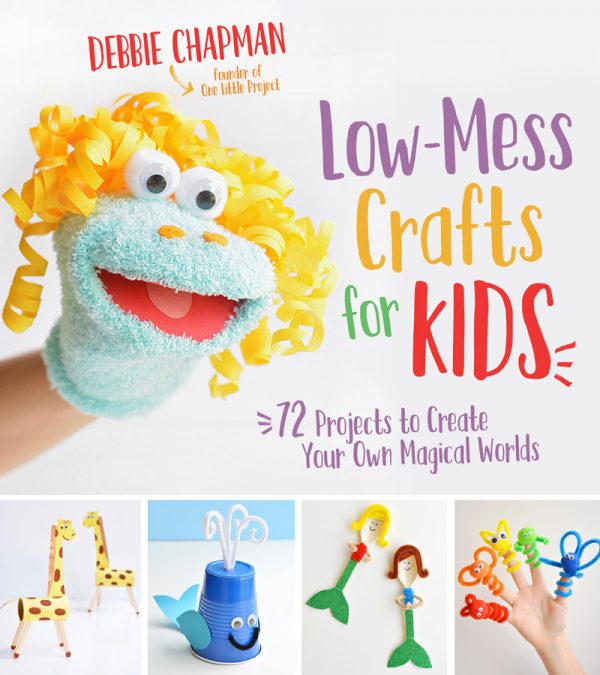
Our book Low-Mess Crafts for Kids is loaded with 72 fun and simple craft ideas for kids! The projects are fun, easy and most importantly low-mess, so the clean up is simple!

Where to buy:
You can purchase Low-Mess Crafts for Kids from Amazon, or wherever books are sold:
Amazon | Barnes and Noble | Books- A- Million | Indiebound | Indigo | Amazon Canada
Let us know what you think: